Why Does My Clock Scream??
Yes, that’s the noise it makes. Doesn’t sound at all good. It always causes a
diagnostic fault on a cold power up, but it works OK after that, or if you
power up again.
So, we take it out – not too hard, one screw and three connectors under the table. I bought most of the clock mechanicals to rebuild it. But Bay Area Amusements doesn’t have the front cover, and one of the gears (03-8808) is used twice – I only bought one. The clock gears are held in with 5/32 e-rings (circlips). These are easy to lose…
The clock was worked over in its past life. It had holes drilled in the case, diodes installed – rather roughly – and it was lubricated with some unknown but now black and sticky goo. Also, every resistor on the two boards shows signs of overheating. The motor runs just great. The decal isn’t going to move to the new faceplate – I’ll have to order a substitute.
So, I removed all the parts and burnished all the shafts. That got rid of the goo; I picked the ugly end of the shaft to go into the plastic case, so the gears rotate on the cleanest half of the shaft. I lubricated the shafts and the teeth with a 3M dry Teflon film lubricant. The motor is running on a 3V supply right now to spread the Teflon film. It isn’t silent, but it is way better than it was. It did turn out later that this was a mistake. two months later I had to replace an opto. the lubricant was then a sticky mess. The clock now runs just fine clean of lubricant.
The mechanicals came out OK. I did lose two of the e-rings, trip to the hardware store – again – tomorrow.
I did do an LED upgrade. In the past, somebody new to soldering had cleaned up the connector pins and replaced the jumpers with diodes. I removed the diodes and replaced them with 47 ohm resistors. I replaced the lamps with 3mm LEDs, 10,000 mcd ones that I got from eBay. I ground the domes off on the grinder, then polished the end a bit to get rid of the sharply focused spot. The LEDs have longish legs, so that they sit about where the bottom of the bulbs used to be. I bent them at an angle, and tested with the faceplate until I was happy. I did think about building a bridge rectifier and capacitor supply, but they are quite bright enough with just the half cycle AC.
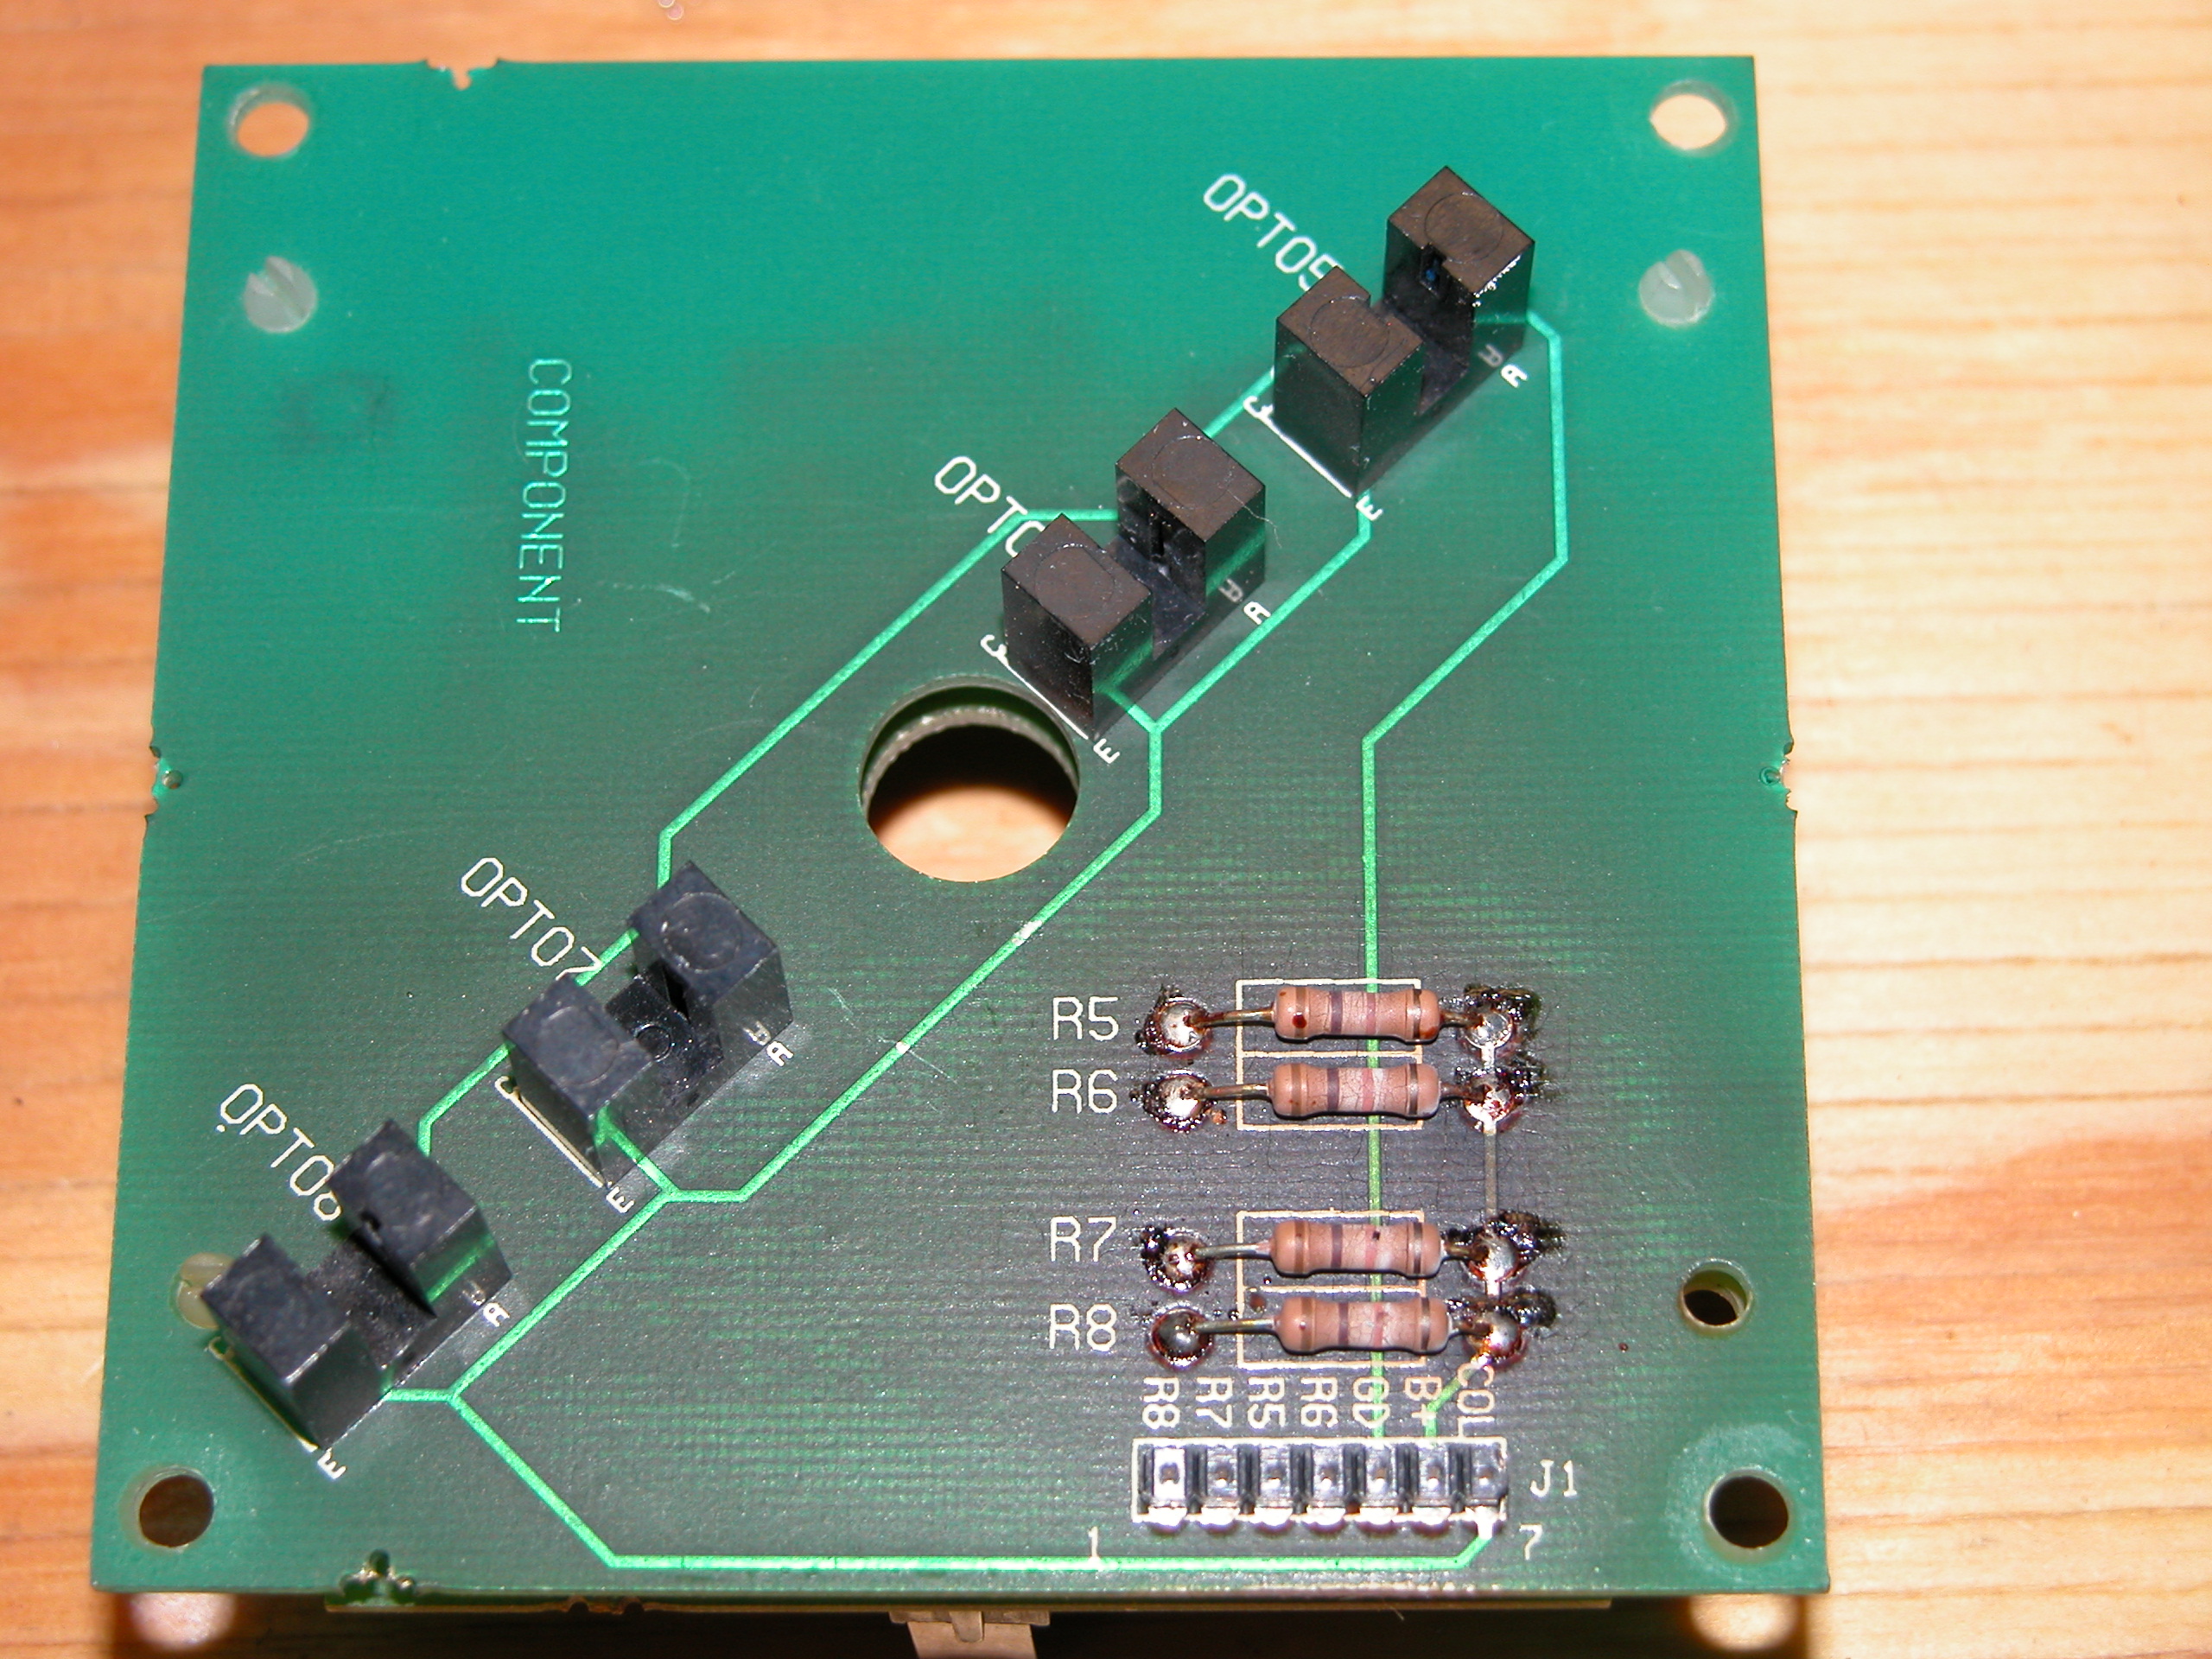
Twilight Zone clock hours opto board
Twilight zone clock minutes opto board
Assembling the clock is slightly tricky. If the gear alignment isn’t right, it won’t be able to identify 12 o’clock. To do this, there are three steps:
- Get the hole in the shaft pointing vertically. This corresponds to the minute hand at 12.
- Align the molded line on the black wheel with the bottom left screw post of the clock
- Put the hands on and make sure that they look like 12 o’clock. You may need to readjust.slightly.
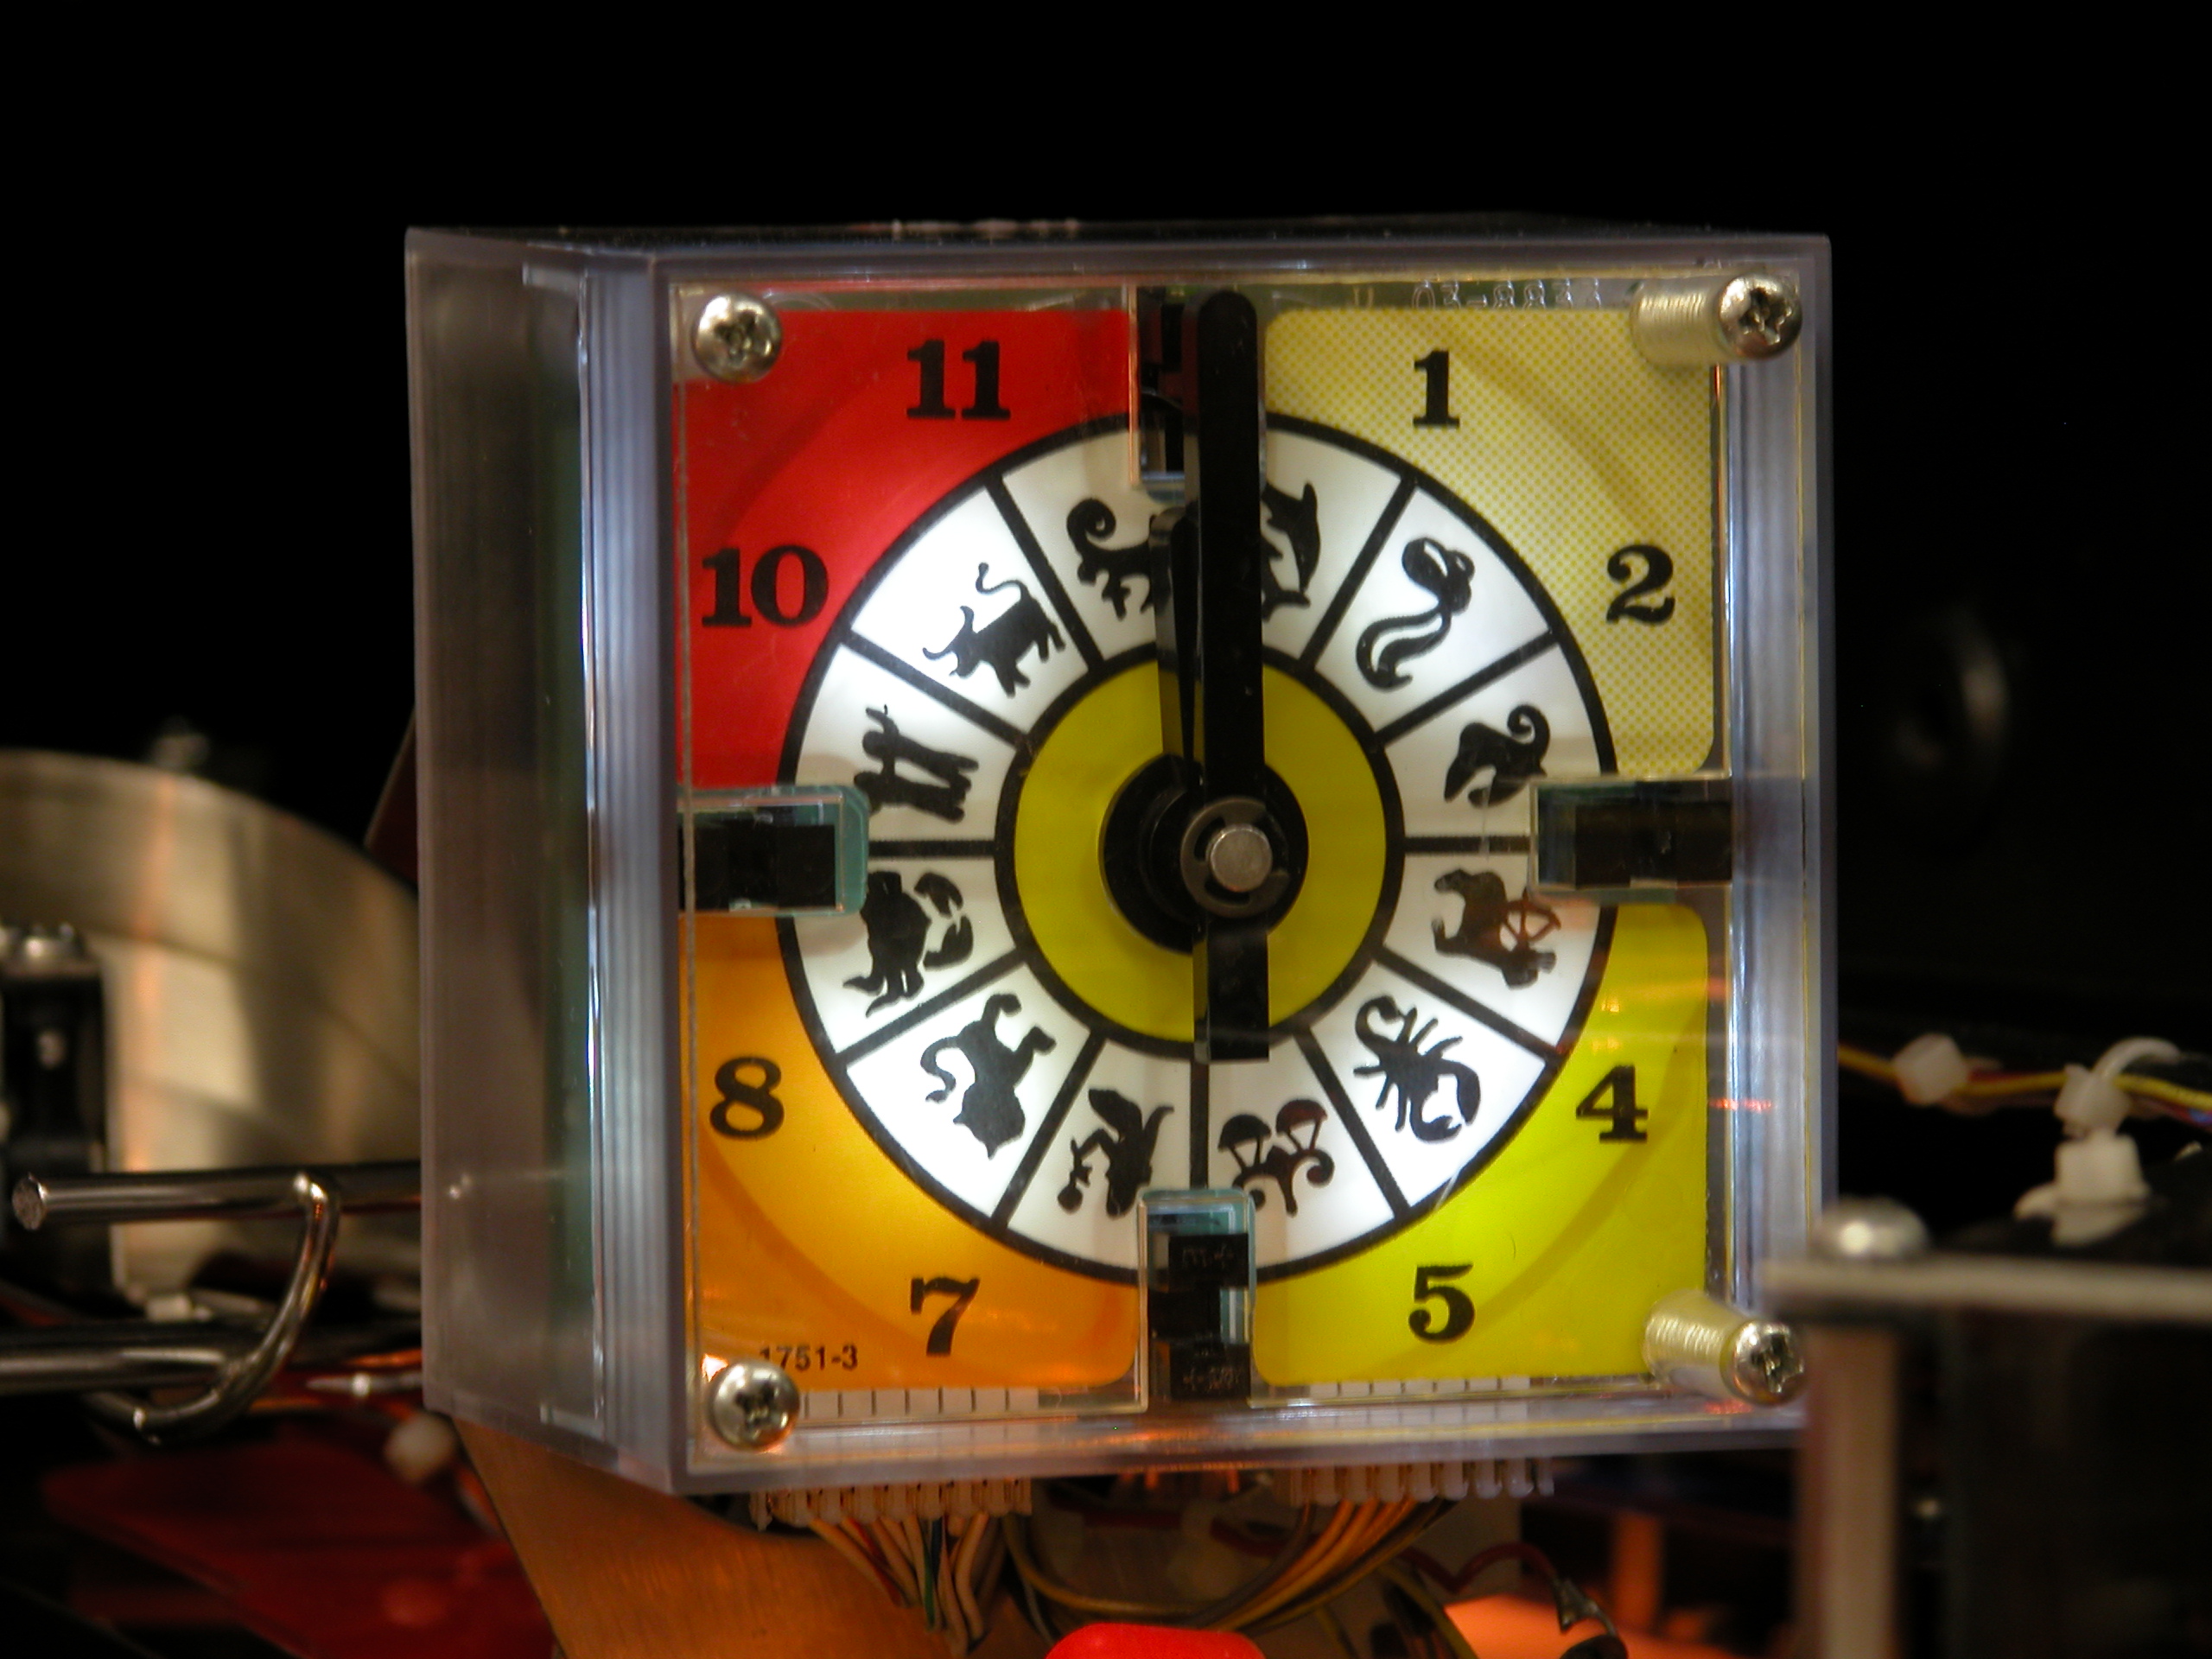
Once this is done, it’s a quick job to reassemble the clock to the playfield. The LED clock looks just fabulous. Still runs hot, though. I’ll have to vent it anyway. Looking at the previous clock, it was overventilated. Seems that the only place that matters is the compartment where the circuit boards live.
The finished clock.