 remove under the playfield to do this.
 There
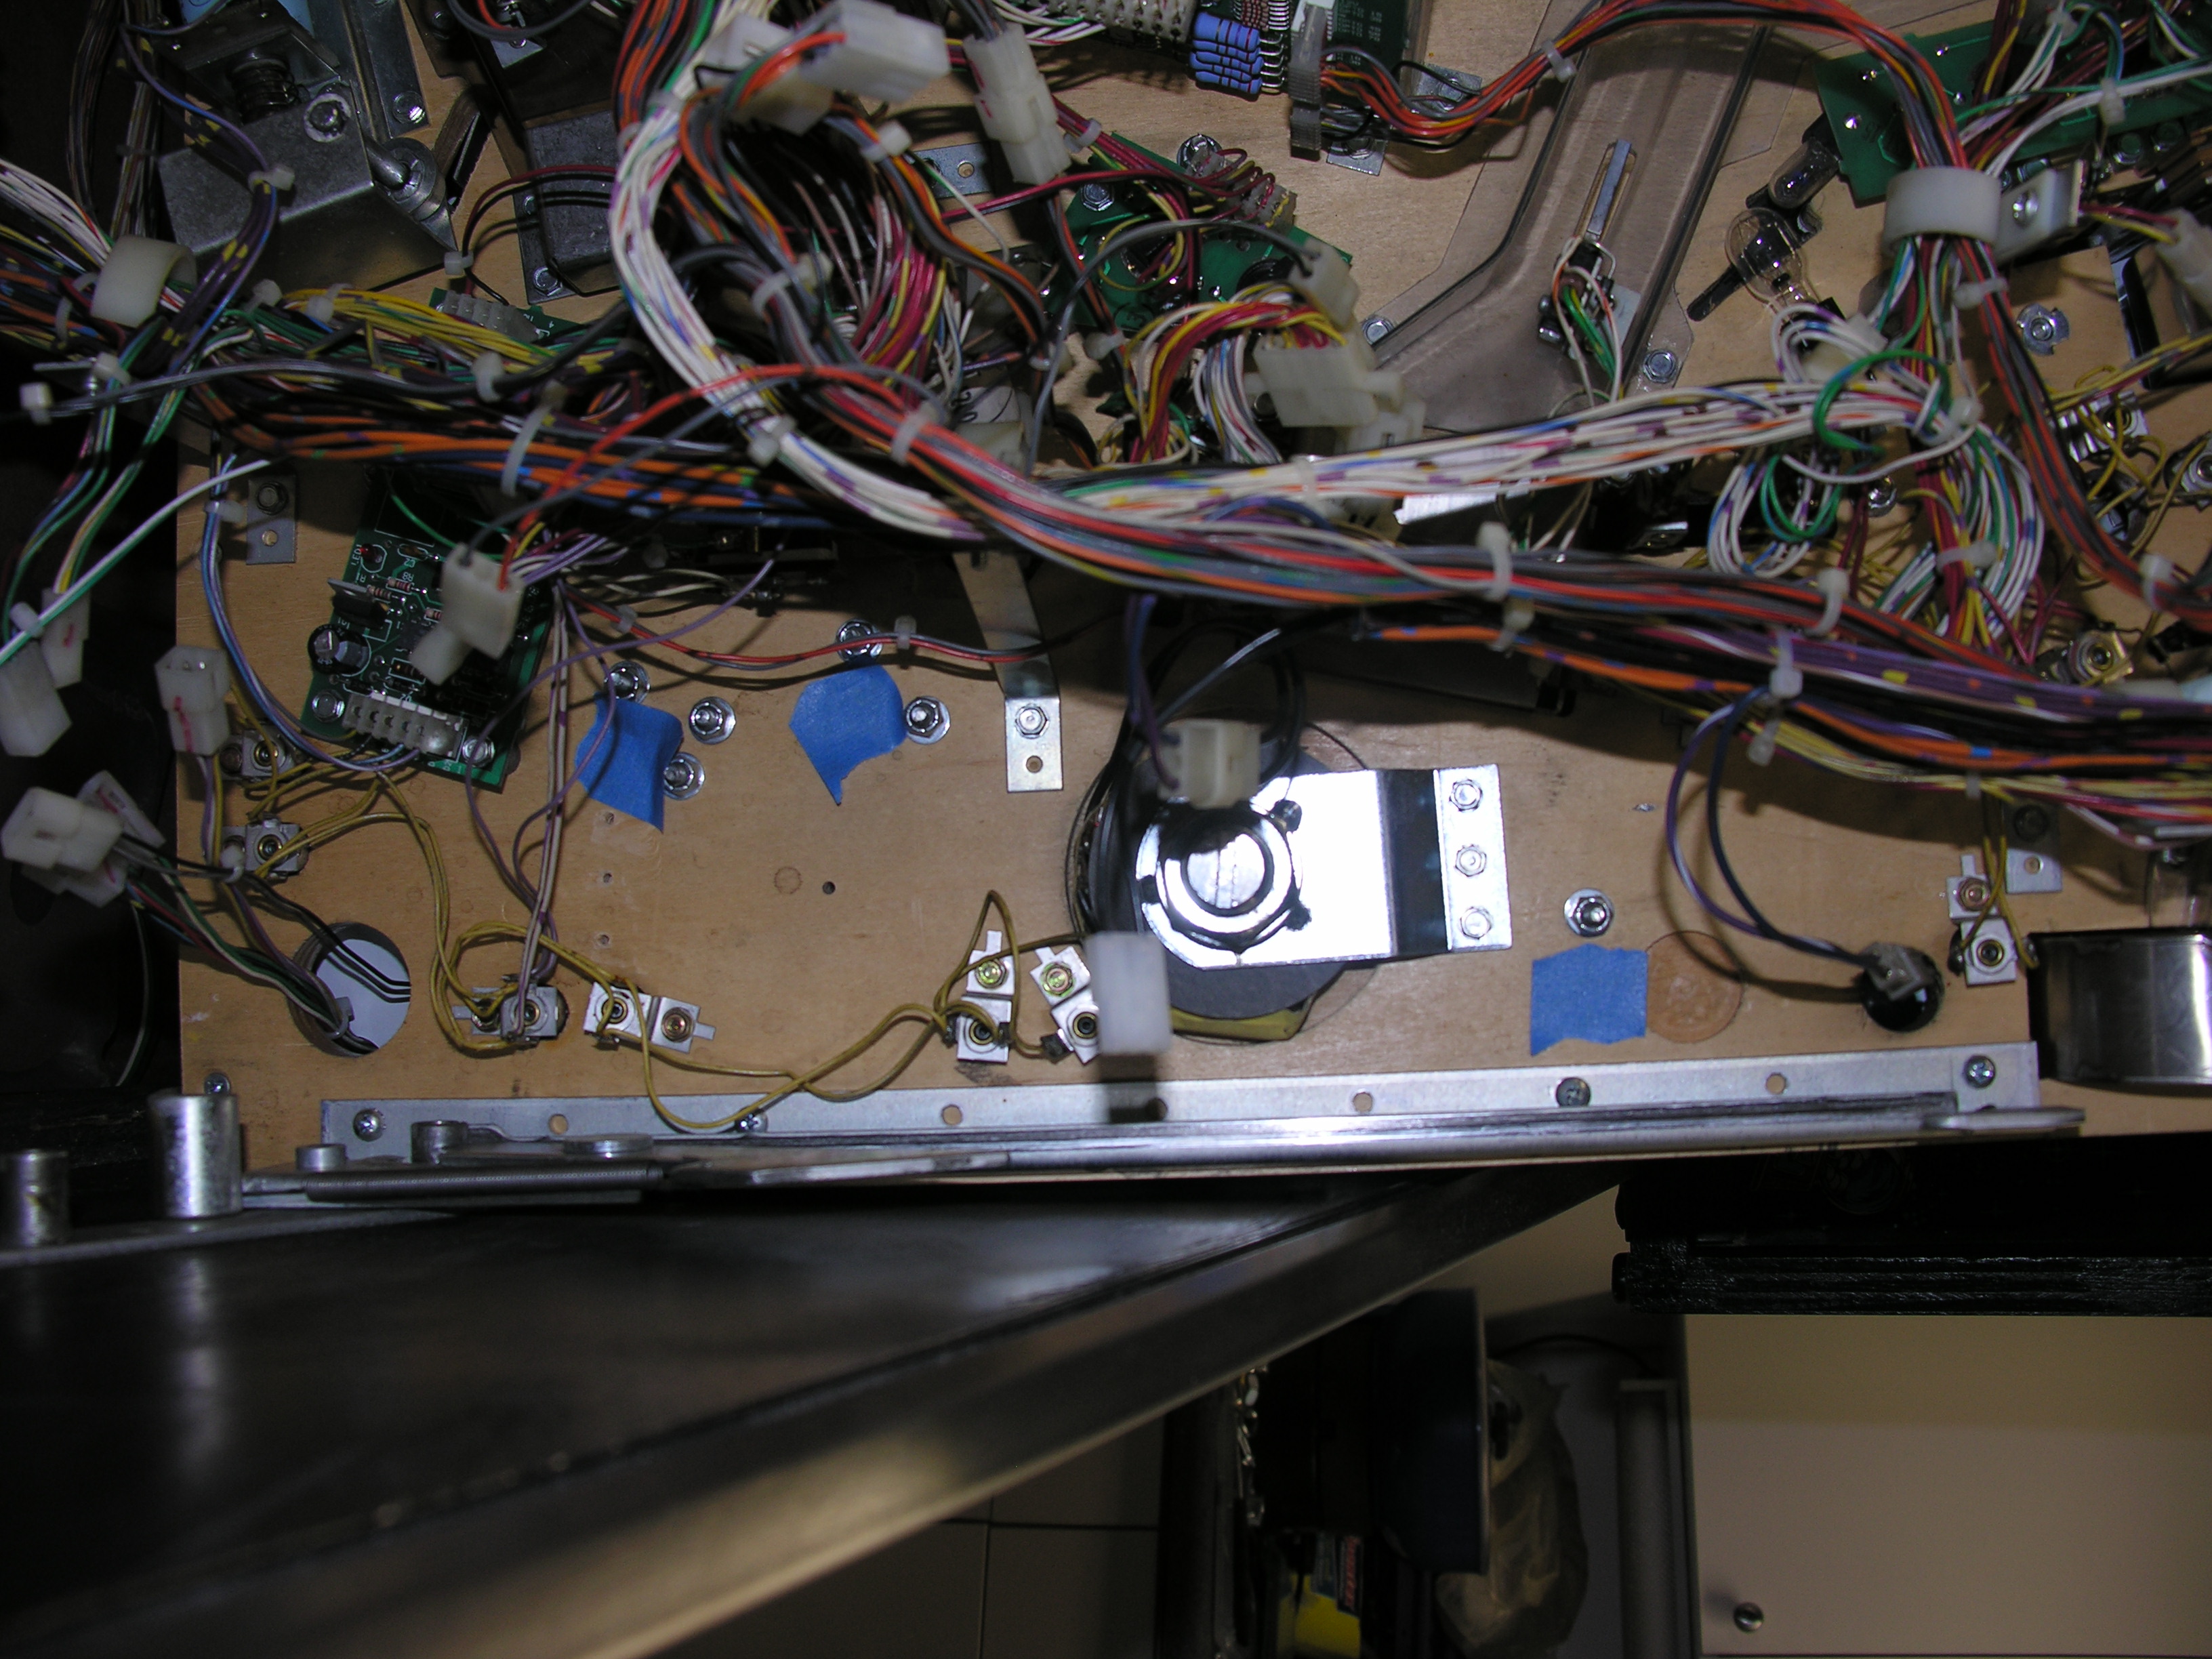
are two nuts under the clock motor control board as well. You have to
remove the board, a great chance to clean it.
There
are two nuts under the clock motor control board as well. You have to
remove the board, a great chance to clean it.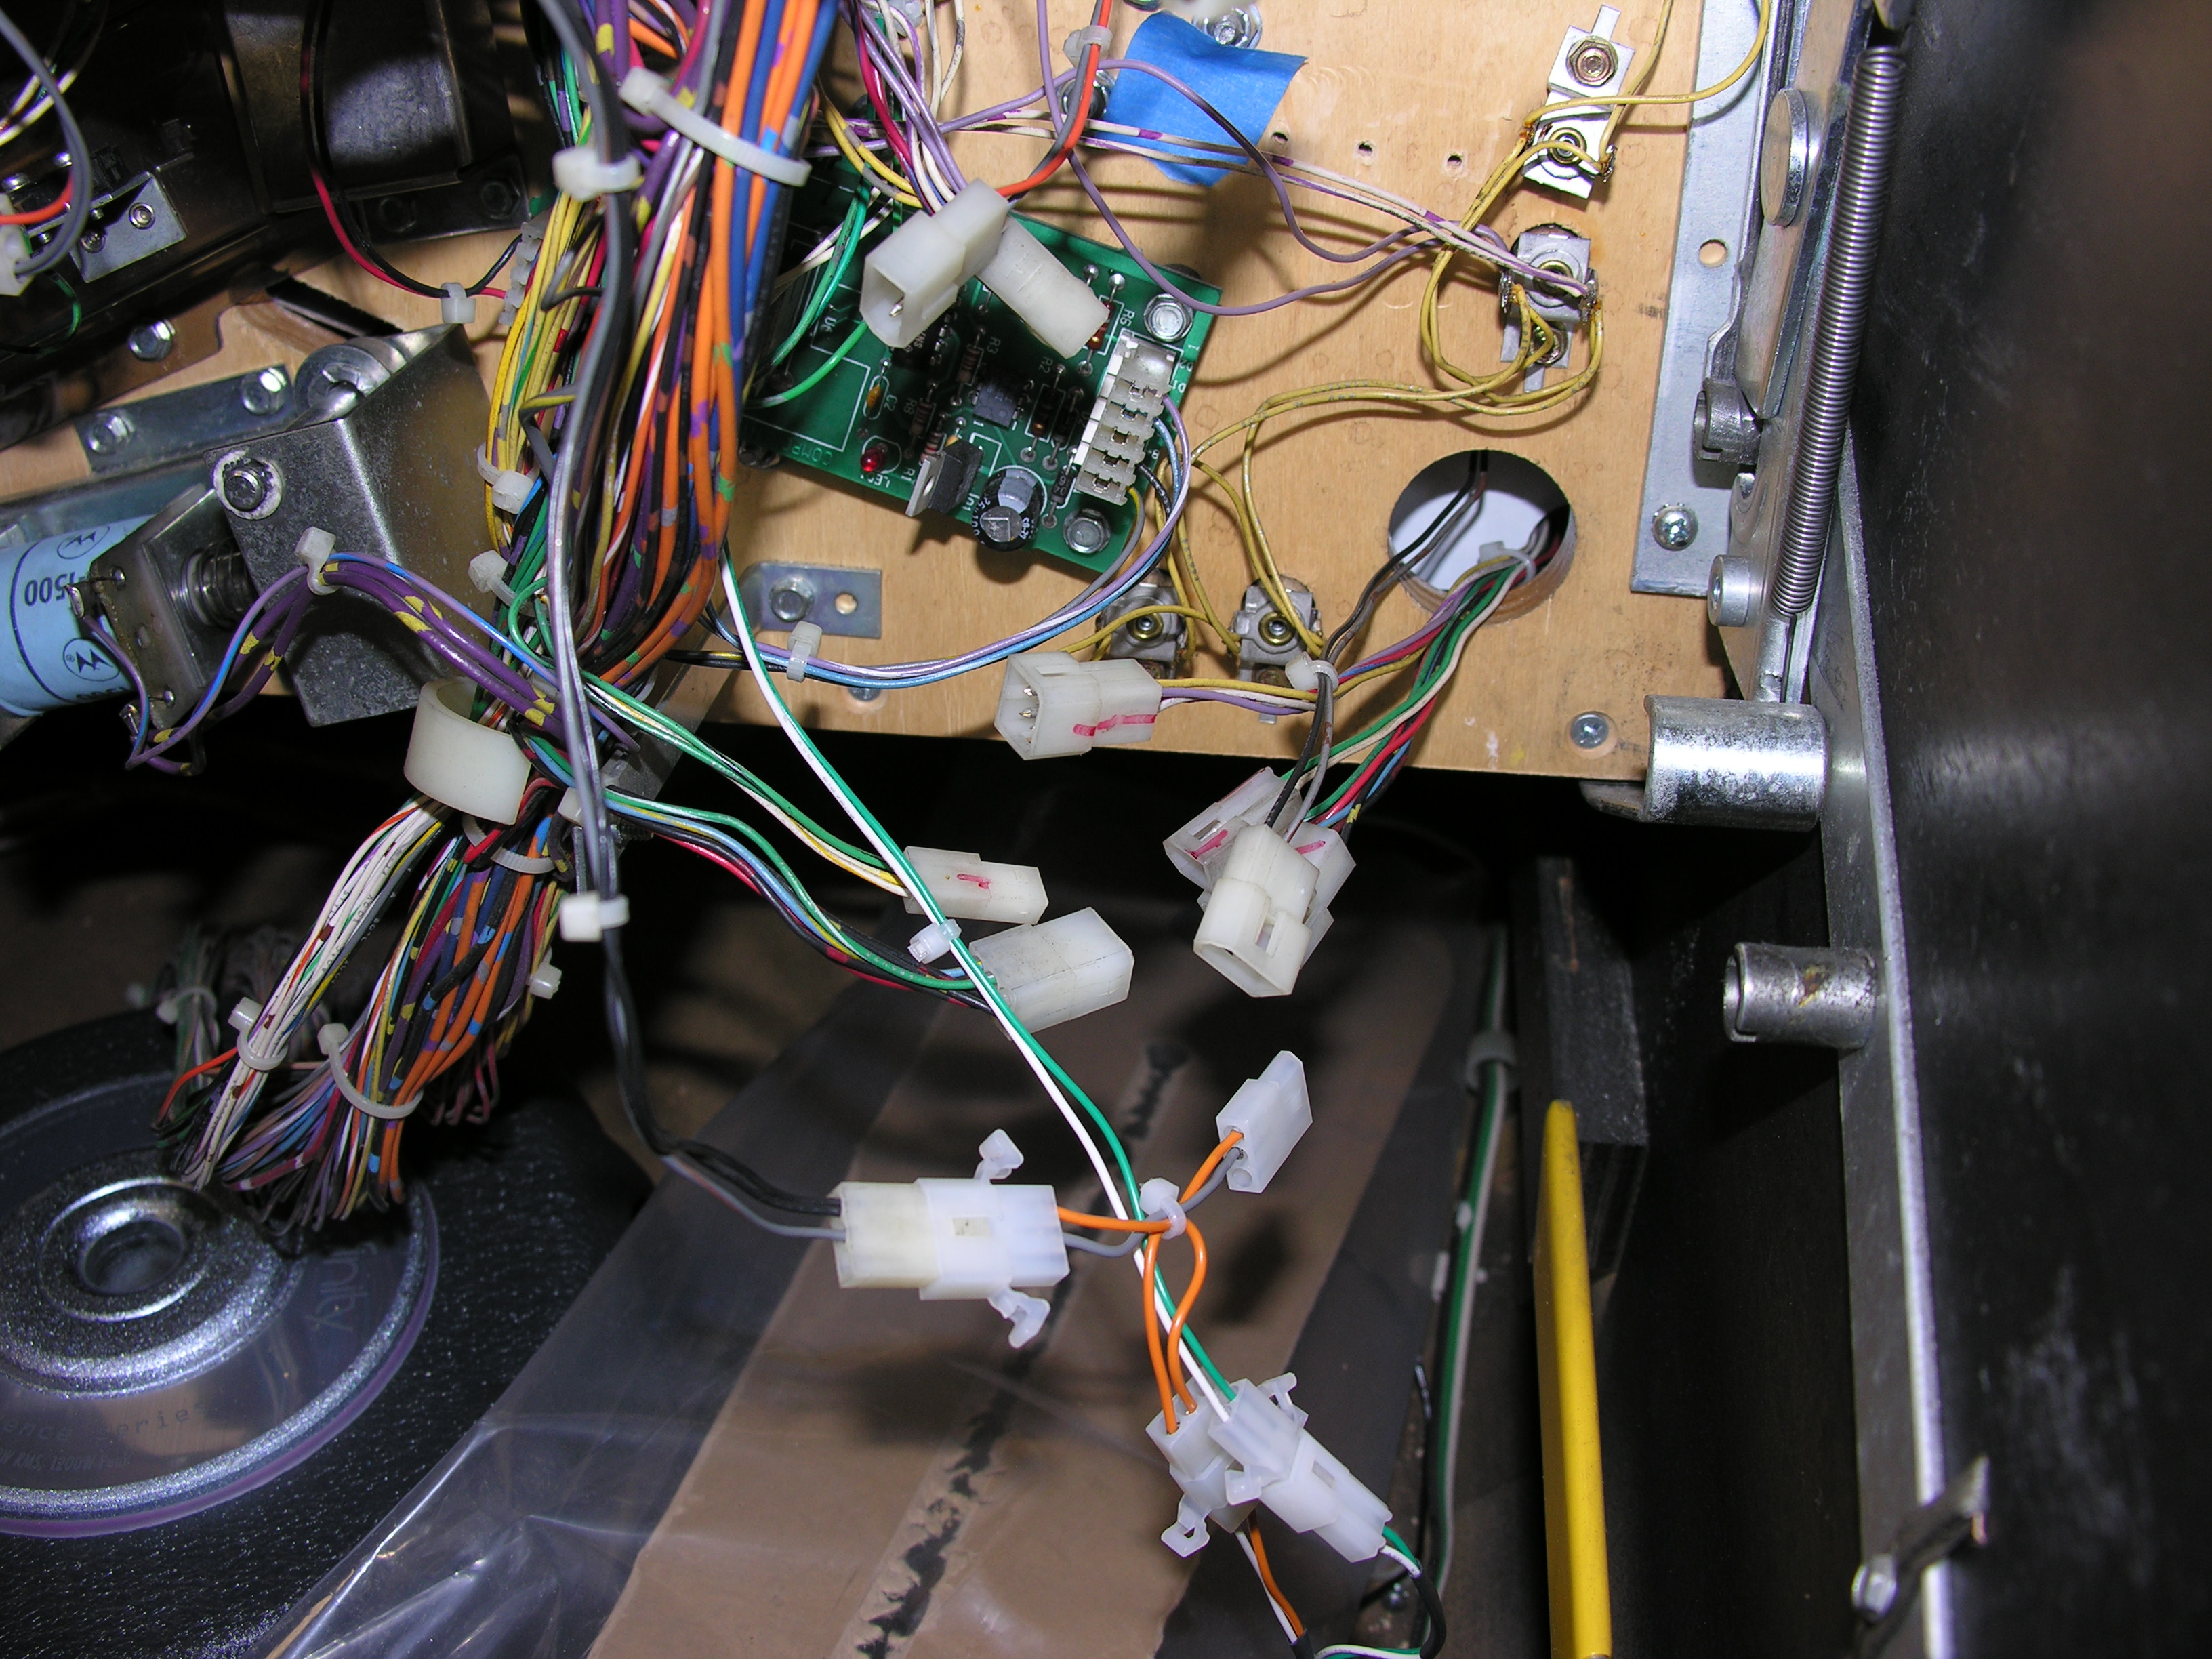 You'll
also have to undo all of the connections that go though the top right
hole.
You'll
also have to undo all of the connections that go though the top right
hole. Plus
all of the connections that go through the clock hole.
Plus
all of the connections that go through the clock hole.
There are a couple of others that you will find later, they can be freed by reaching down behind the playfield.
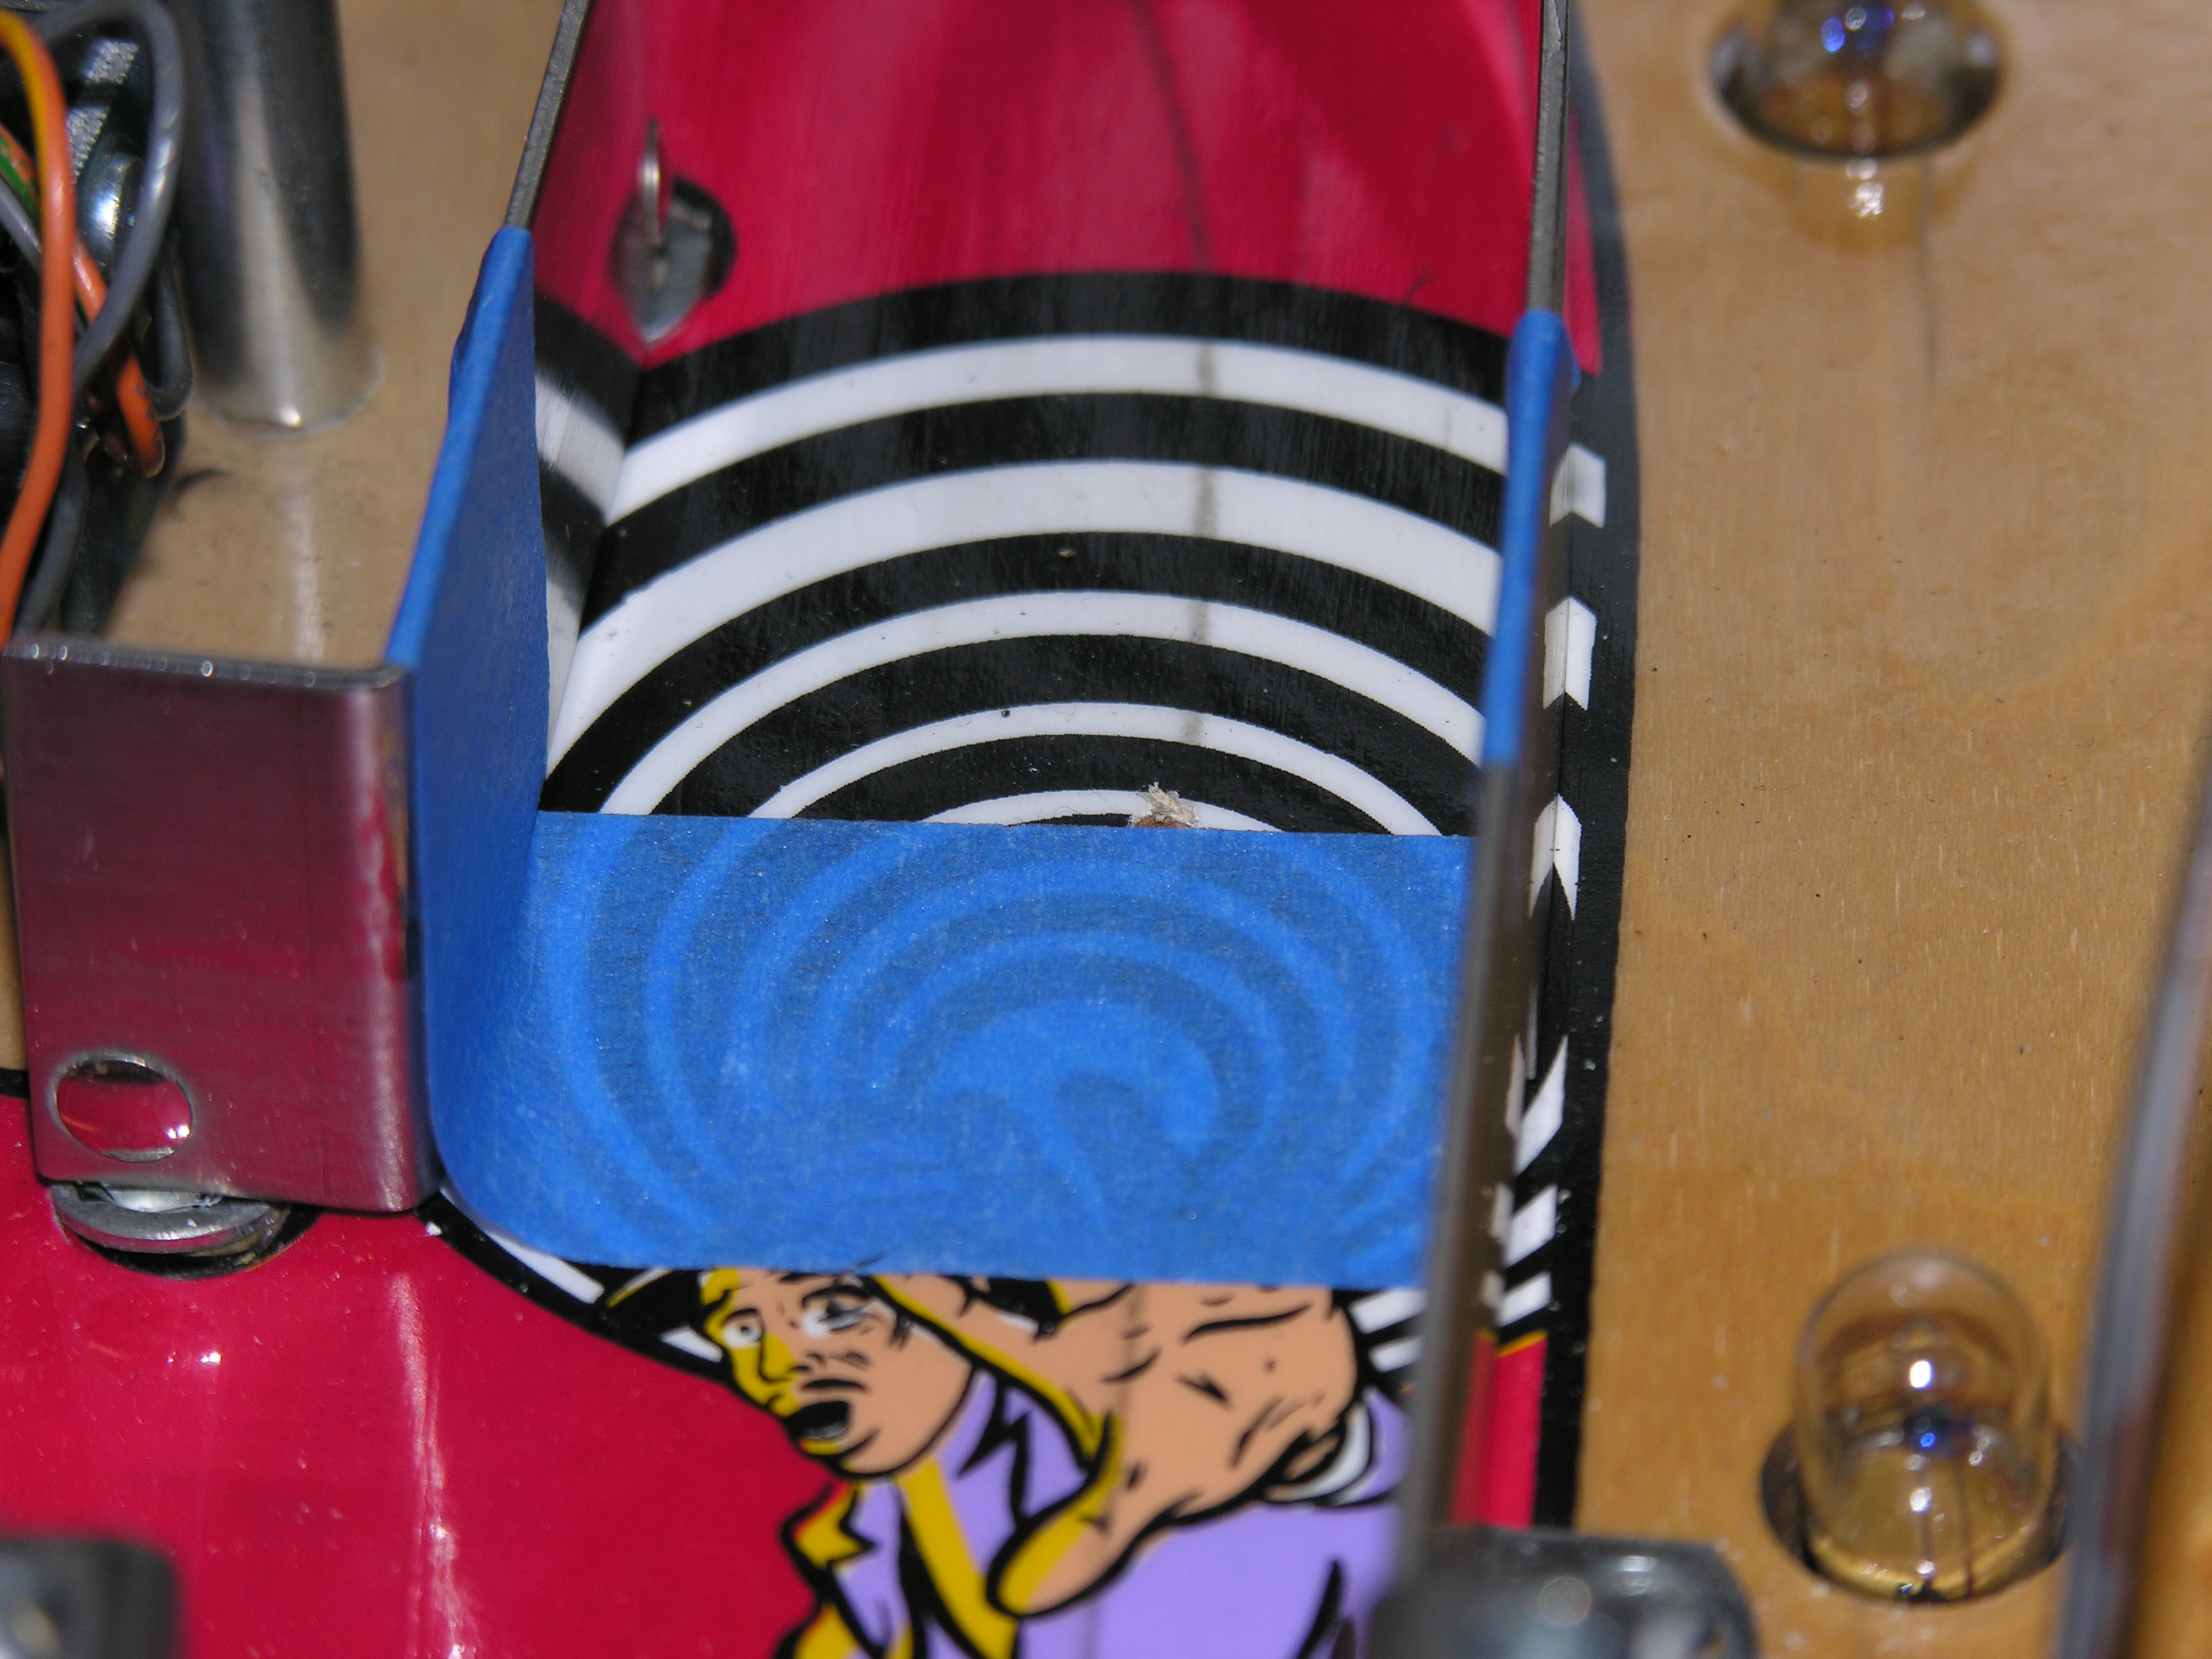
Before you remove the guides, run a piece of masking tape across the channel so that the edge of the tape lines up with the hole. (Cliffy tipped me to that one, thanks!). This tape is your guide for drilling for the optos. Head off and do the ball guide holes now, if you like! I did.
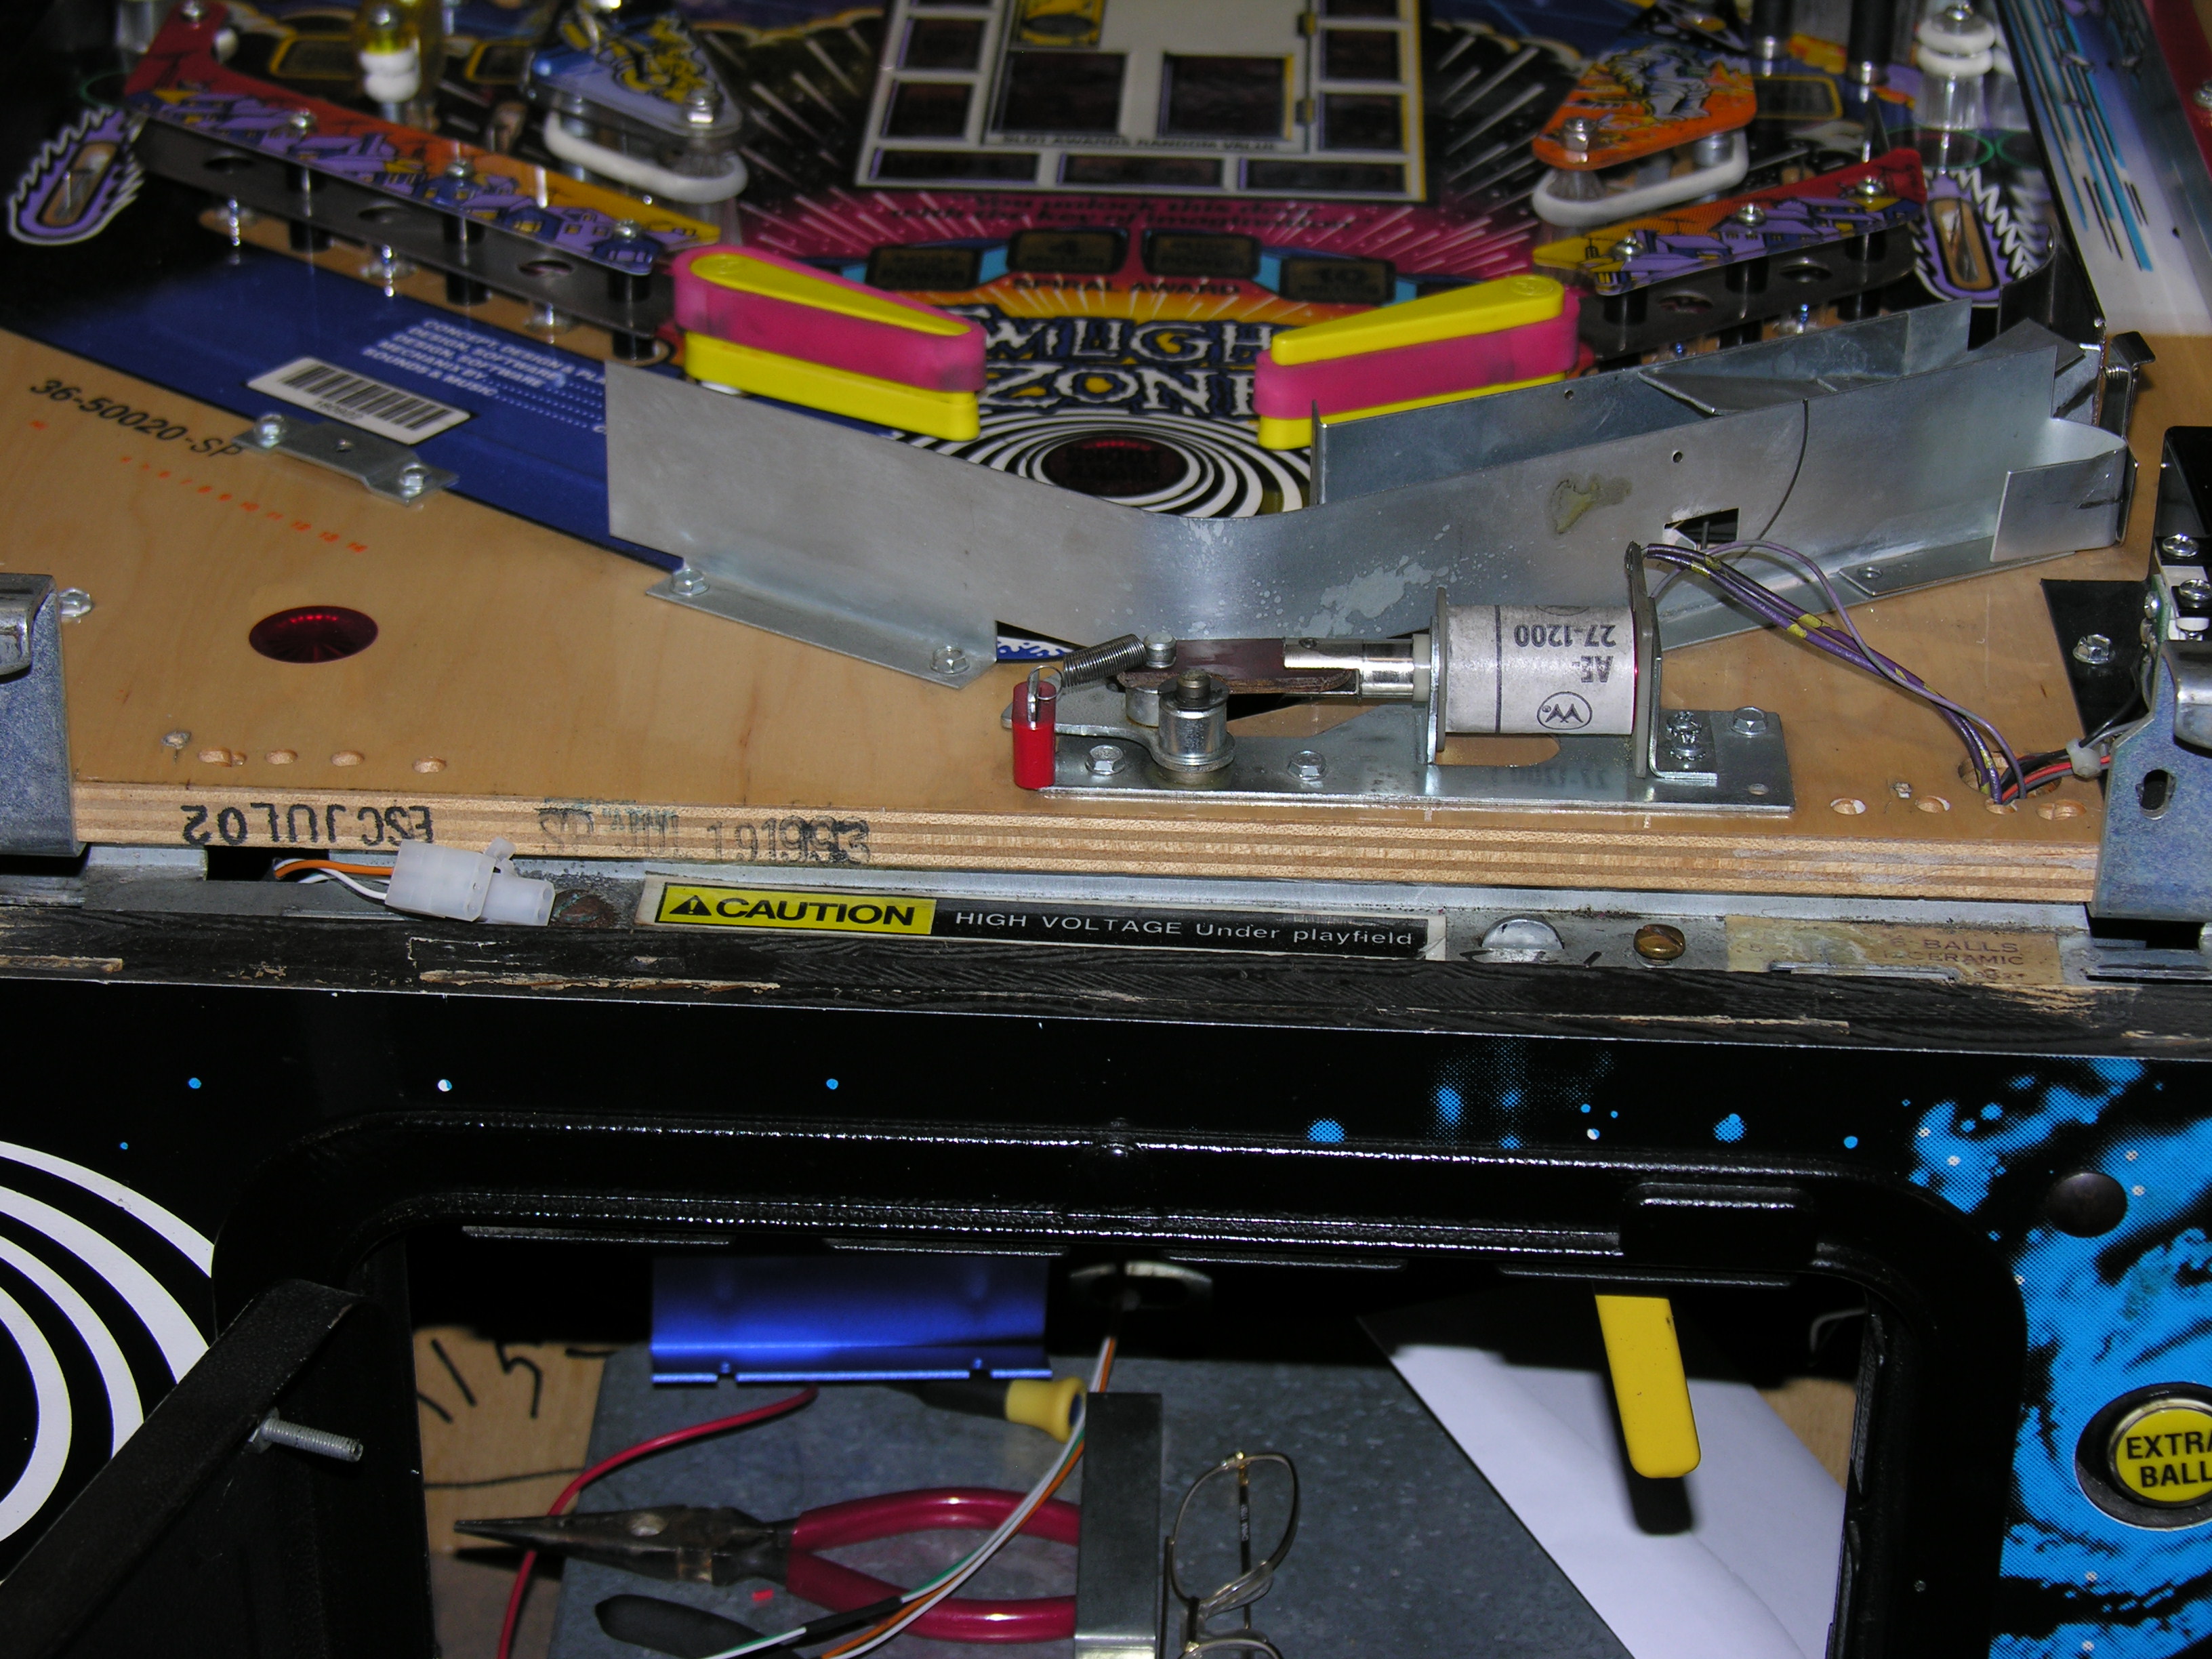 For
drilling, I put the playfield on the cabinet with the edge of the
playfield resting on the lockbar mechanism. This position is almost
horizontal, makes drilling easy.
For
drilling, I put the playfield on the cabinet with the edge of the
playfield resting on the lockbar mechanism. This position is almost
horizontal, makes drilling easy. 
OK, time to drill. I used a cordless drill set on high speed. Use something square to get vertical relative to the playfield. , maybe have someone watch to make sure that you stay straight. It is important, but not really critical. Start slow with light pressure to cut the artwork, then head in at a medium speed. The pilot hole that you drilled will guide the bit. It takes a little pressure. I forgot my own advice above and drilled all through.
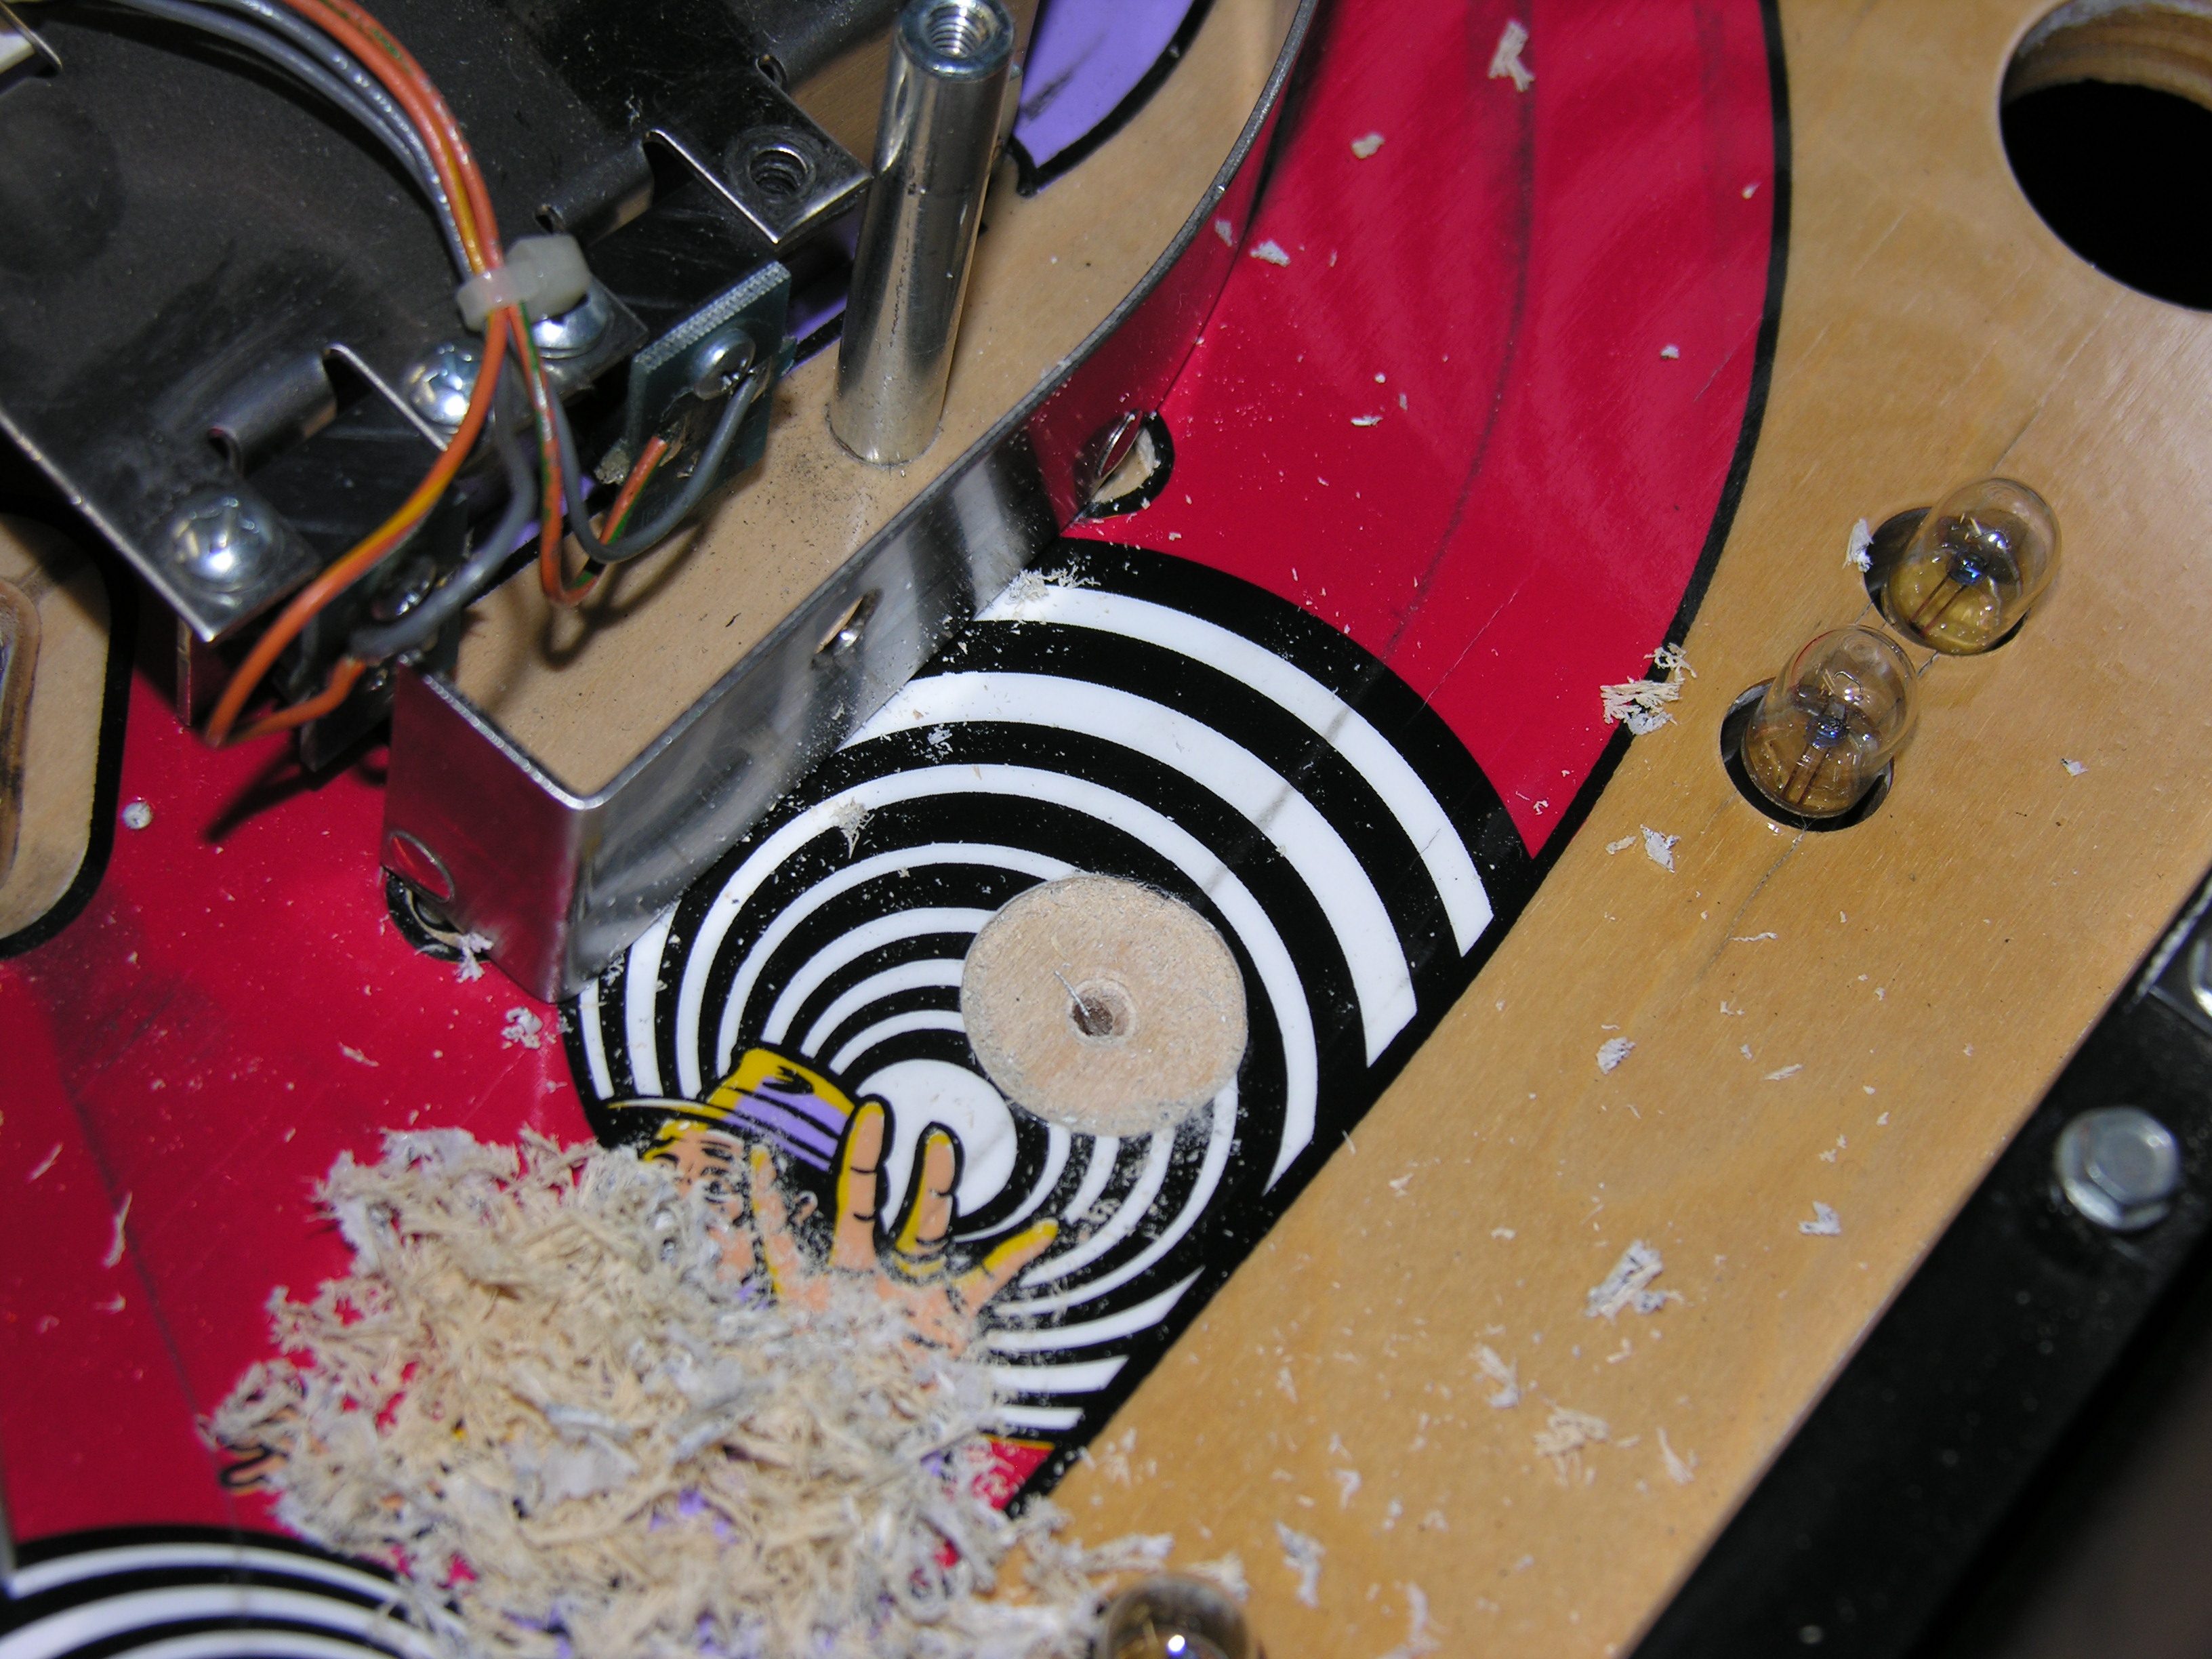 Here's
the first shallow cut. All nice and round, and dead on track.
Here's
the first shallow cut. All nice and round, and dead on track.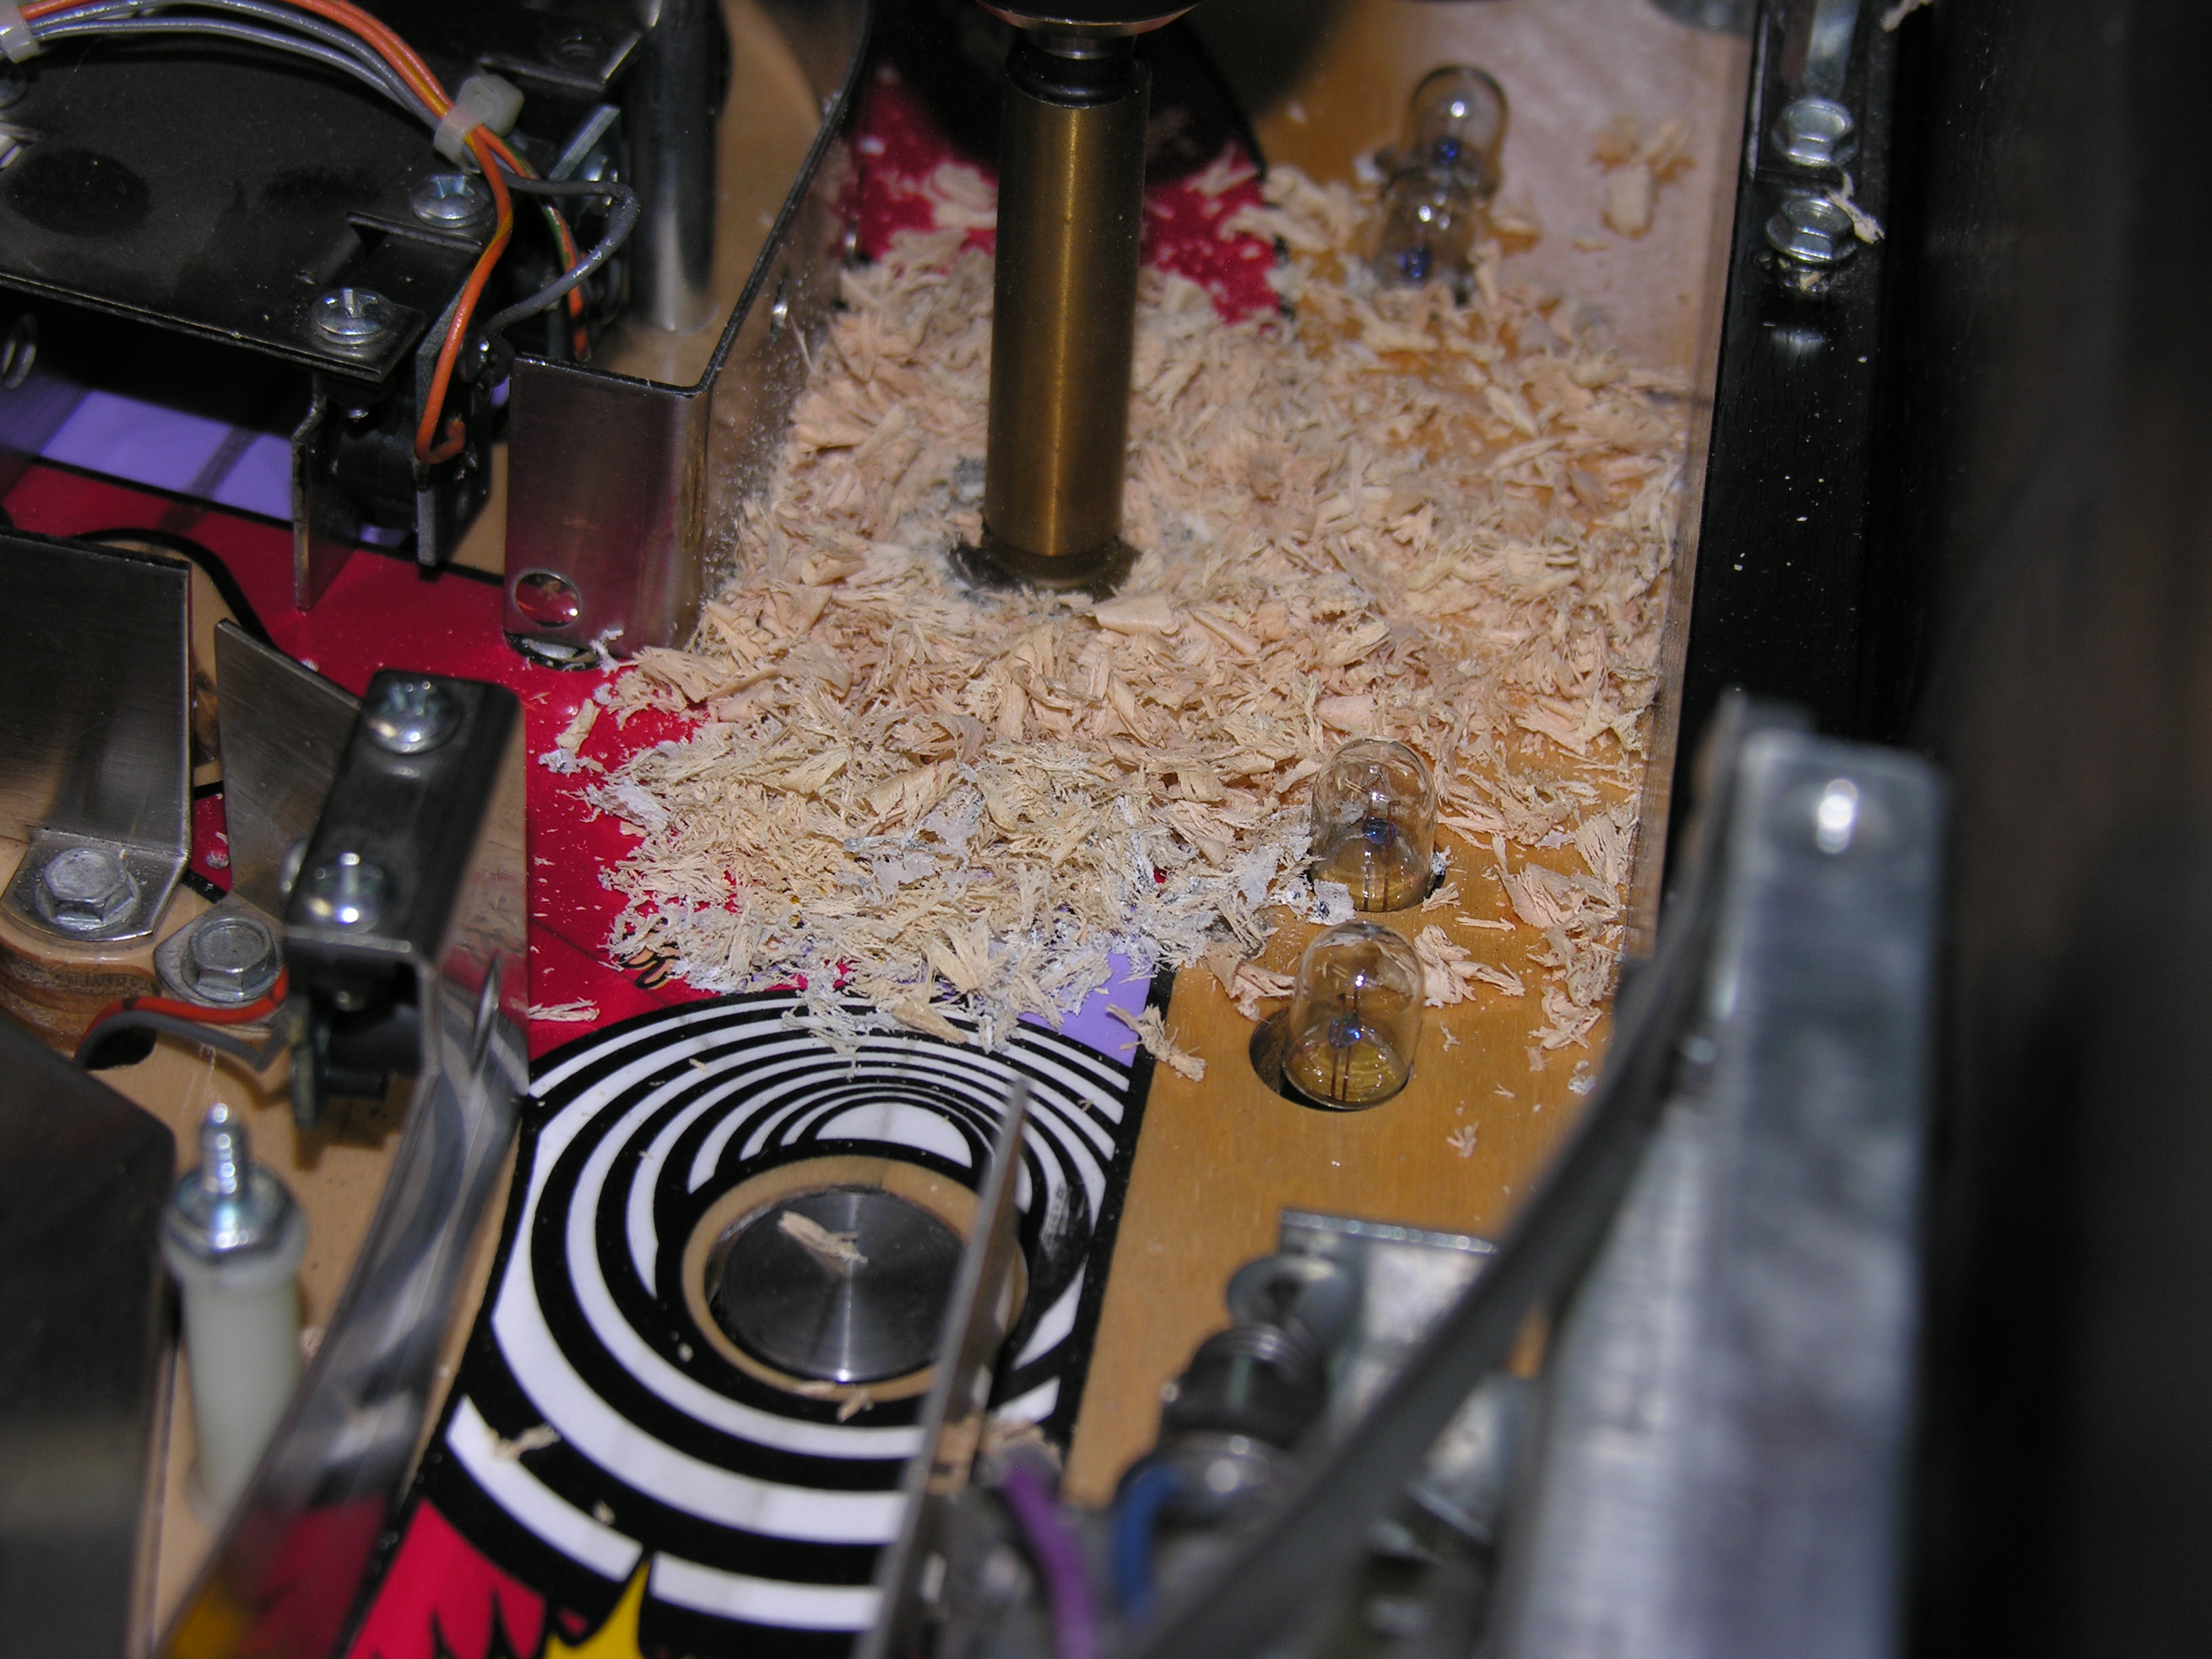 Almost
too far. This would have been a good place to stop, and restart from the
other side.
Almost
too far. This would have been a good place to stop, and restart from the
other side. There
we are, all the way through. I did hear a splintering sound...
There
we are, all the way through. I did hear a splintering sound...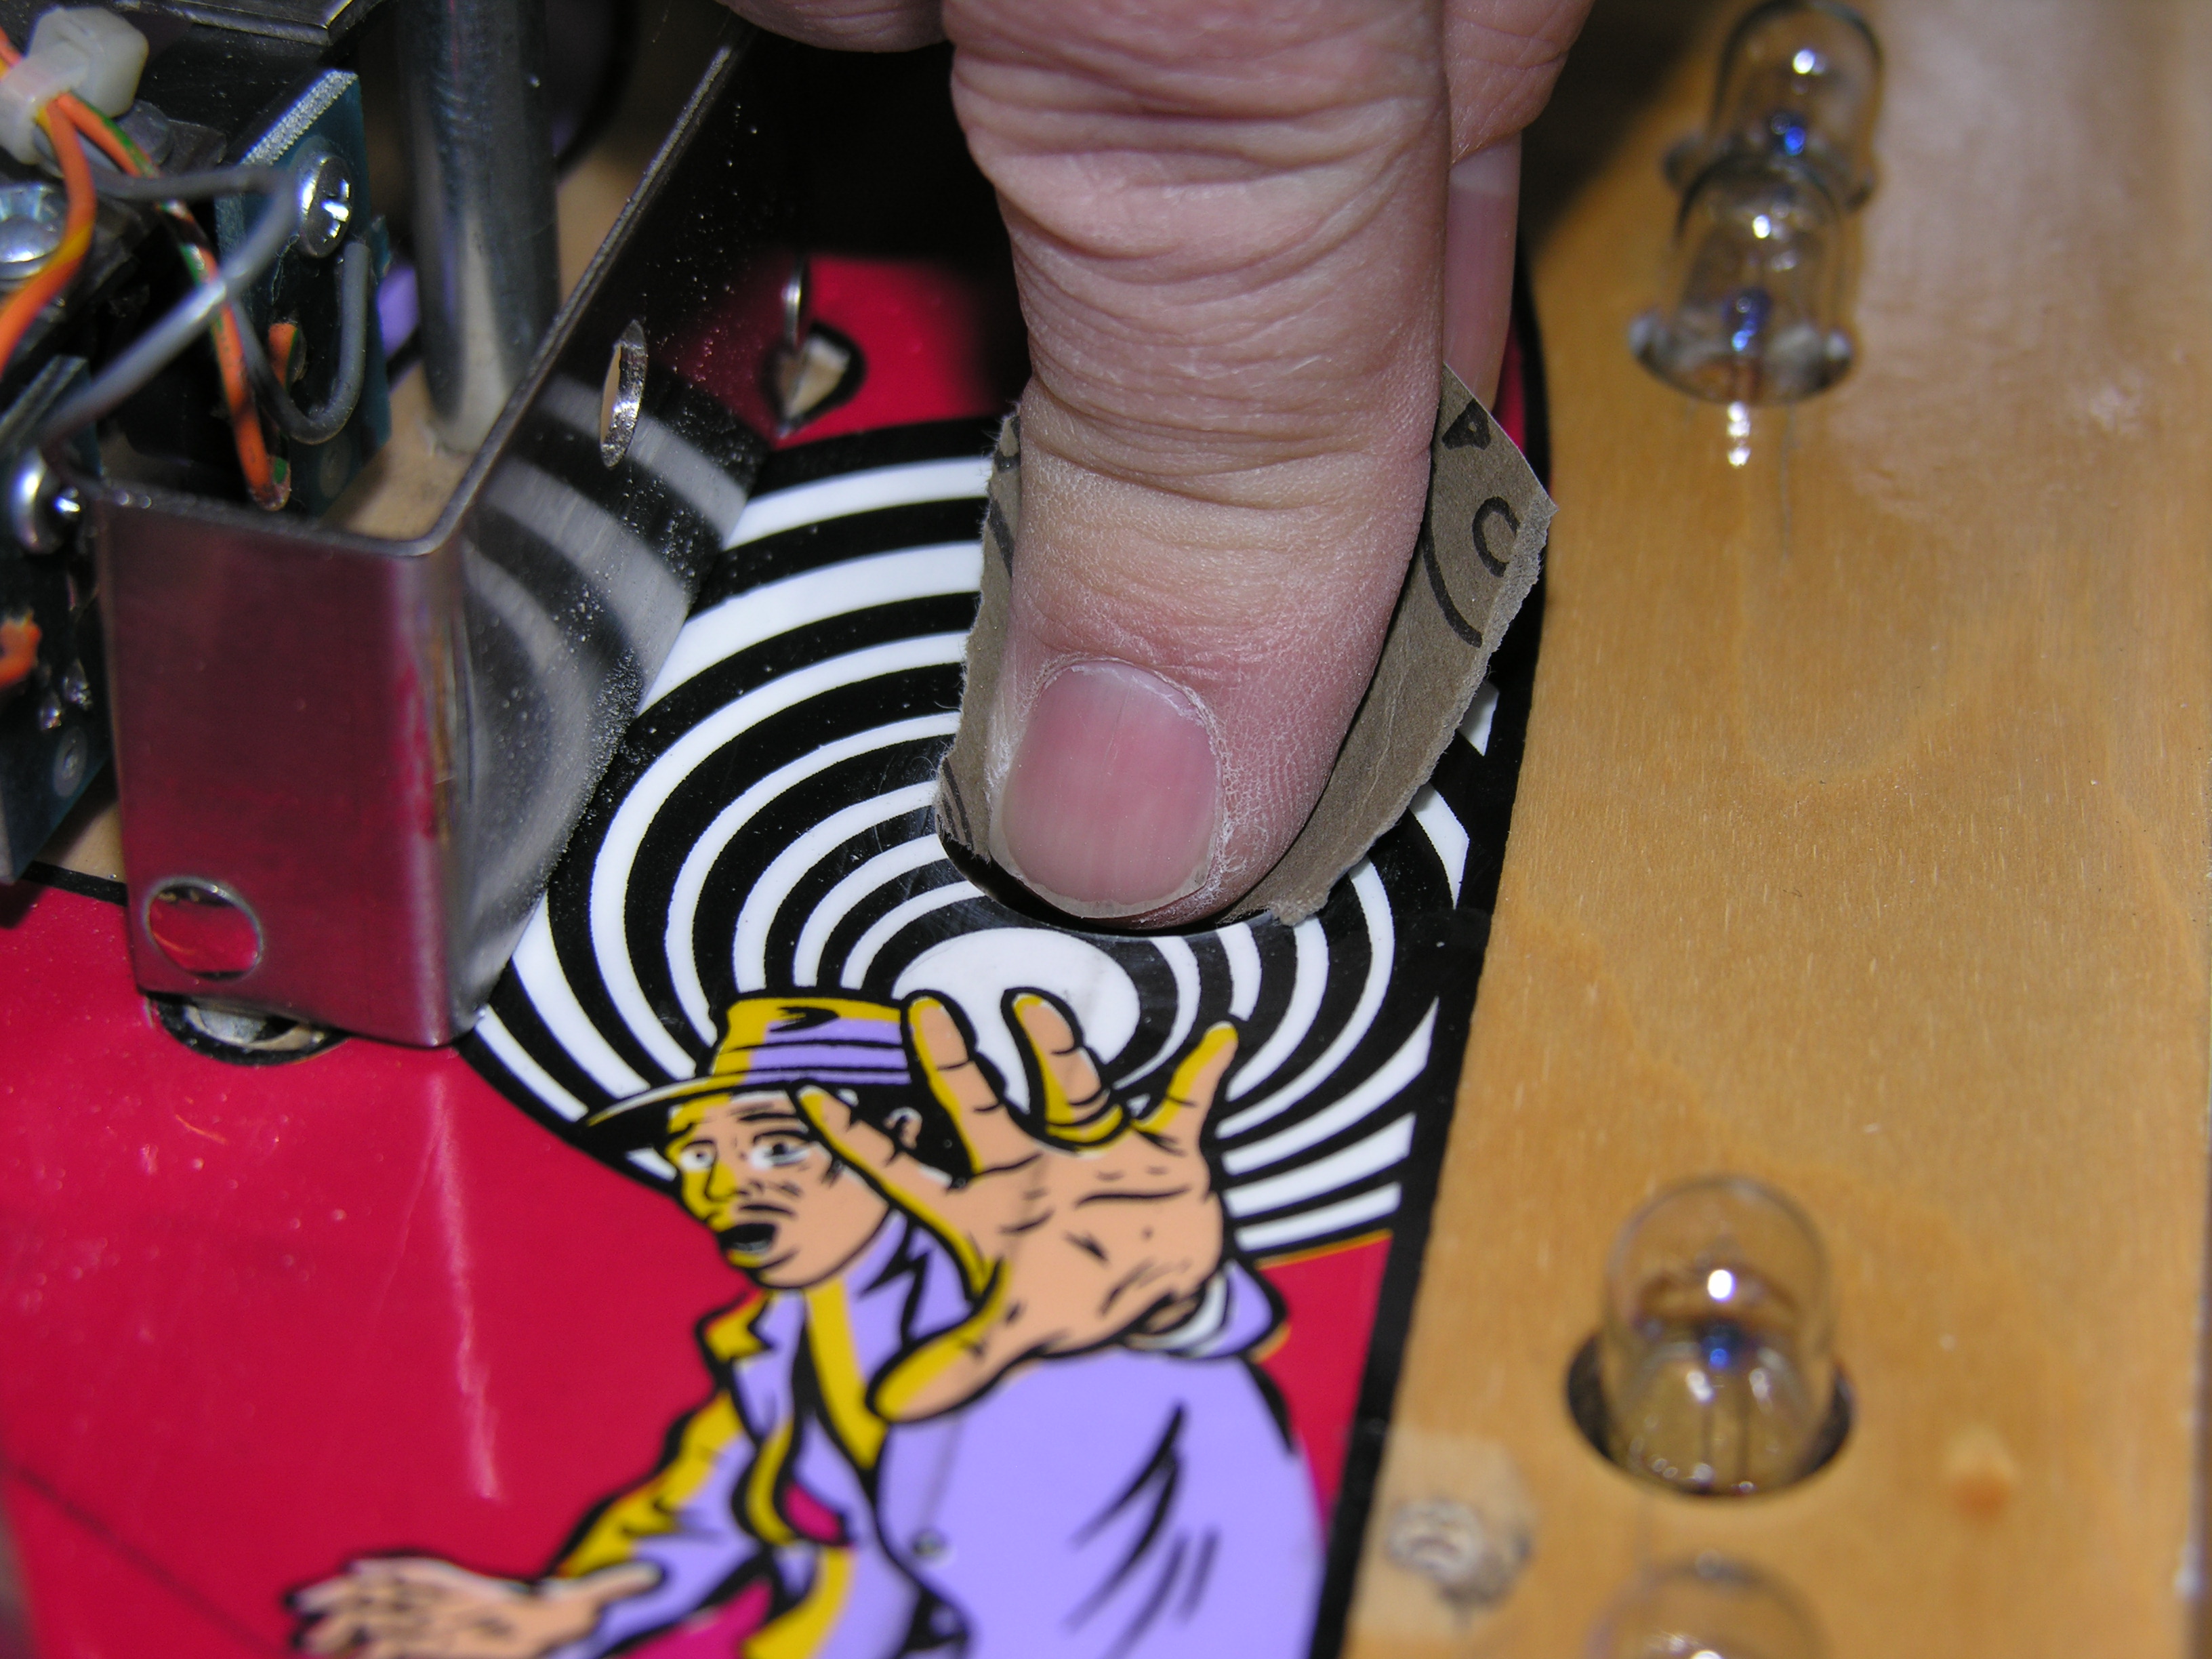 Smooth
the edges a touch with 600 grit wet or dry paper. Don't want to leave a
sharp edge for the artwork to separate.
Smooth
the edges a touch with 600 grit wet or dry paper. Don't want to leave a
sharp edge for the artwork to separate. Finally.
I dripped in some water thin cyanoacrylate. It soaks into the wood, and
will protect it a bit from ball wear.
Finally.
I dripped in some water thin cyanoacrylate. It soaks into the wood, and
will protect it a bit from ball wear. 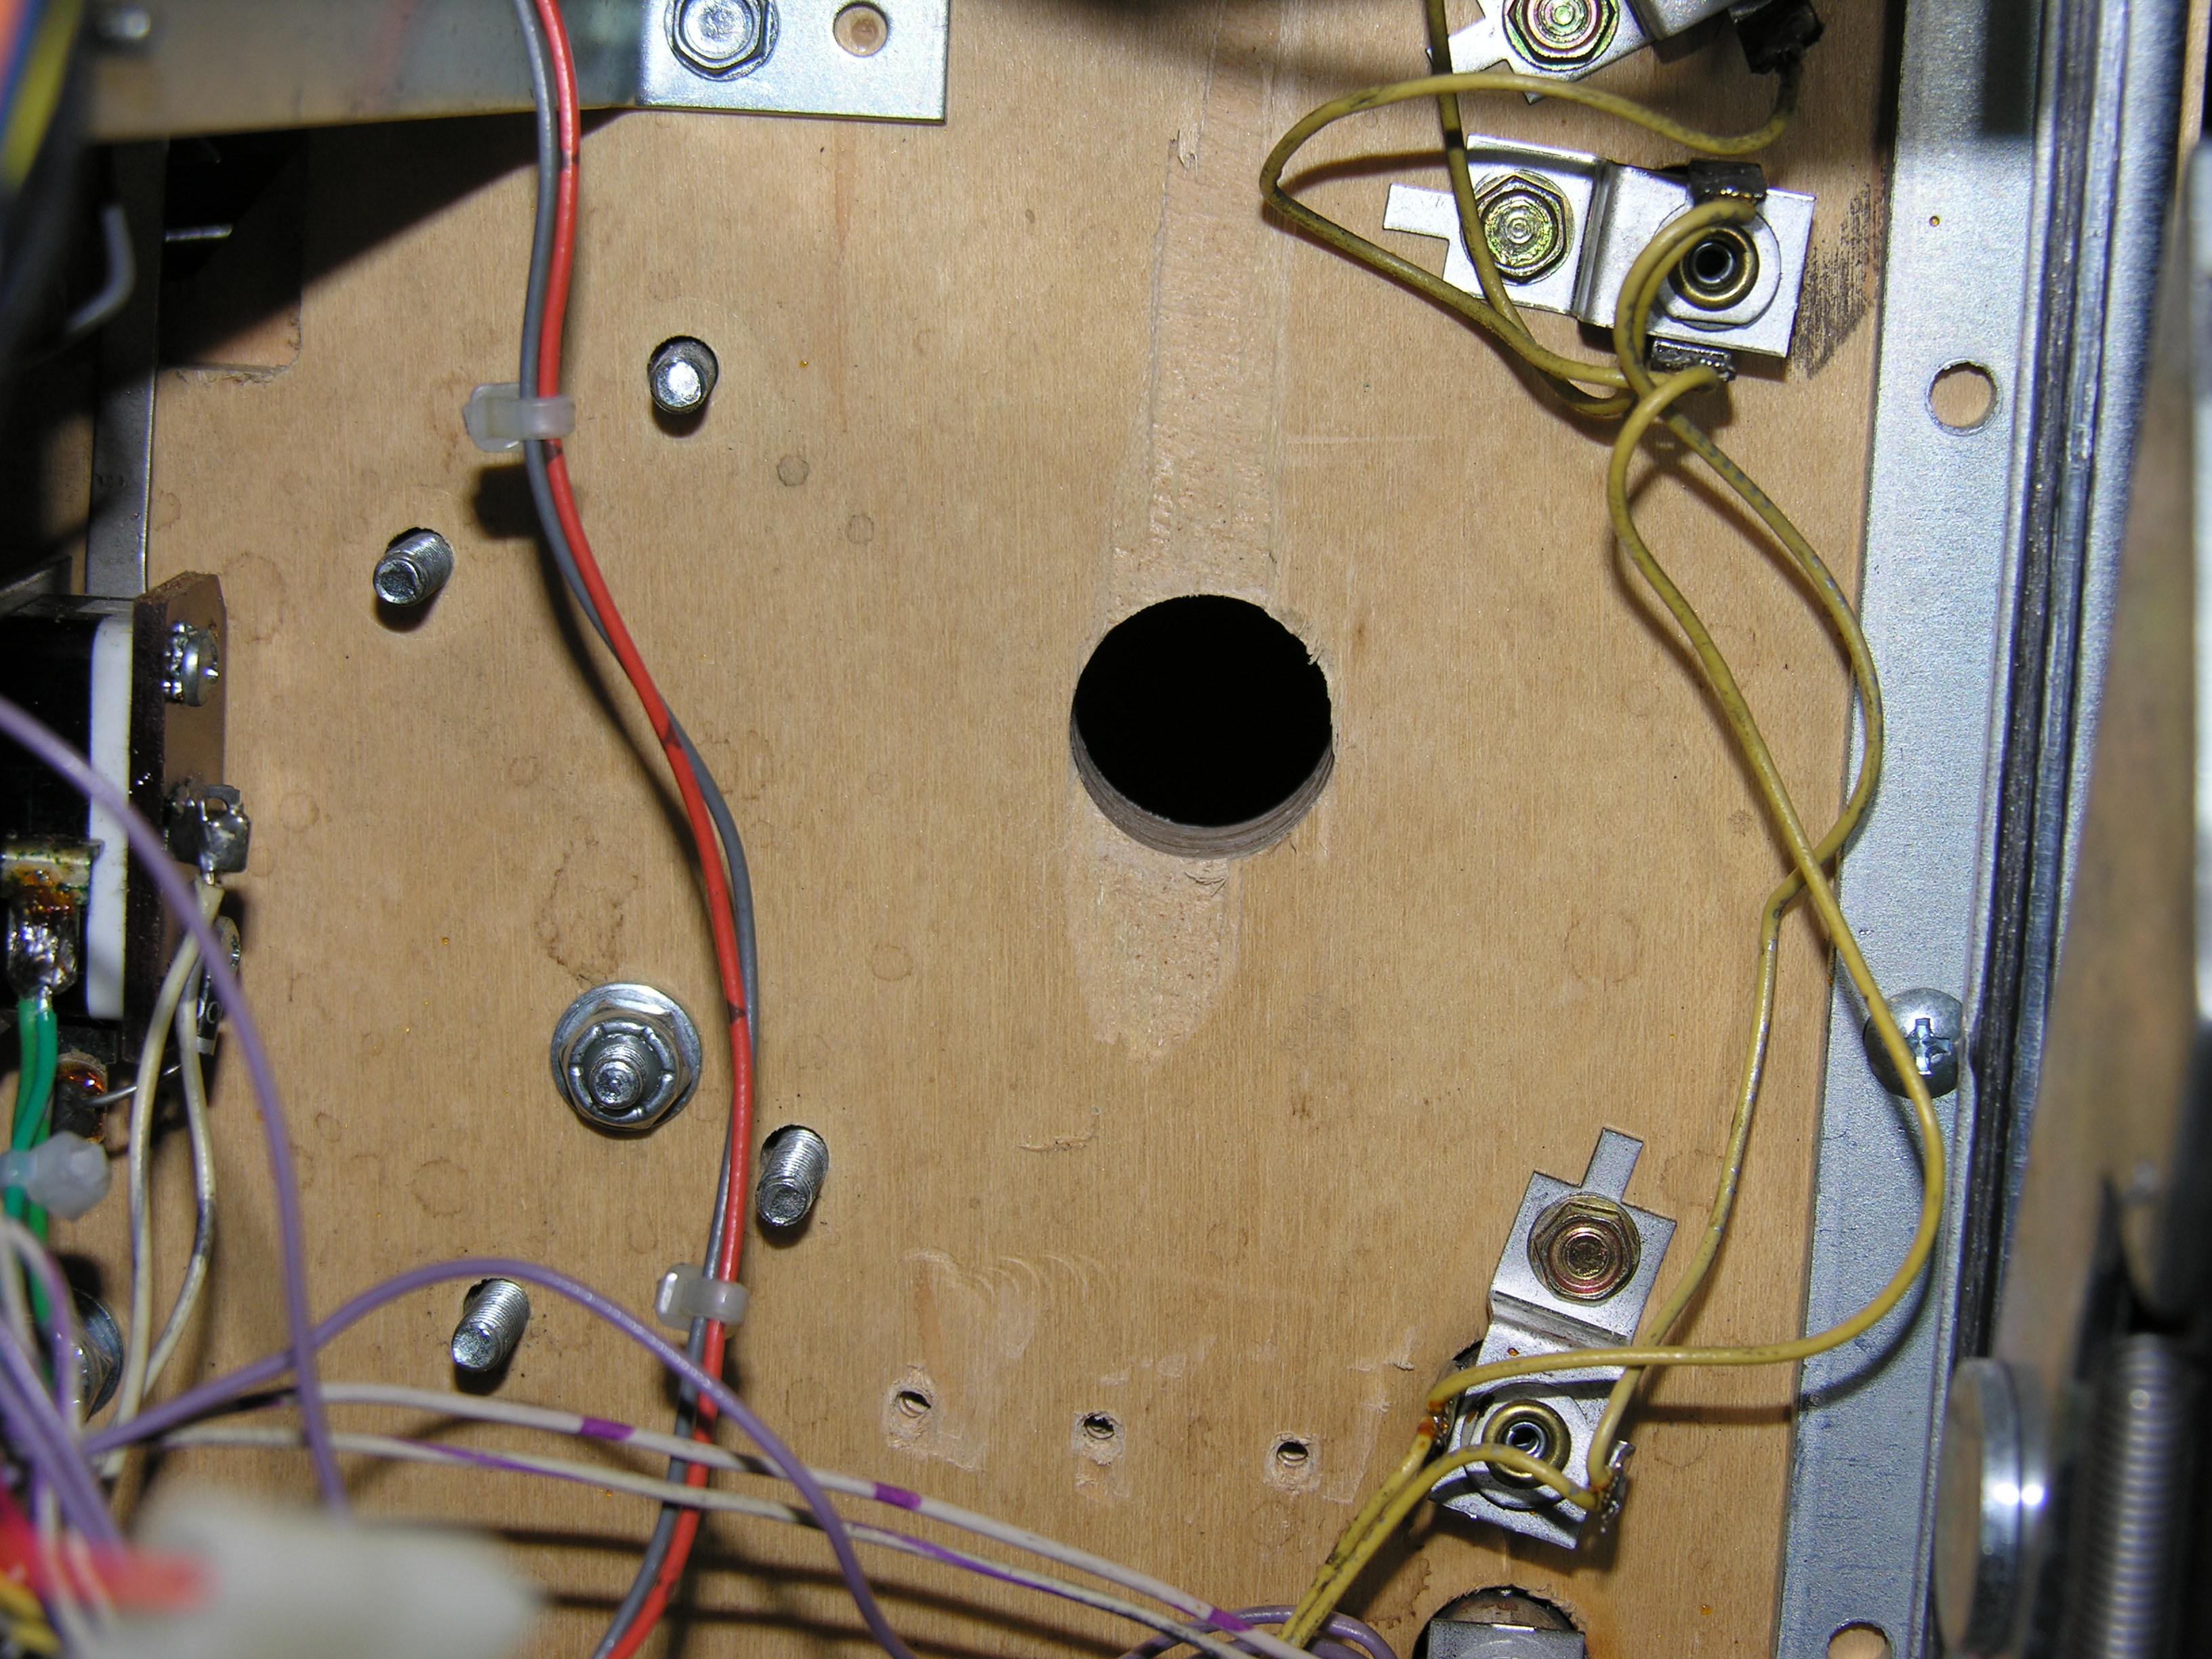 Here's
the rear side after a little cleanup. Note the missing wood. It will be
covered, but I should have repeated my practice run and done a cleaner
job.
Here's
the rear side after a little cleanup. Note the missing wood. It will be
covered, but I should have repeated my practice run and done a cleaner
job. 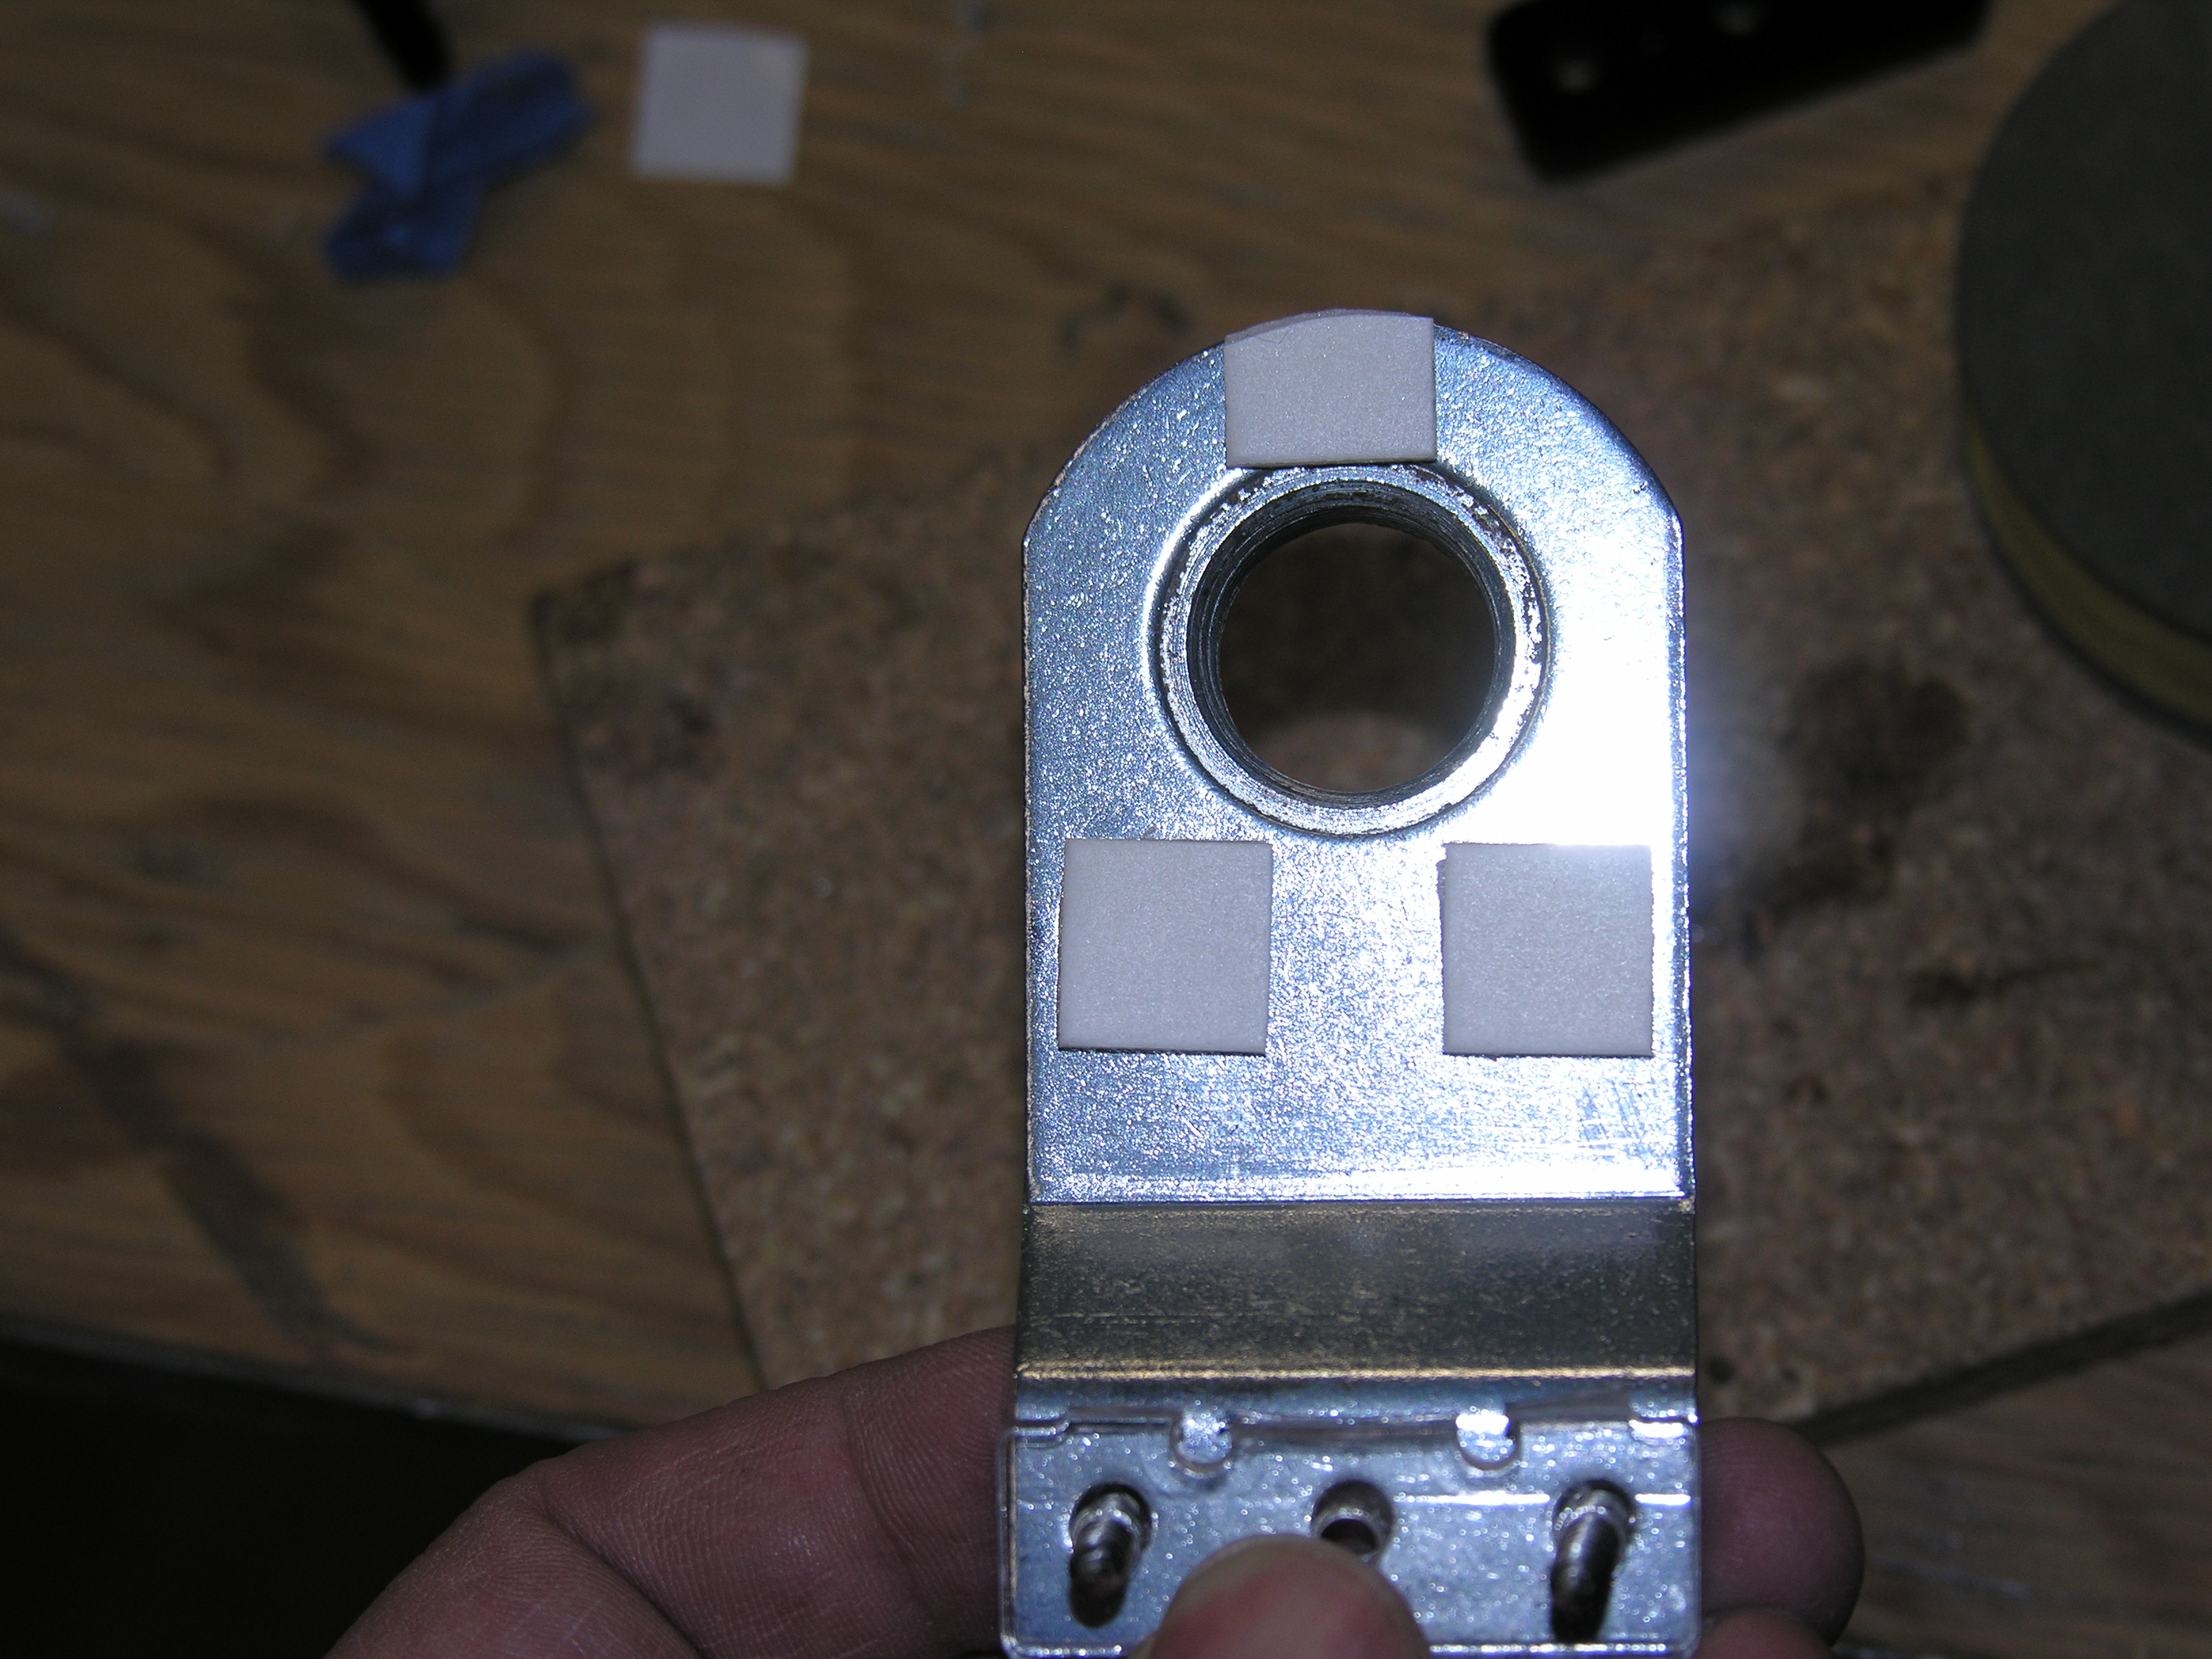 Put
the three sticky pads on the bracket as shown. these keep the coil in
plase. Trim the top one to match the bracket.
Put
the three sticky pads on the bracket as shown. these keep the coil in
plase. Trim the top one to match the bracket.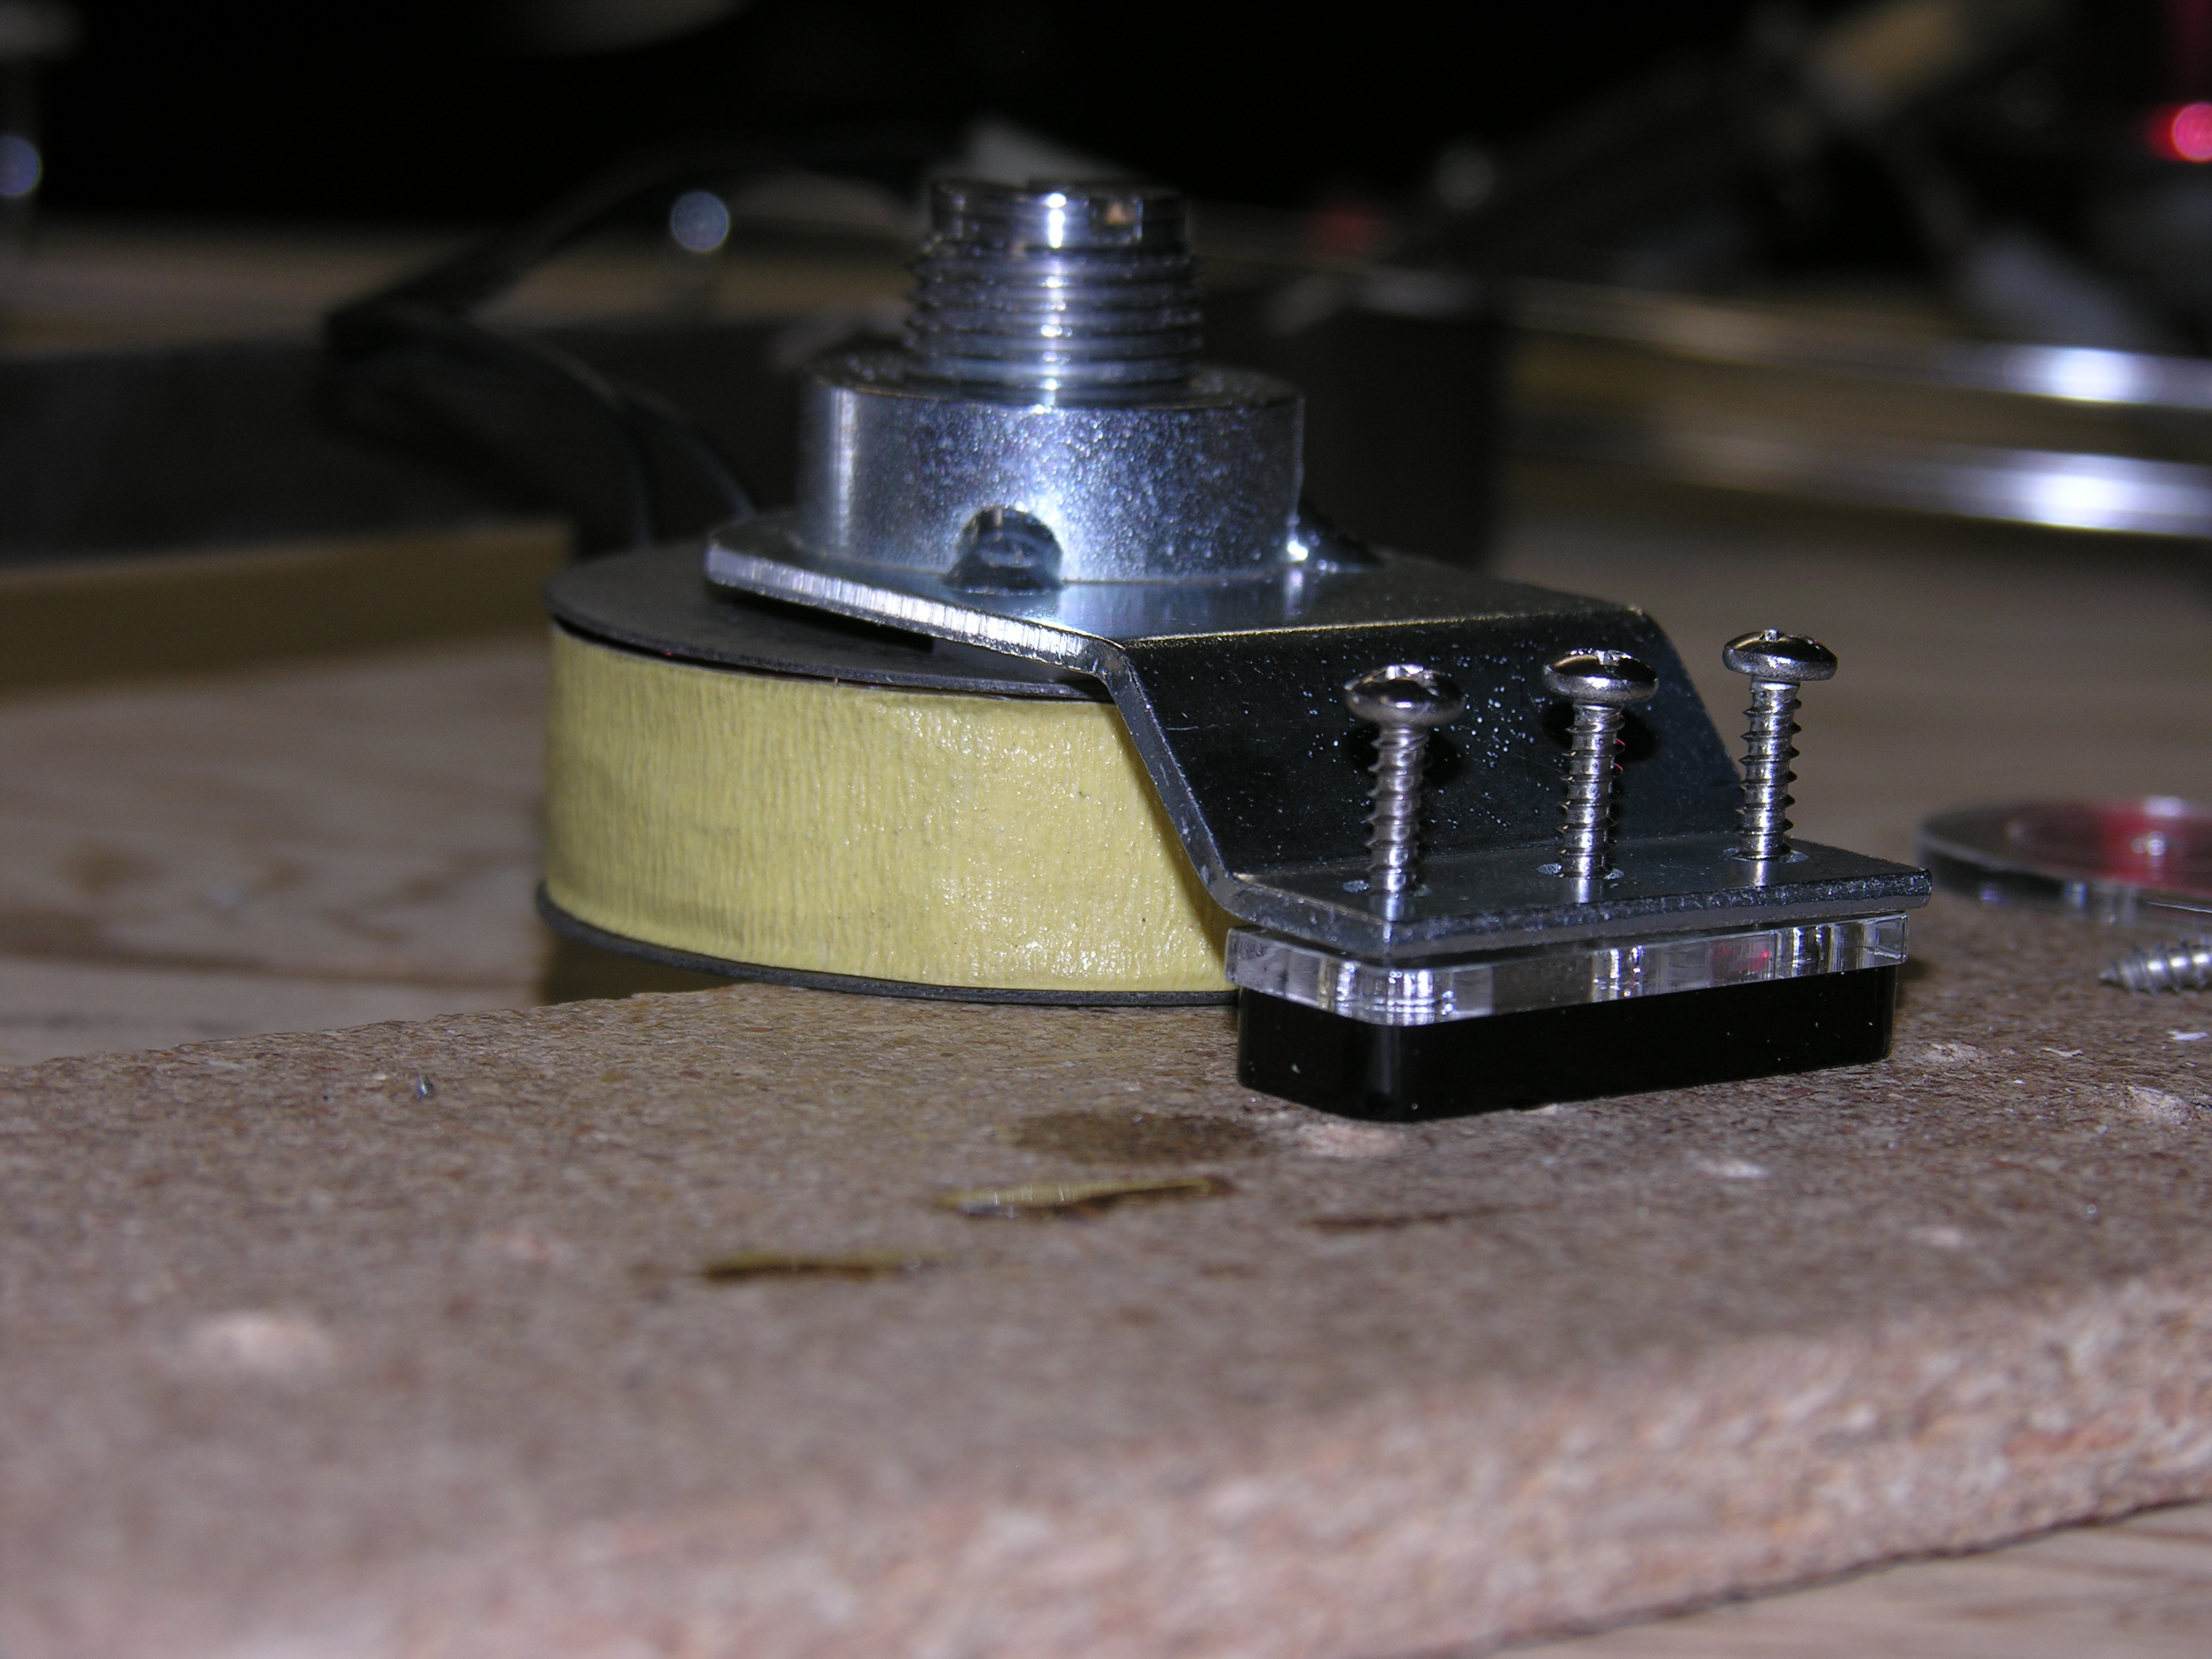 Screw
the core into the bracket, remove the paper from the adhesive tabs and,
with the connecting leads on the bracket side and away from the screws,
put the coil onto the bracket and pole piece. Push it on to engage the
adhesive. Here is the mounting stack: the 1/4" spacer (yours may be
clear) the 1/8" spacer from the end of the template - AFTER you have
drilled the guides - and the 7/8" screws.
Screw
the core into the bracket, remove the paper from the adhesive tabs and,
with the connecting leads on the bracket side and away from the screws,
put the coil onto the bracket and pole piece. Push it on to engage the
adhesive. Here is the mounting stack: the 1/4" spacer (yours may be
clear) the 1/8" spacer from the end of the template - AFTER you have
drilled the guides - and the 7/8" screws. Assemble
the magnet to the playfield. Don't screw the 7/8" screws down too tight.
It should all sit nicely when done. Connect it up.
Assemble
the magnet to the playfield. Don't screw the 7/8" screws down too tight.
It should all sit nicely when done. Connect it up.  Adjust
the pole piece with a screwdriver until the pole piece is just a hair's
breadth above the surface of the playfield. Too low, and the wood will
get beaten up. Too high, and the ball will stick there. Tighten the
locknut when you have it right.
Adjust
the pole piece with a screwdriver until the pole piece is just a hair's
breadth above the surface of the playfield. Too low, and the wood will
get beaten up. Too high, and the ball will stick there. Tighten the
locknut when you have it right.
That's the scary part completed.