Fixing the BBB Tube Dancer Base
We had a request for help on a broken BBB tube dancer. It seems that the
original adhesive bond between the tube and the diamond-shaped base was
inadequate, and had cracked in shipment. The base has a thin border, and depends
on a complete bond with the tube for strength, so it broke into several pieces.
We made replacement plates, and I tested them with a piece of store-bought 2"
tube. You could replace the entire tube if you drilled the back; we can make
replacement caps. Ambroid is capable of creating optically clear joints. I
messed mine up by twisting too soon, which left me with bubbles in the joint.
Don't forget to line up the locking pin! And make sure that the plate is
on the right way around (I think that mine is incorrect).
My tube also had a bunch of saw chips in it. Some sanding and smoothing, and
maybe even a quick flame polish, could help with that.
By the way, I believe that the Ambroid joint will be significantly stronger
than a Superglue or epoxy joint.
 Here's
the Tube Dancer with the dress kit on. You can see the two base plates.
The upper plate is bonded to the ring; there is a 1.75" hole so that the
tube Dancer can be removed, Here's
the Tube Dancer with the dress kit on. You can see the two base plates.
The upper plate is bonded to the ring; there is a 1.75" hole so that the
tube Dancer can be removed, |
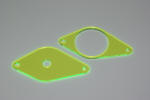 Here
are the replacement plates that we made. We cut them both to guarantee
that the shapes match exactly. Here
are the replacement plates that we made. We cut them both to guarantee
that the shapes match exactly. |
 First,
the tube end must be cut flat. The Ambroid runs into the joint through
capillary action and it requires a good fit. Ambroid doesn't mark up the
plastic too badly, but be careful with it. Plastic superglue is messier. First,
the tube end must be cut flat. The Ambroid runs into the joint through
capillary action and it requires a good fit. Ambroid doesn't mark up the
plastic too badly, but be careful with it. Plastic superglue is messier. |
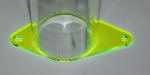
Next, hold the tube and base together with a couple of
pieces of masking tape. Put two touches of Ambroid in the gap between
the ring and tube to hold it in place. Stand it up with a weight on top
and let it sit for about 10 minutes. There's the opportunity for a
little movement to get everything perfect, the Ambroid takes a few
seconds to soften the material. |
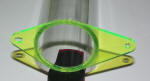 Now,
run the Ambroid brush around the inside of the ring. You should see the
Ambroid wick into the gap. If it only goes partway through, repeat from
the outside. Let it set overnight, again with the weight on top. If
there are any gaps left, you can fill them with a plastic superglue. Now,
run the Ambroid brush around the inside of the ring. You should see the
Ambroid wick into the gap. If it only goes partway through, repeat from
the outside. Let it set overnight, again with the weight on top. If
there are any gaps left, you can fill them with a plastic superglue.
|
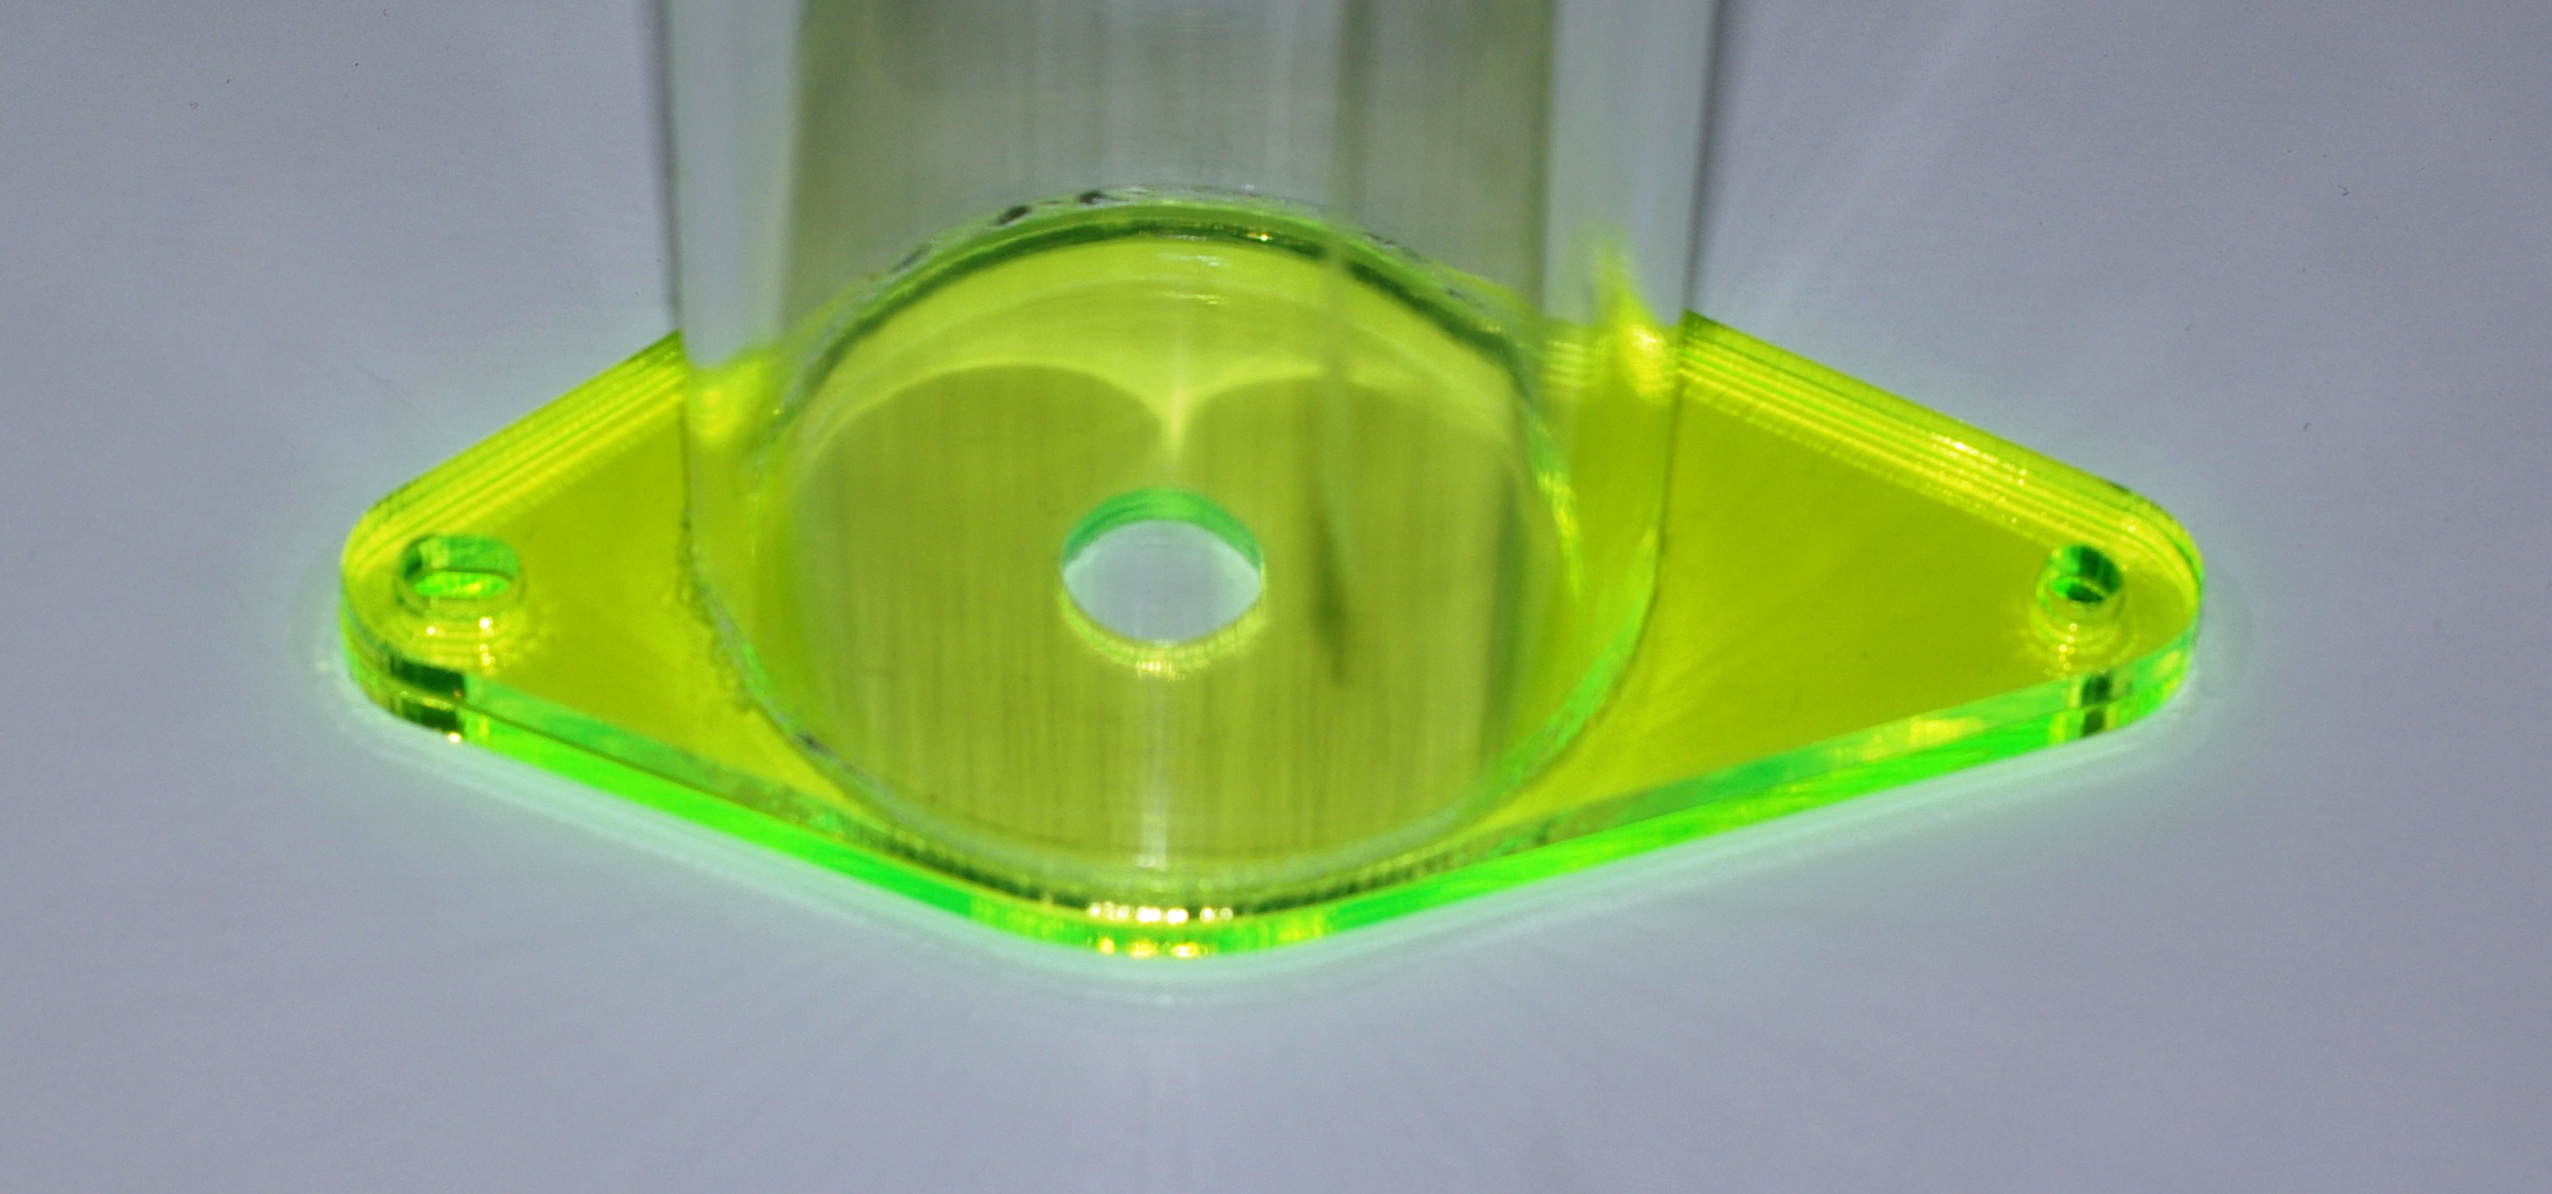
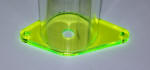 here's
the final assembly sitting on the base. I am pretty sure that I made
this backwards! here's
the final assembly sitting on the base. I am pretty sure that I made
this backwards! |
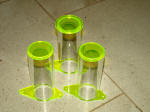 A
few proto tubes. We are having trouble with the attach between the top
disks. Bubbles and smears. A
few proto tubes. We are having trouble with the attach between the top
disks. Bubbles and smears.
|
|
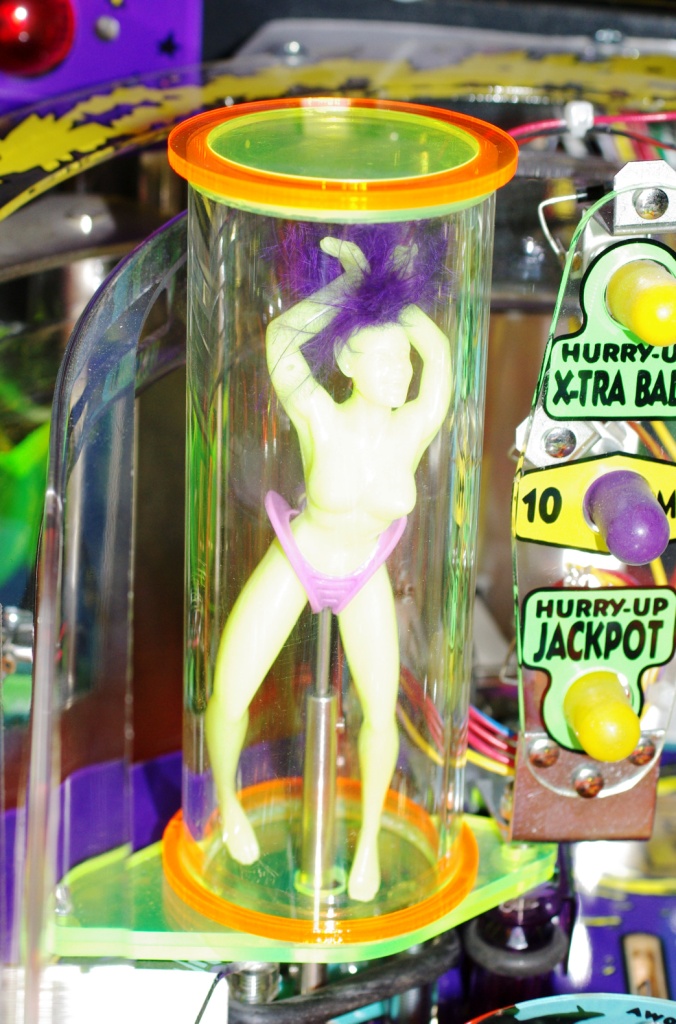 Here's
the Tube Dancer with the dress kit on. You can see the two base plates.
The upper plate is bonded to the ring; there is a 1.75" hole so that the
tube Dancer can be removed,
Here's
the Tube Dancer with the dress kit on. You can see the two base plates.
The upper plate is bonded to the ring; there is a 1.75" hole so that the
tube Dancer can be removed,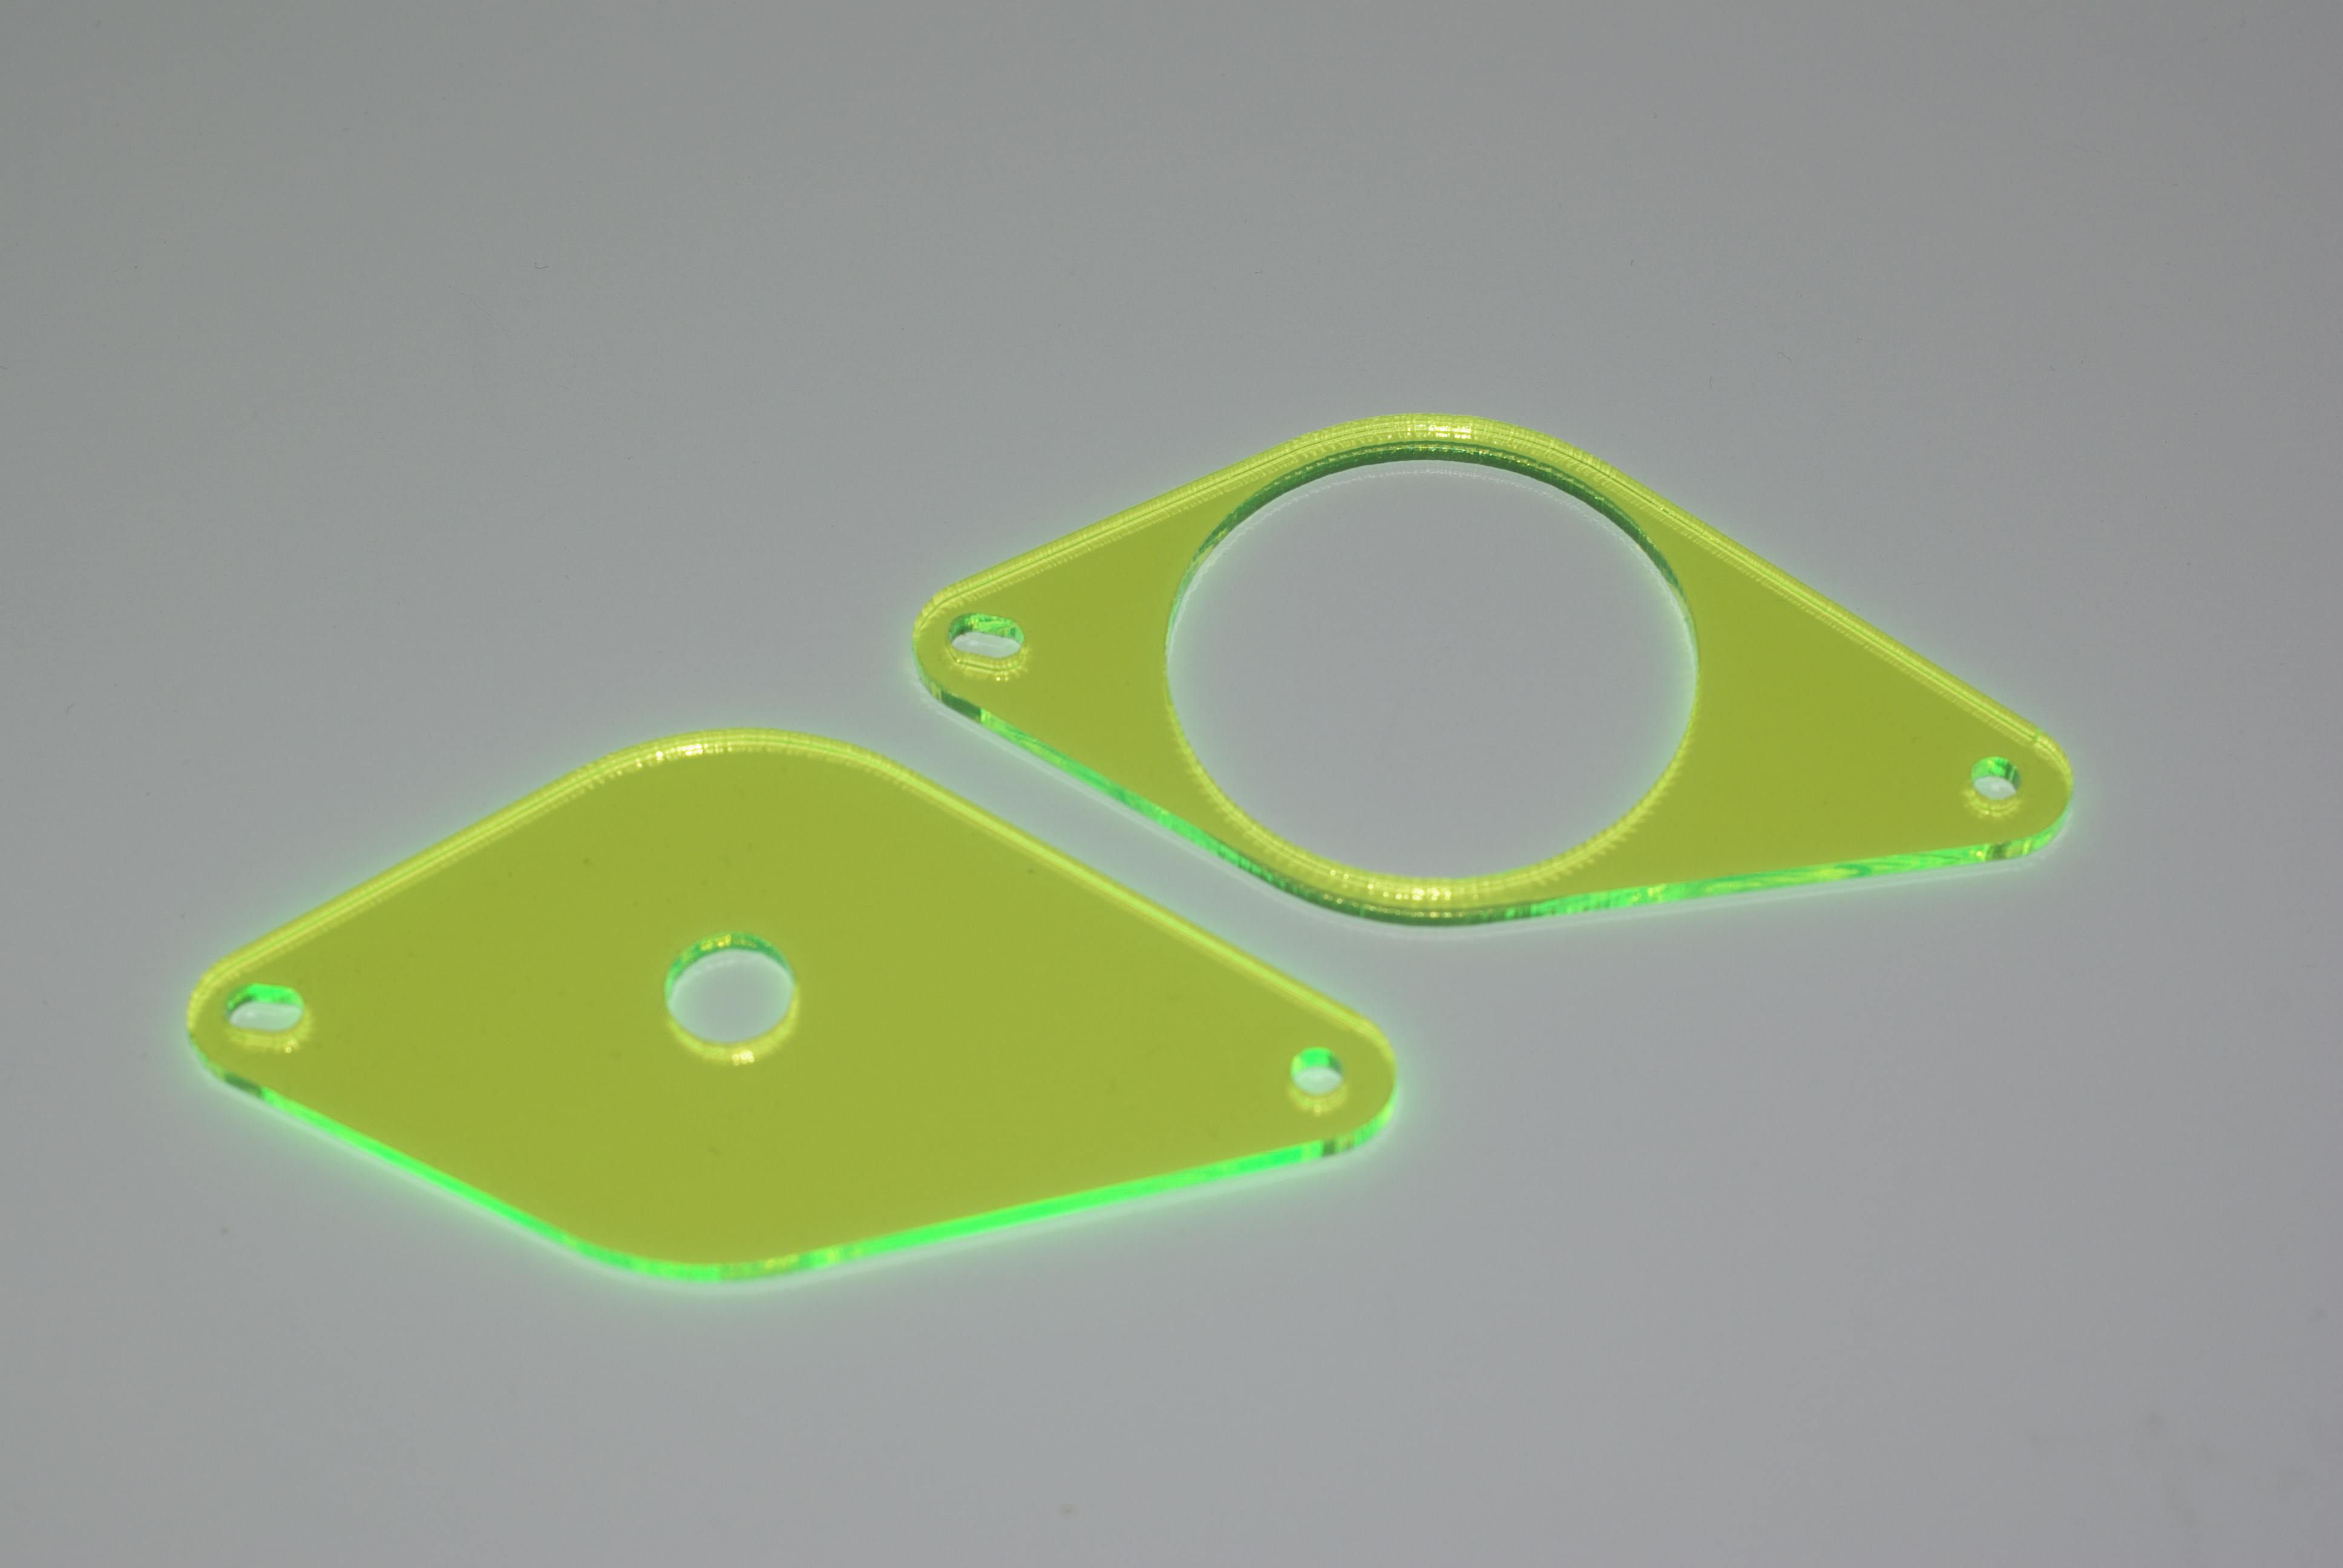 Here
are the replacement plates that we made. We cut them both to guarantee
that the shapes match exactly.
Here
are the replacement plates that we made. We cut them both to guarantee
that the shapes match exactly. First,
the tube end must be cut flat. The Ambroid runs into the joint through
capillary action and it requires a good fit. Ambroid doesn't mark up the
plastic too badly, but be careful with it. Plastic superglue is messier.
First,
the tube end must be cut flat. The Ambroid runs into the joint through
capillary action and it requires a good fit. Ambroid doesn't mark up the
plastic too badly, but be careful with it. Plastic superglue is messier.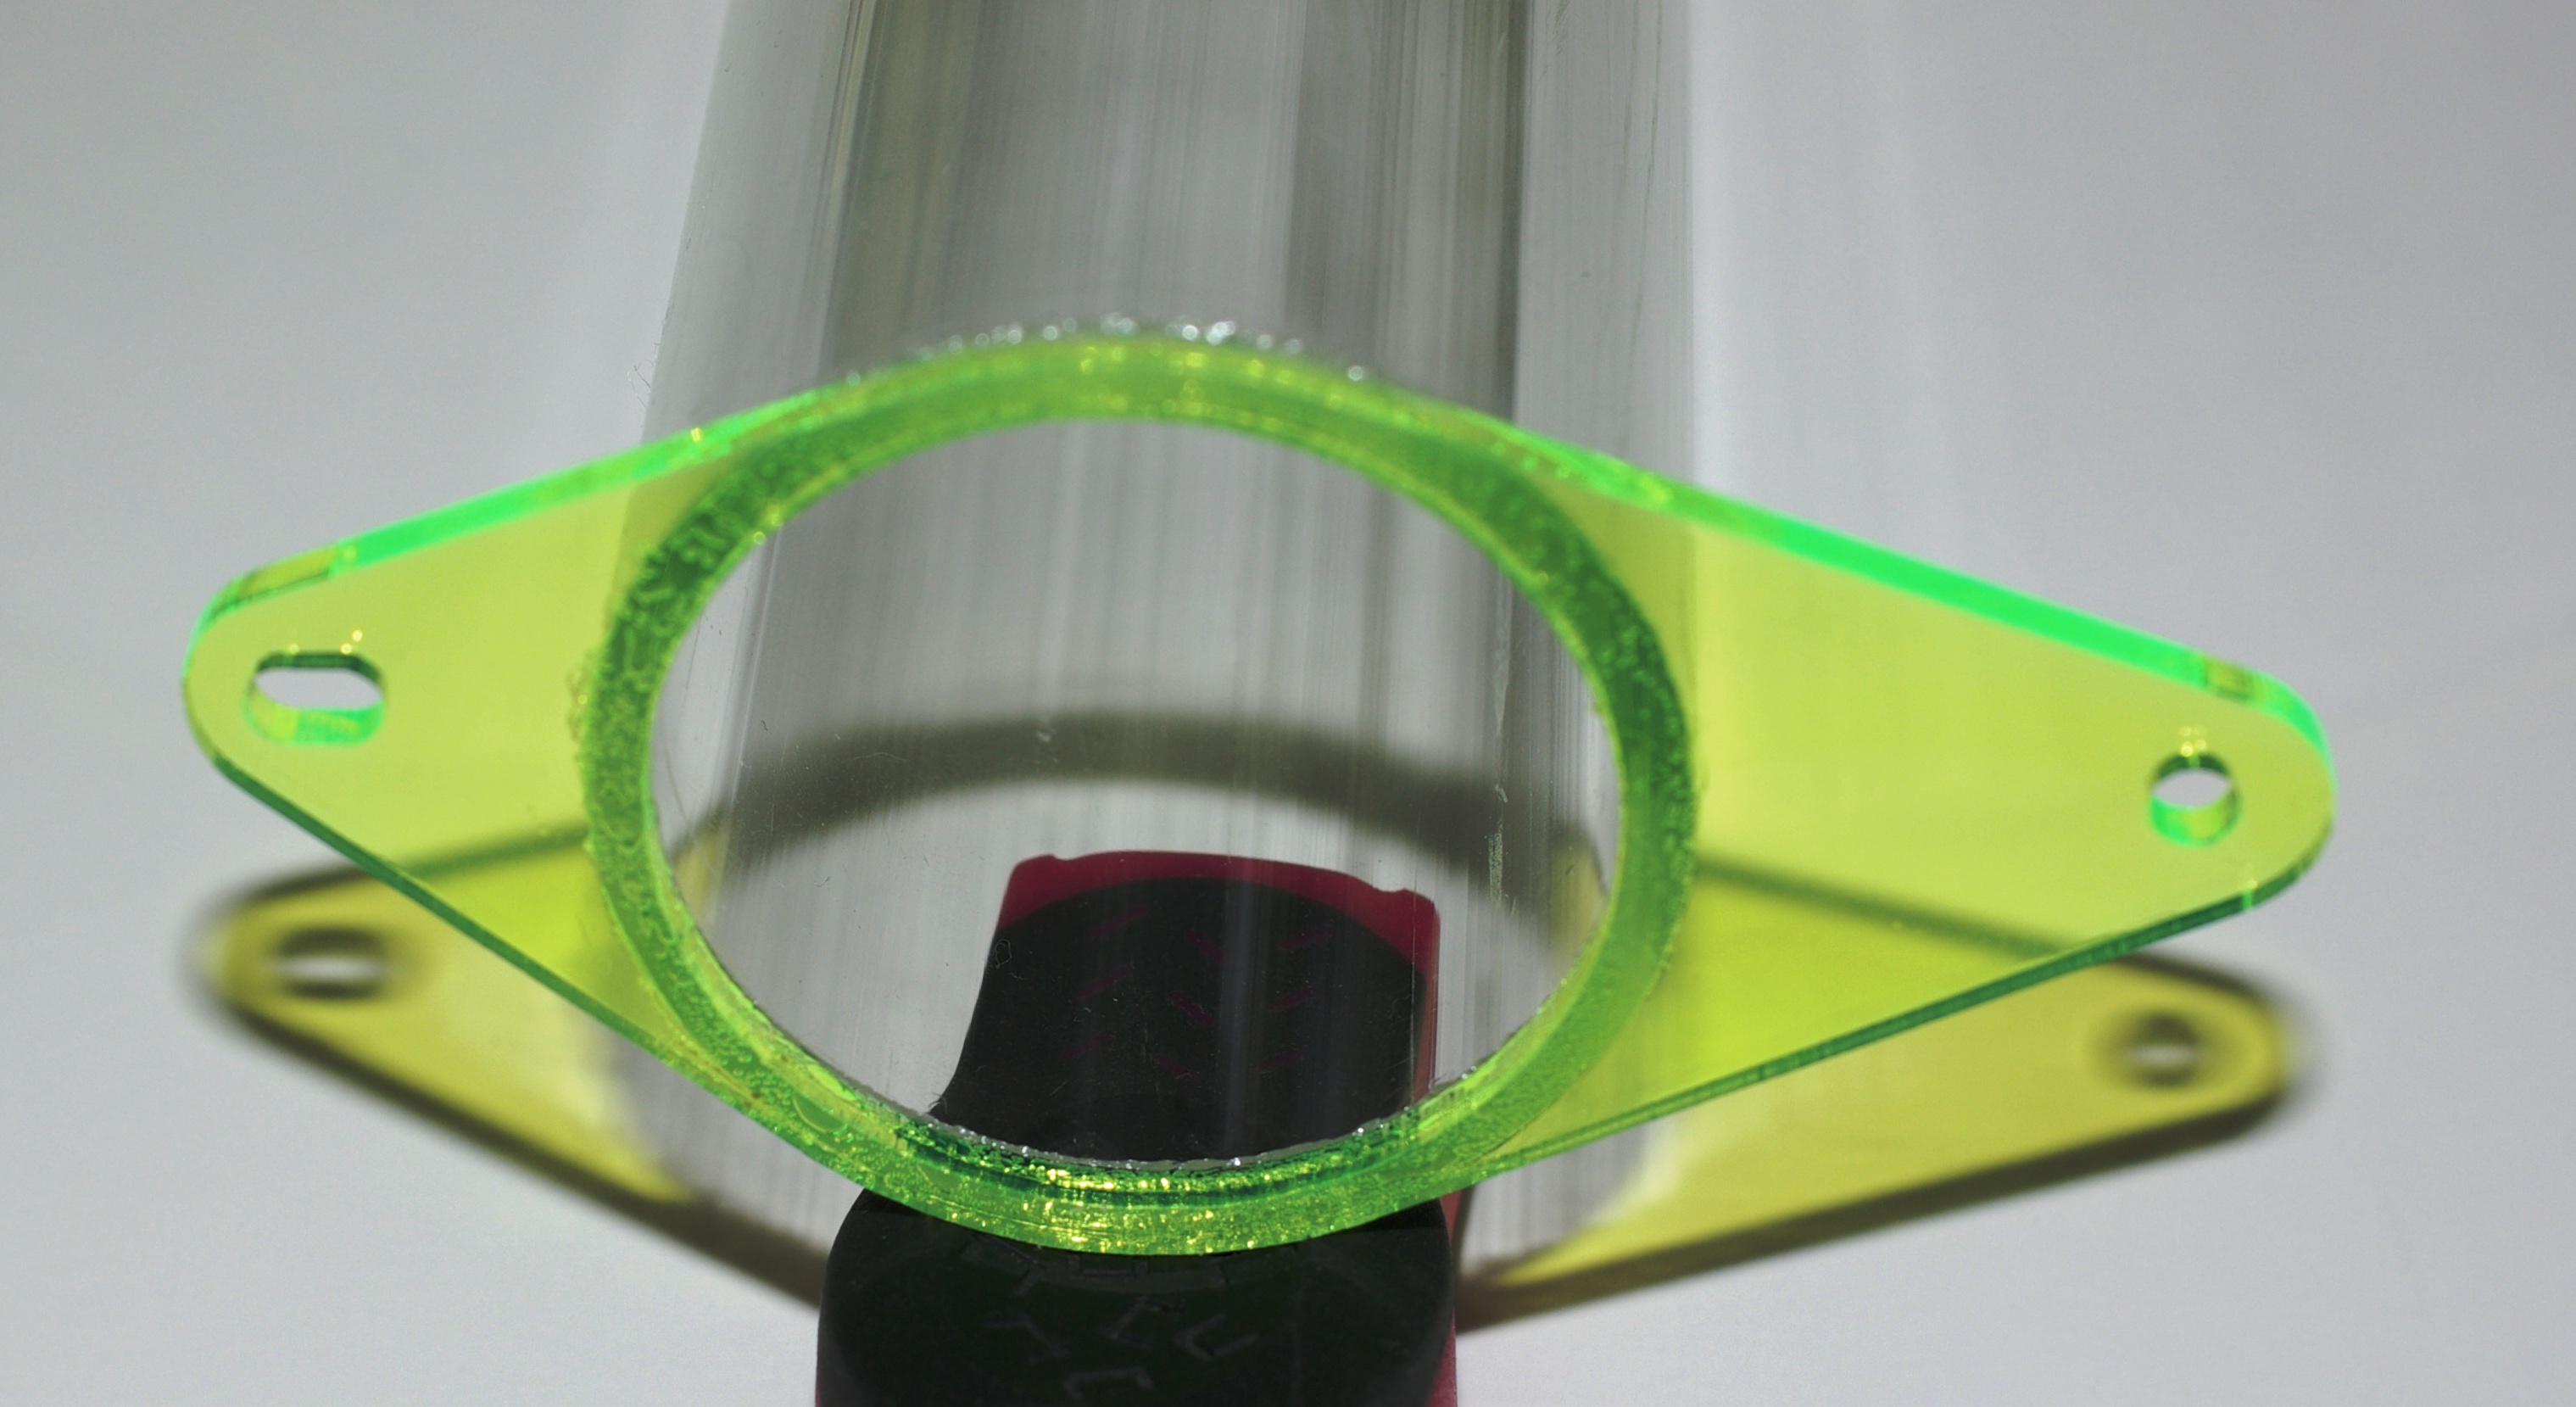 Now,
run the Ambroid brush around the inside of the ring. You should see the
Ambroid wick into the gap. If it only goes partway through, repeat from
the outside. Let it set overnight, again with the weight on top. If
there are any gaps left, you can fill them with a plastic superglue.
Now,
run the Ambroid brush around the inside of the ring. You should see the
Ambroid wick into the gap. If it only goes partway through, repeat from
the outside. Let it set overnight, again with the weight on top. If
there are any gaps left, you can fill them with a plastic superglue.
 here's
the final assembly sitting on the base. I am pretty sure that I made
this backwards!
here's
the final assembly sitting on the base. I am pretty sure that I made
this backwards!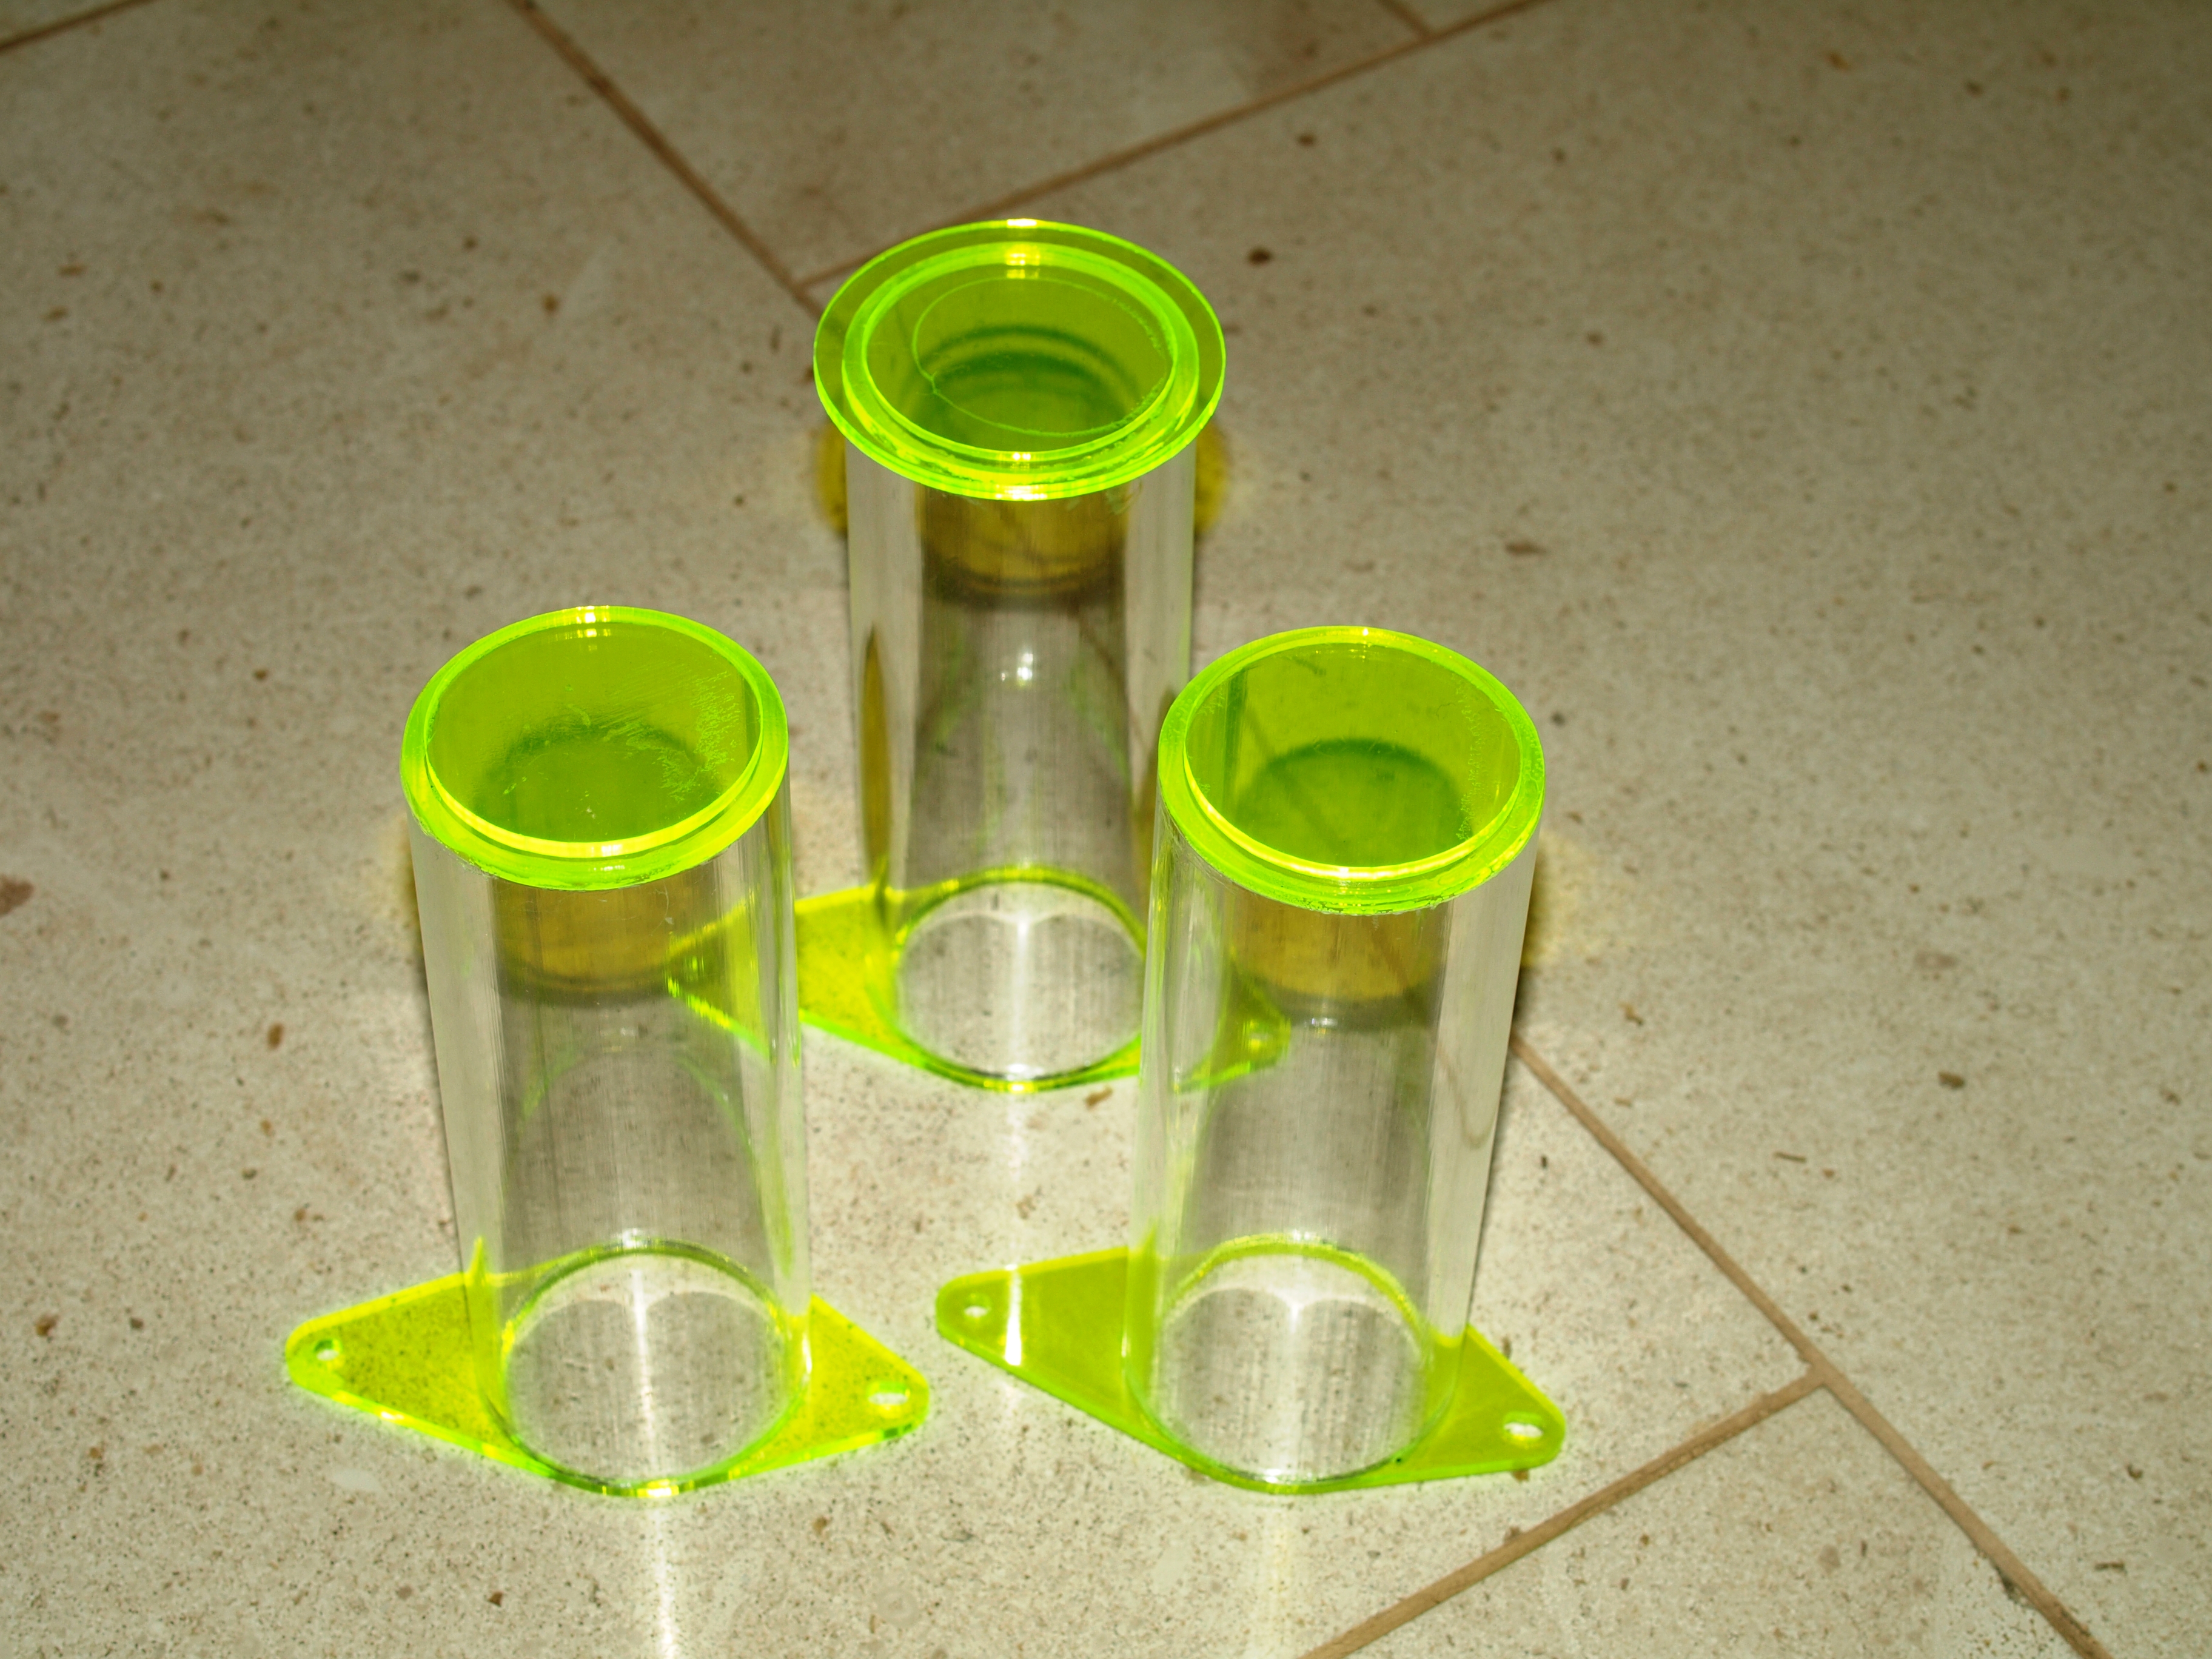 A
few proto tubes. We are having trouble with the attach between the top
disks. Bubbles and smears.
A
few proto tubes. We are having trouble with the attach between the top
disks. Bubbles and smears.