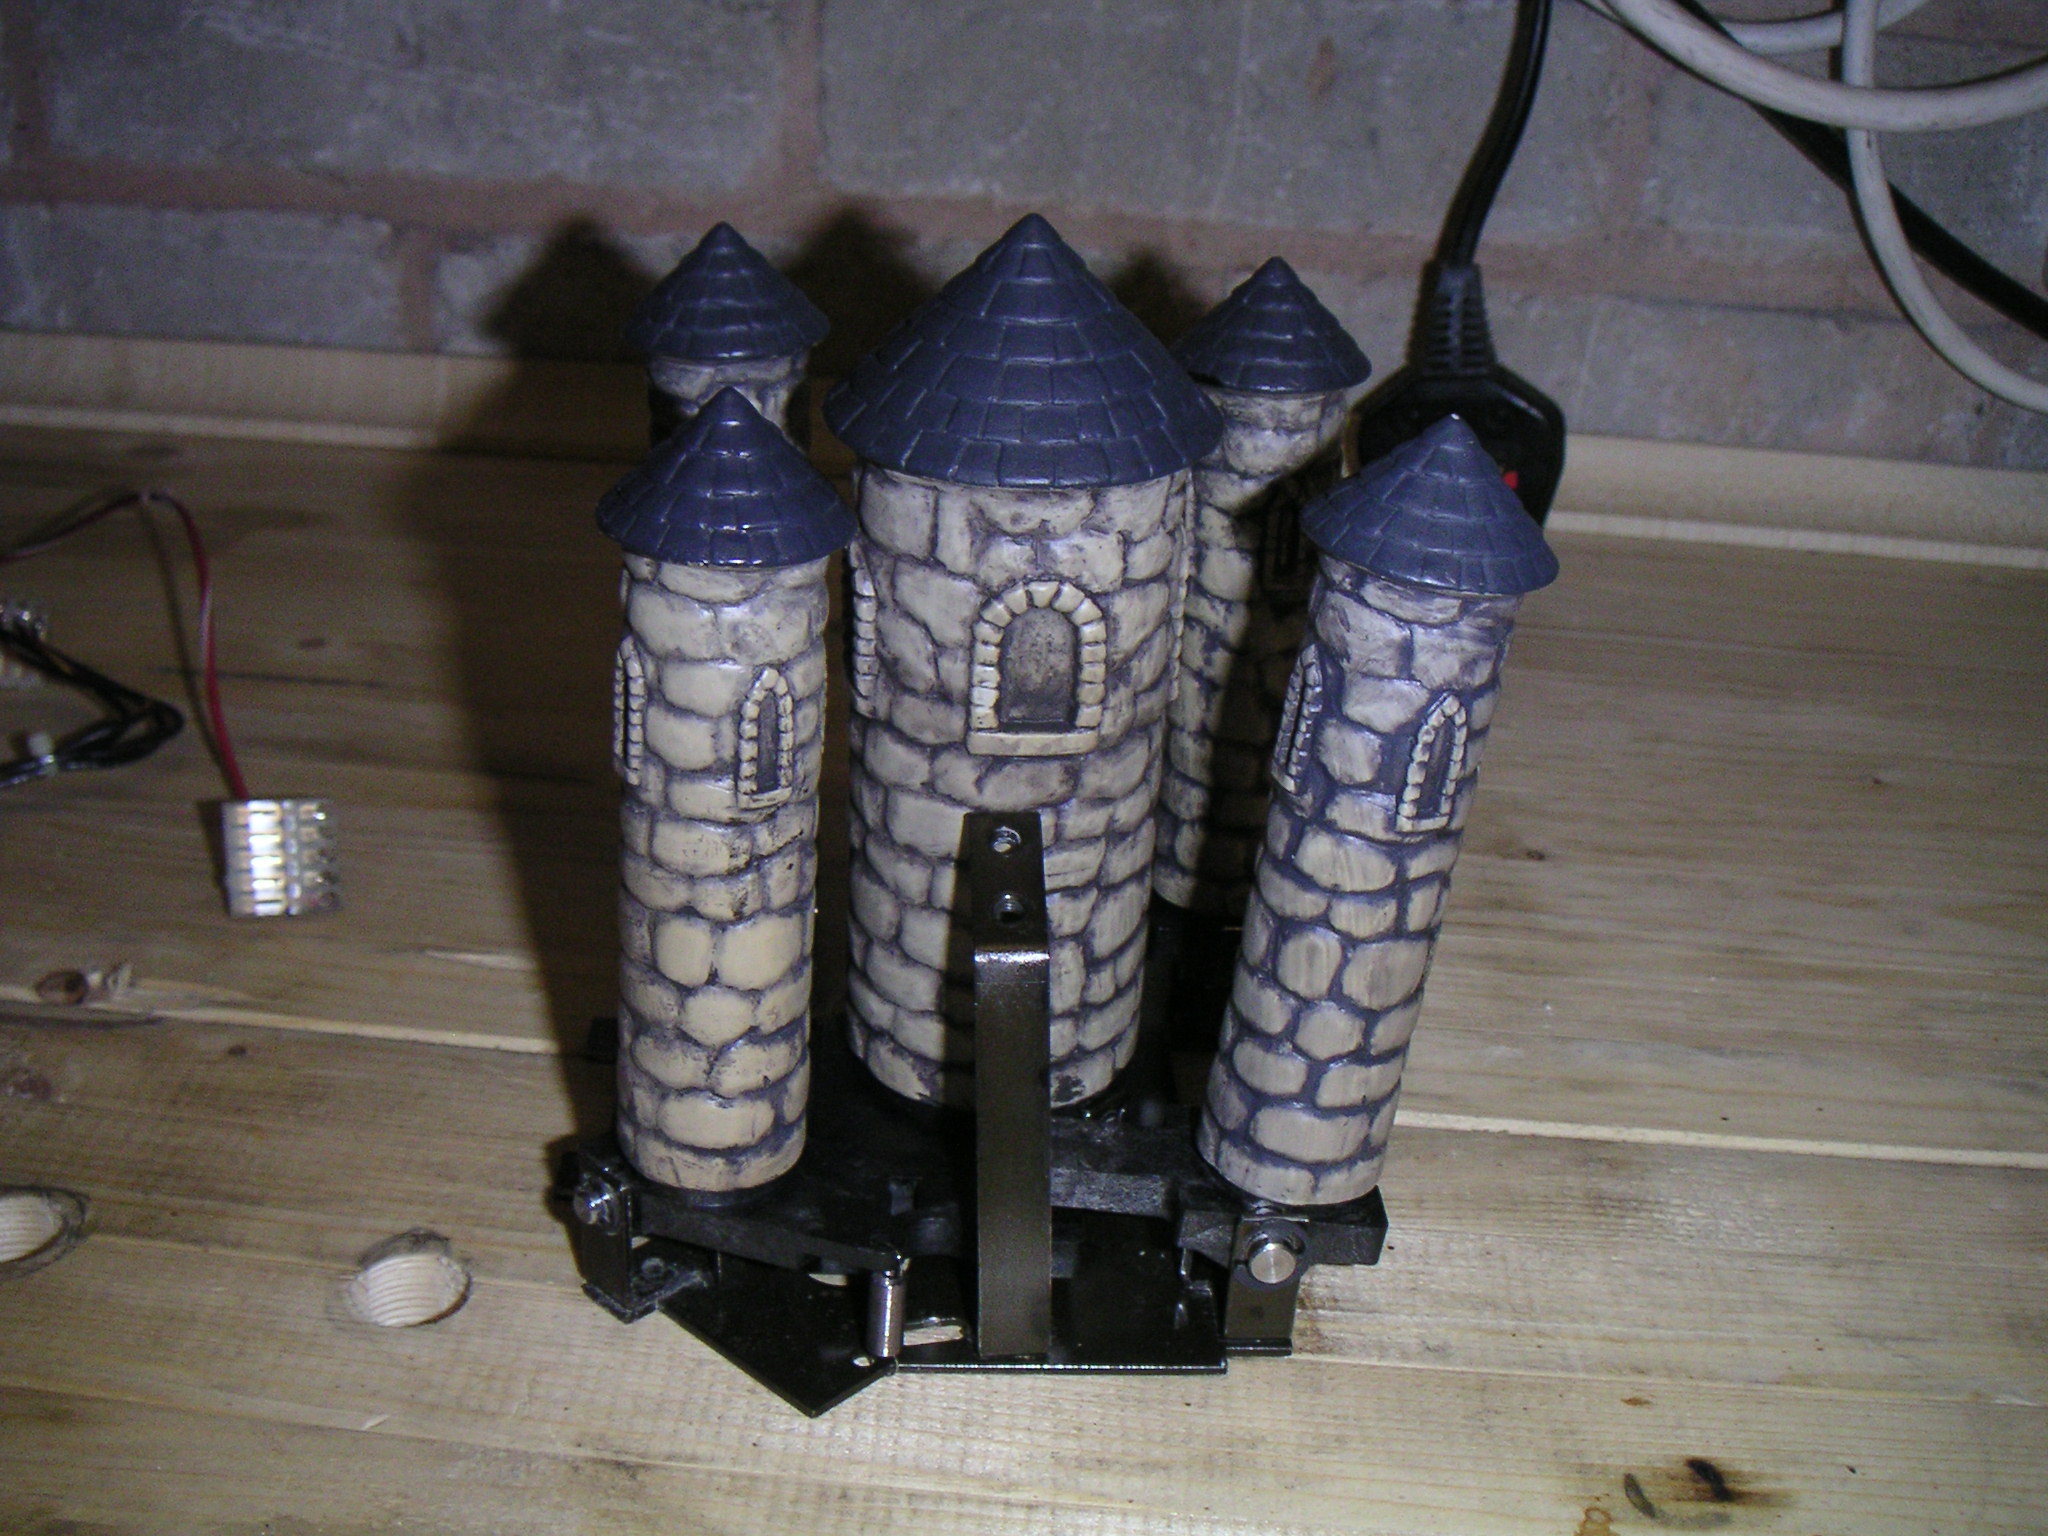
The Medieval Madness Castle Pin
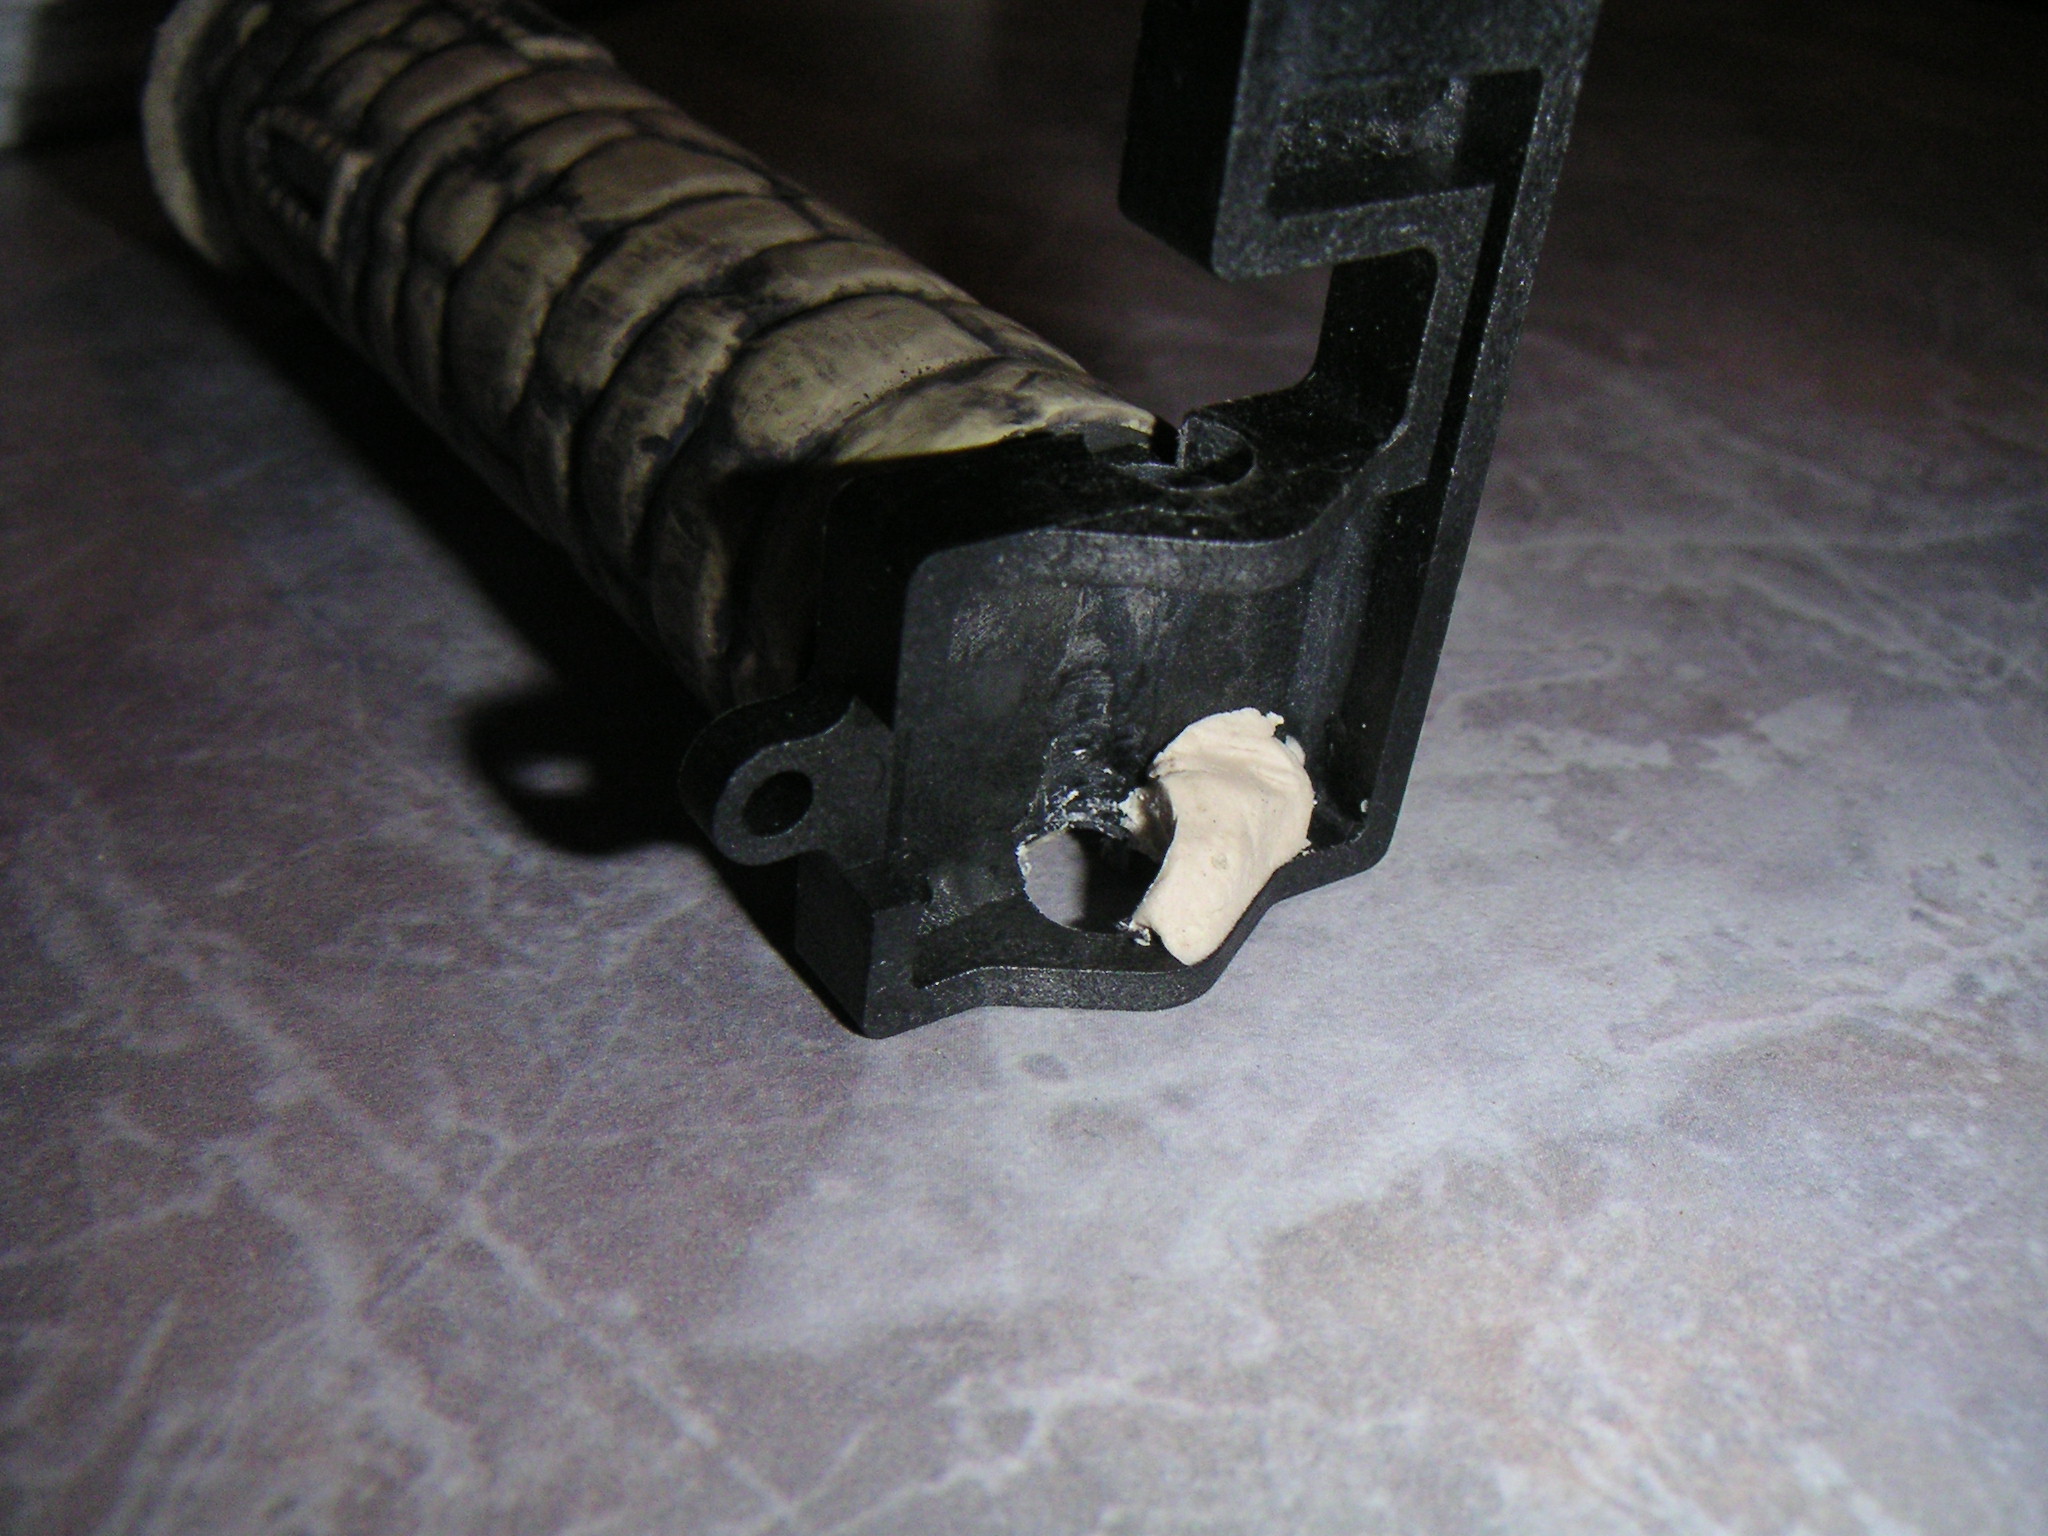
Here's a picture of the wear on the pin:
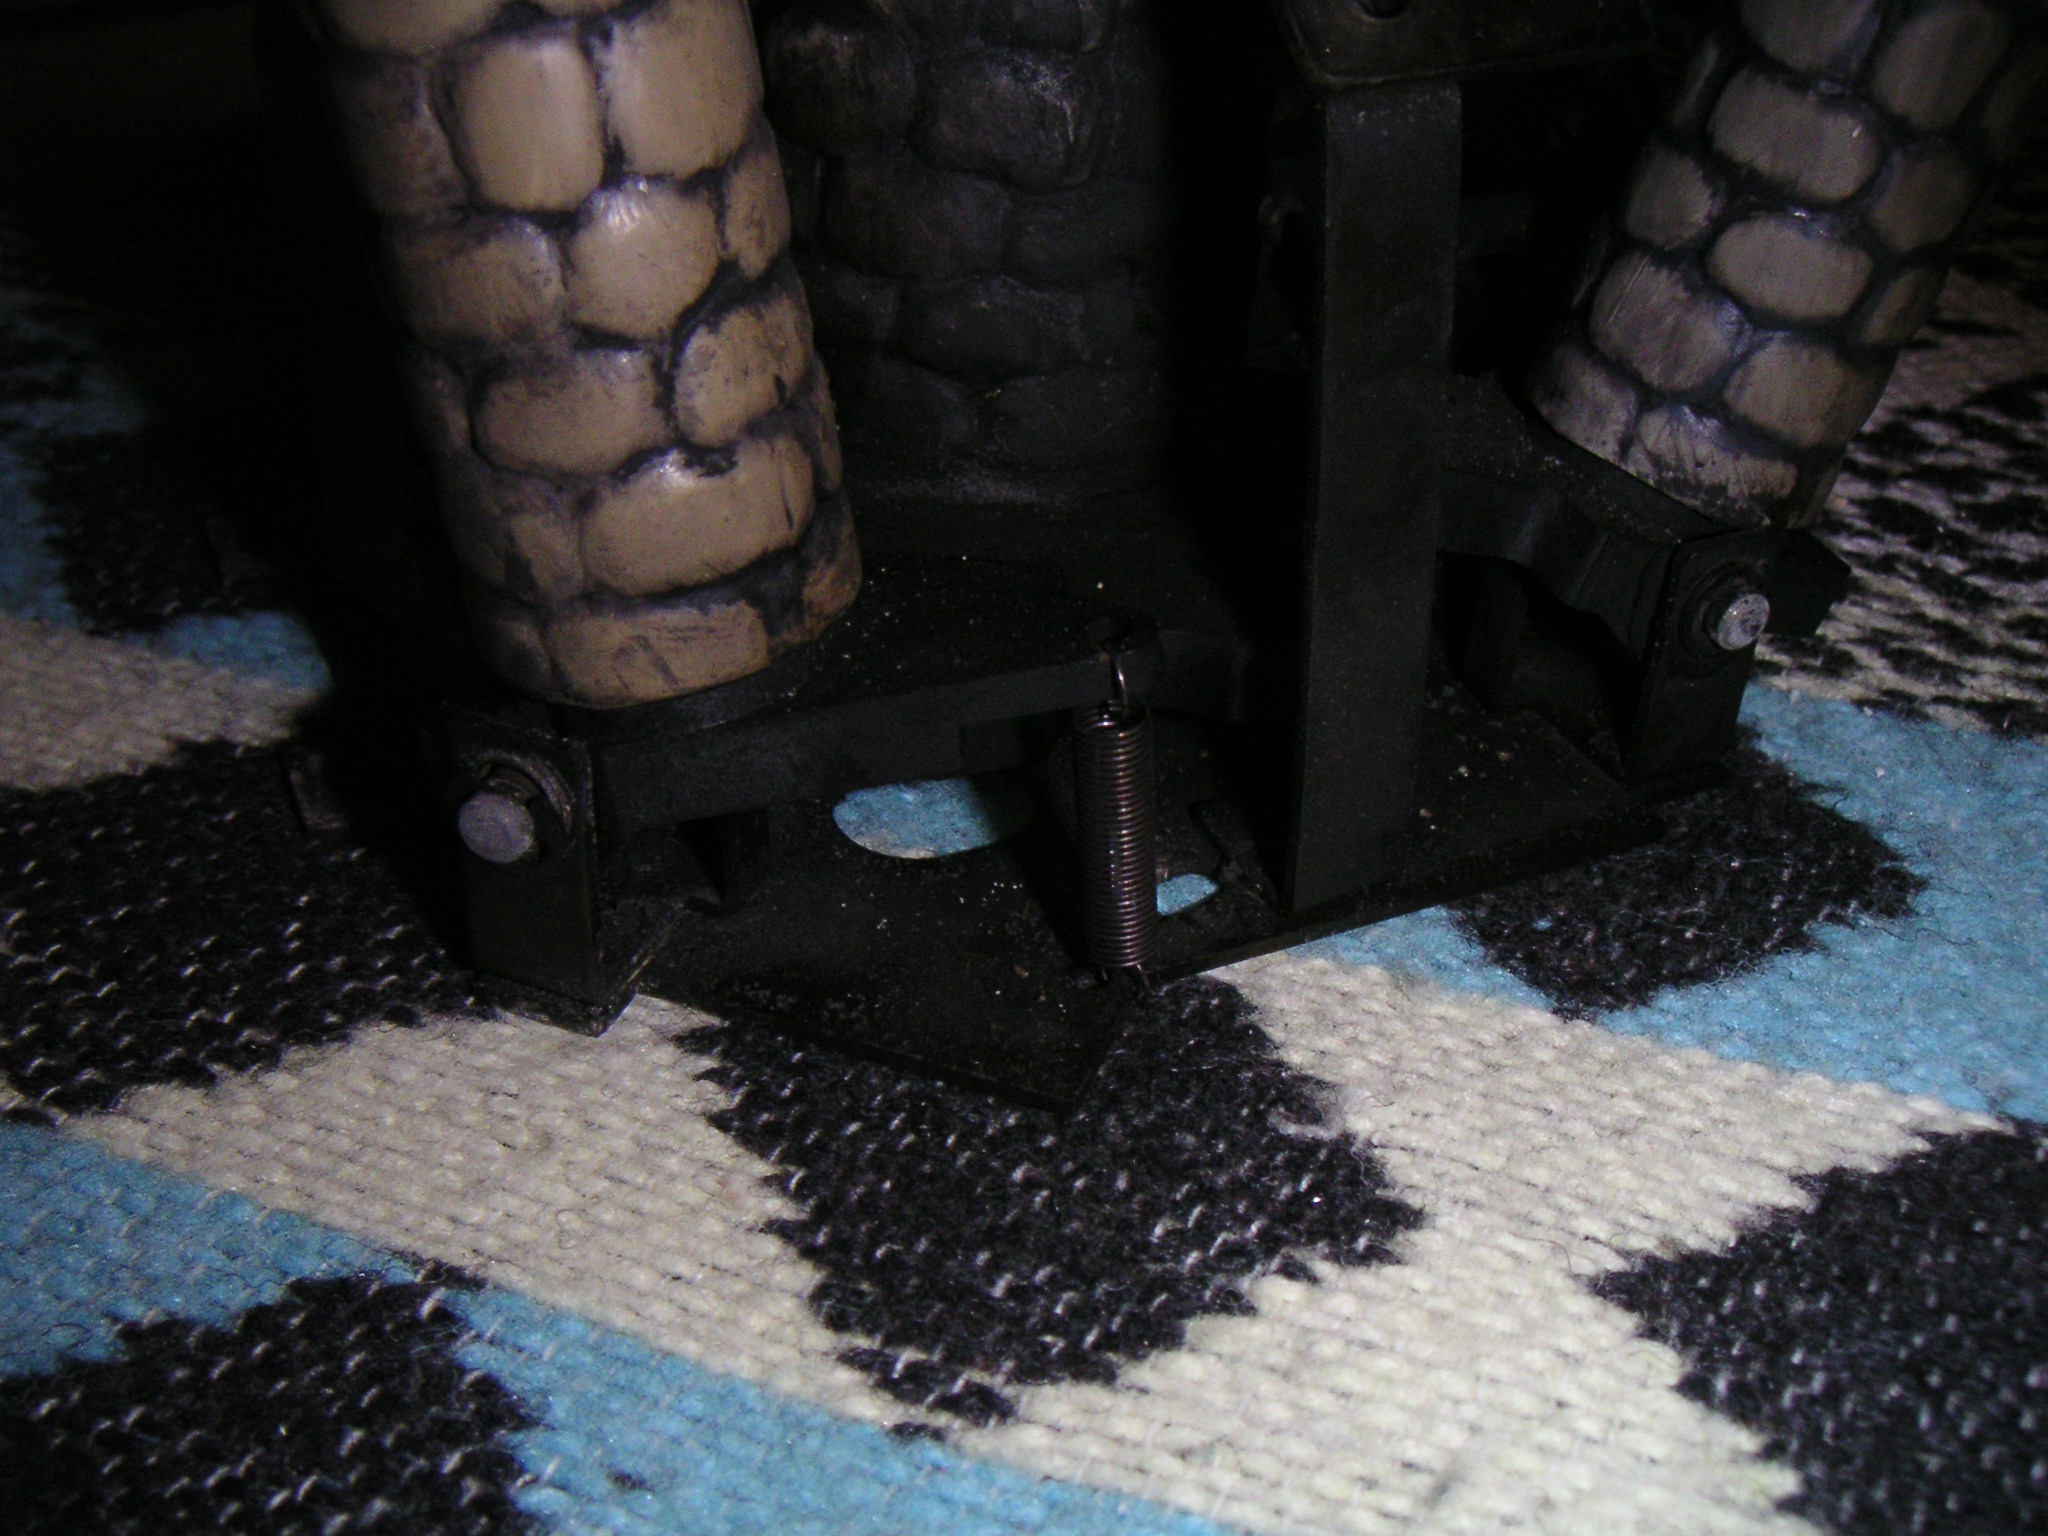
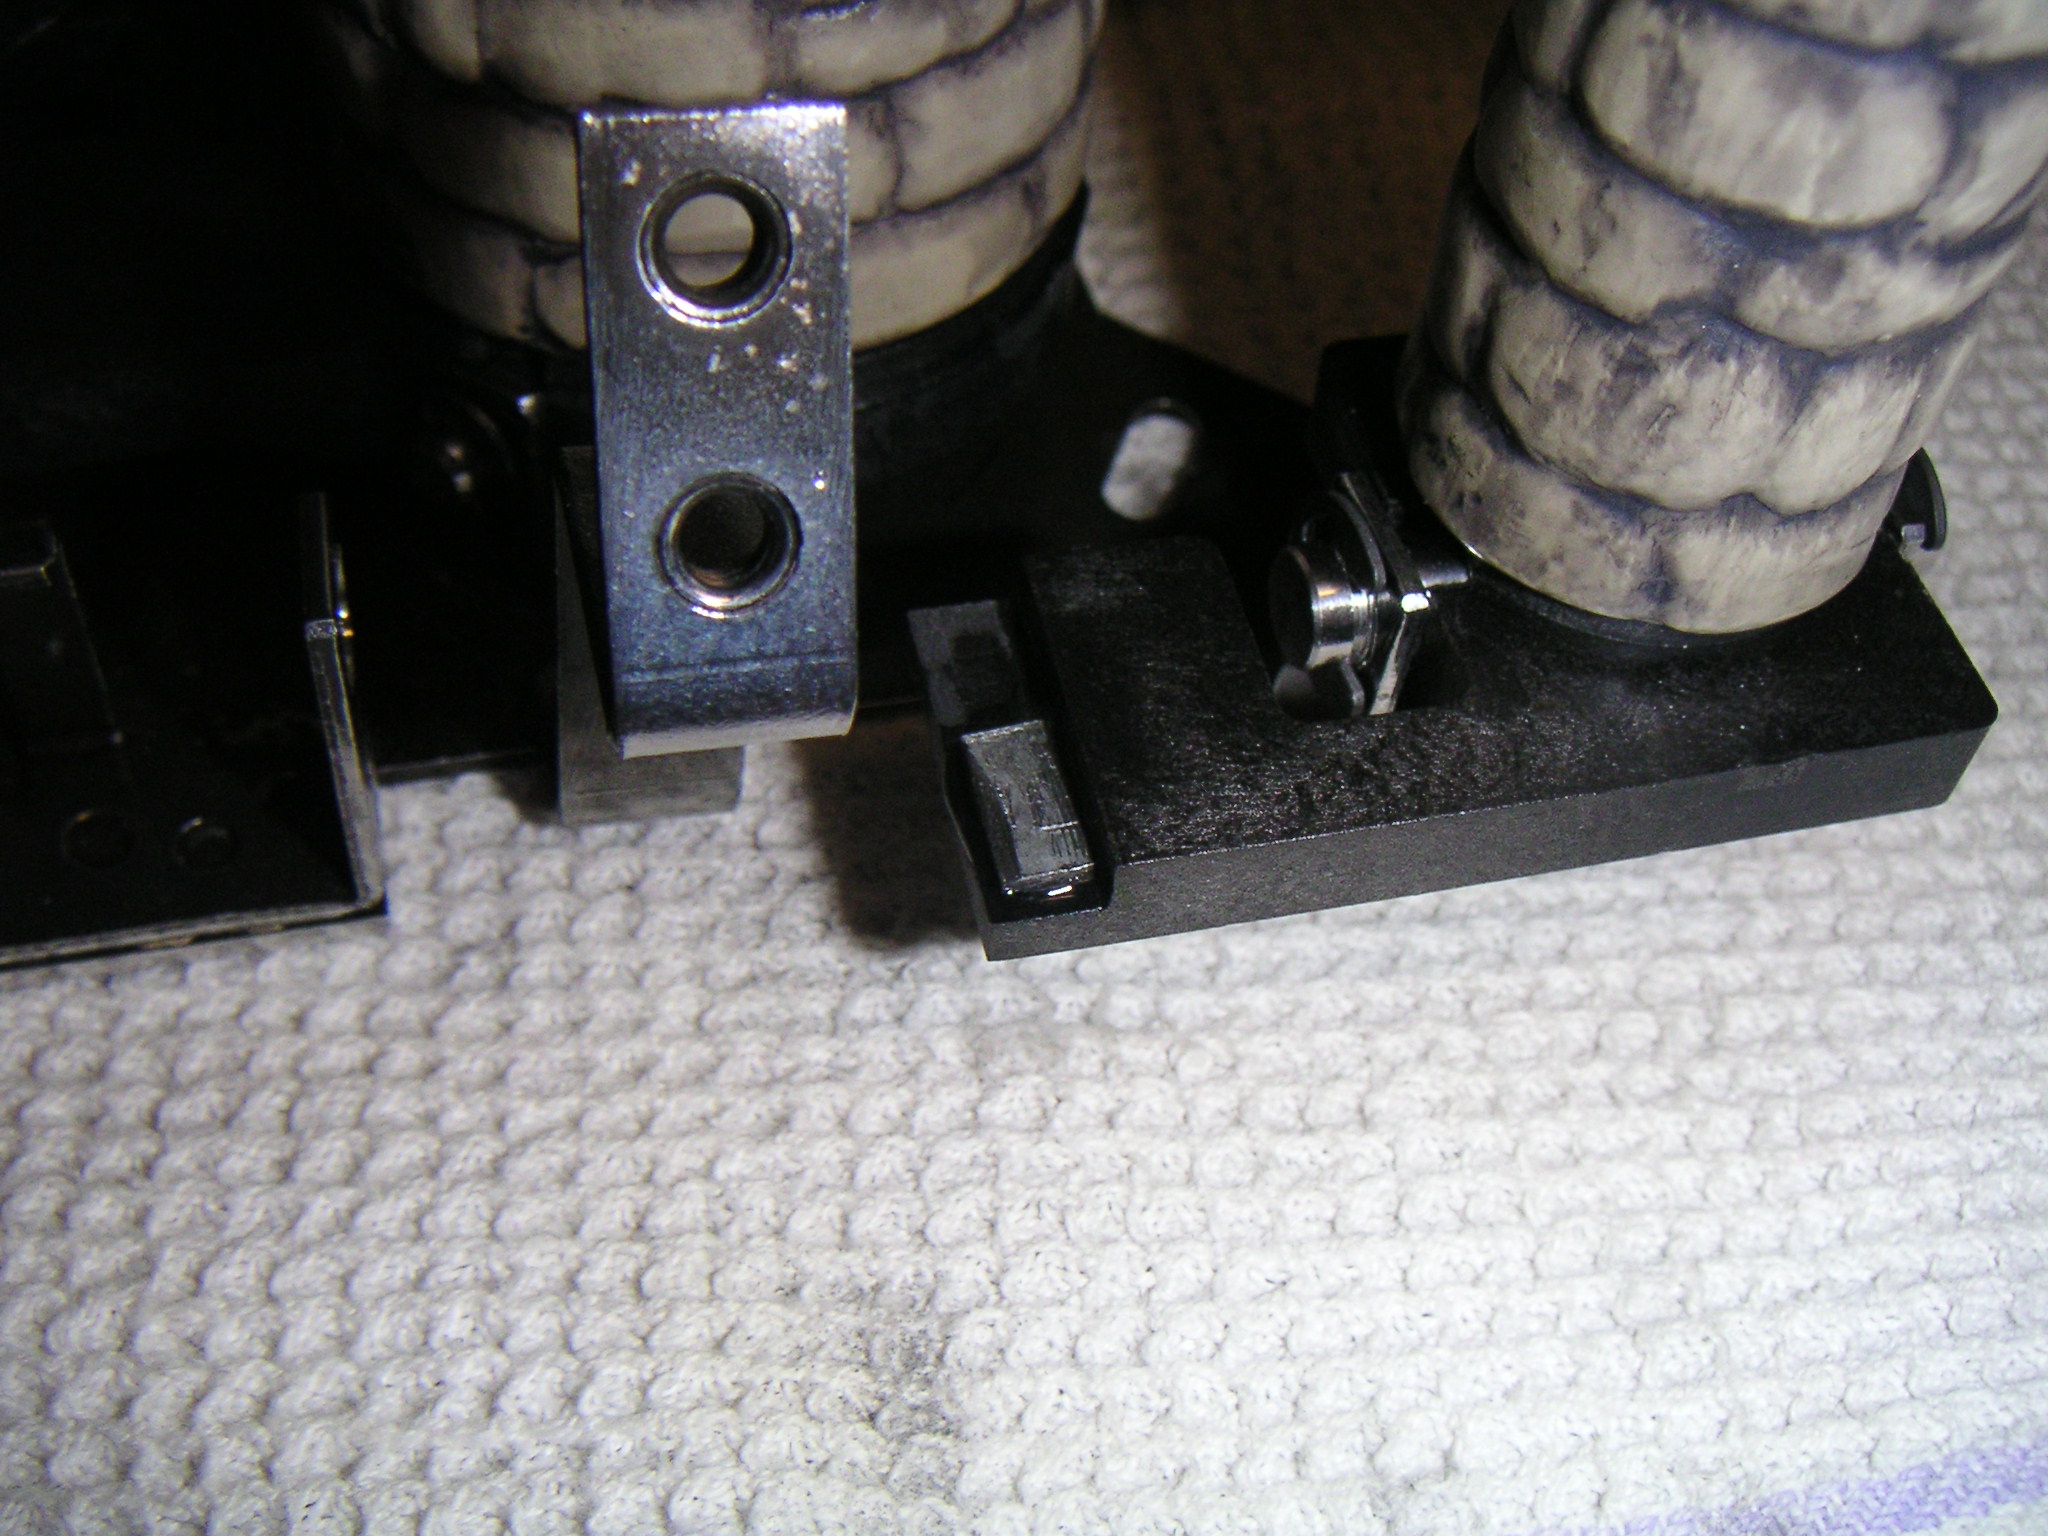
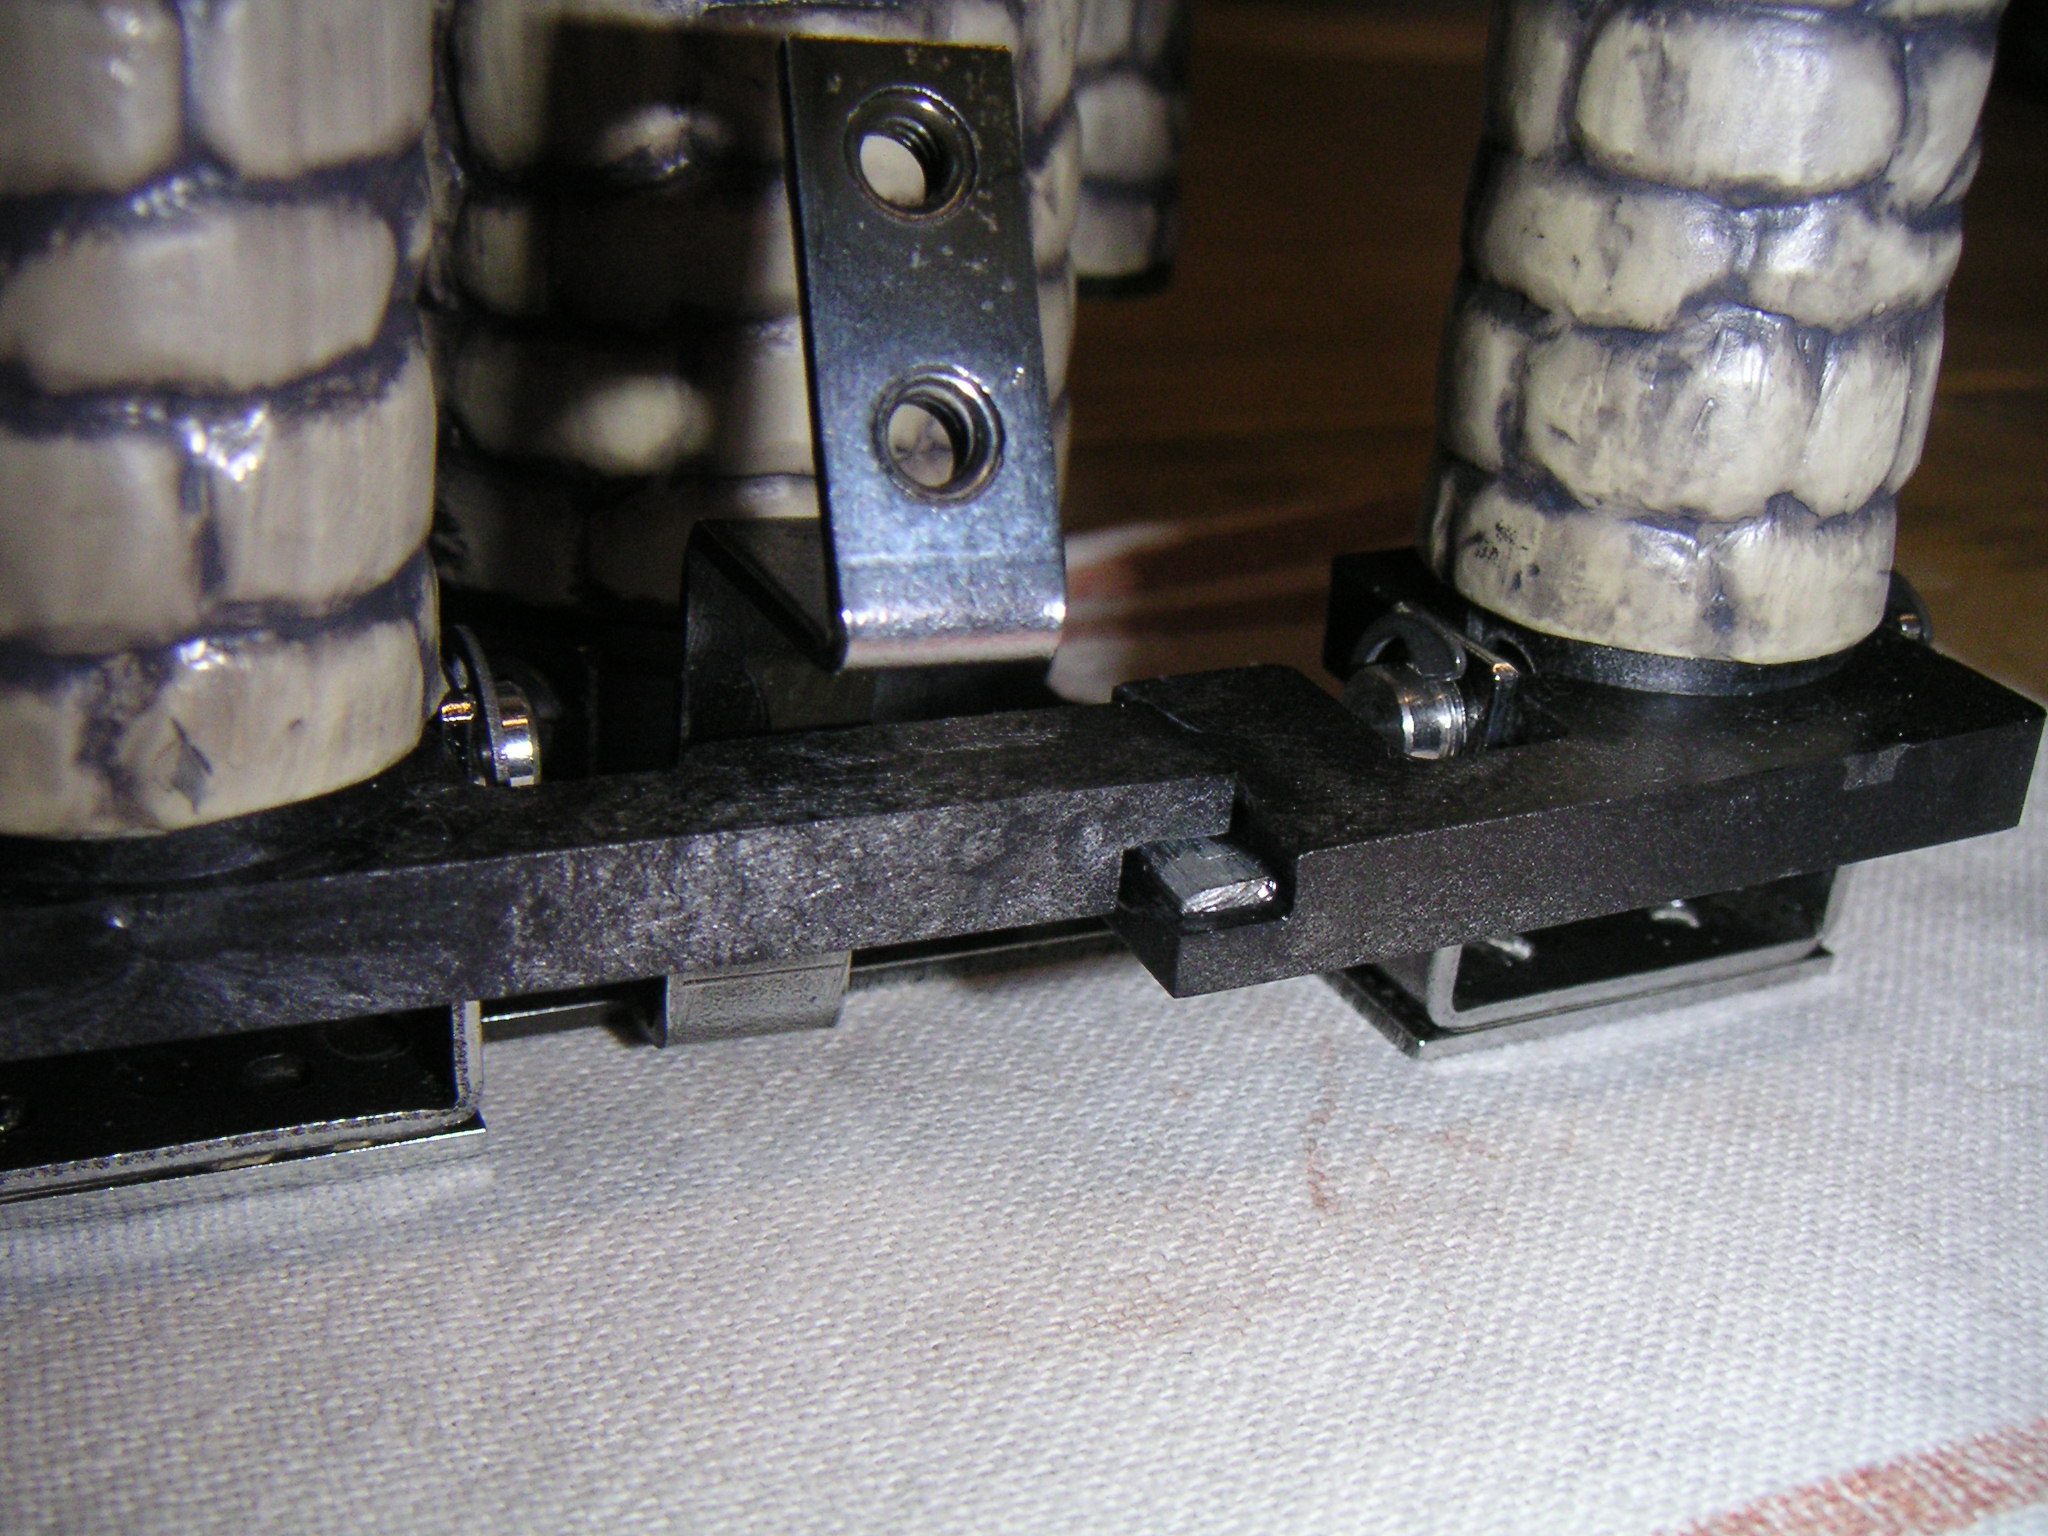
The problem is on the right hand end, where the regular hammering of the castle has pounded a deep groove into the shaft. This is a 3/16" by 1.437" long shaft. It takes 3/16 e clips on each end. The grooves for the clips are 1.25 inches apart.
We remade the shaft with a piece of 1/4 inch drill rod, turned at the ends to accept the 3/16 clips. We drilled the bearing holes and plastic mounting blocks out to accept the new shaft. The alternative was new pivot shafts (expensive) and bushings and a prayer for the castle mounts. This had to be done for both left hand castle towers.
June 8, 2005
All my 1/4" oversize pins are gone. But I made a batch of 3/16" pins that should replace the originals.
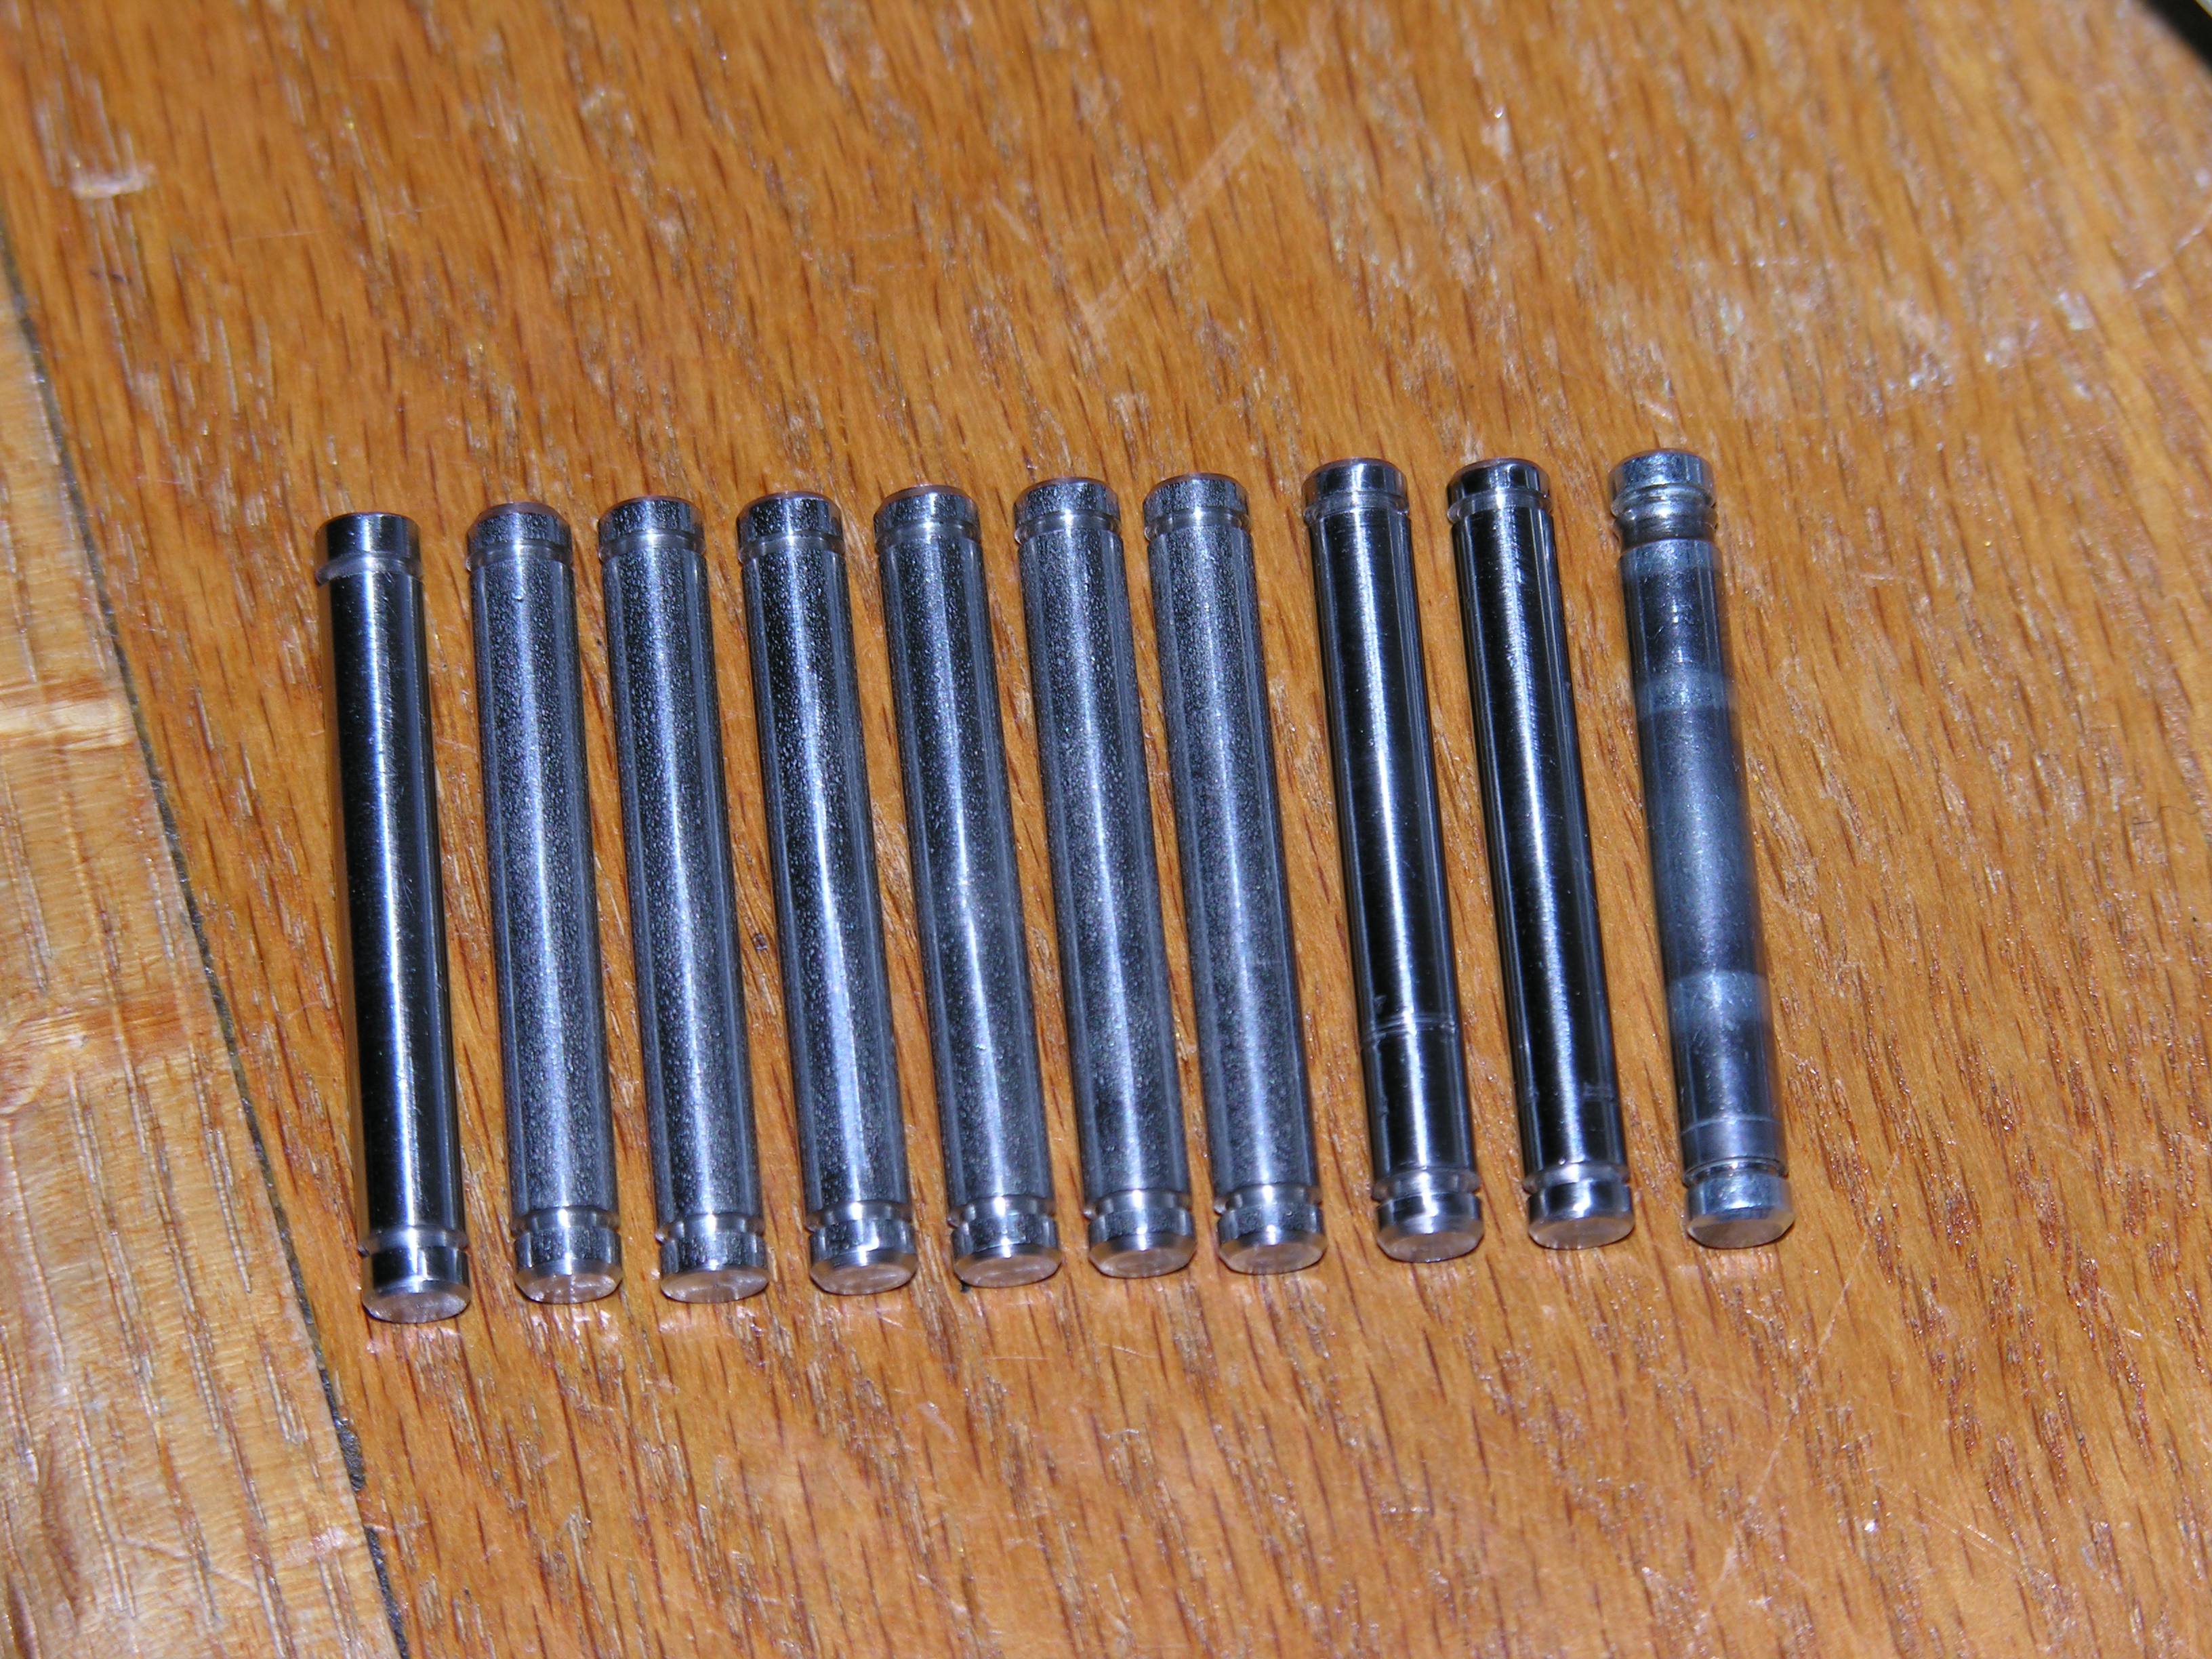
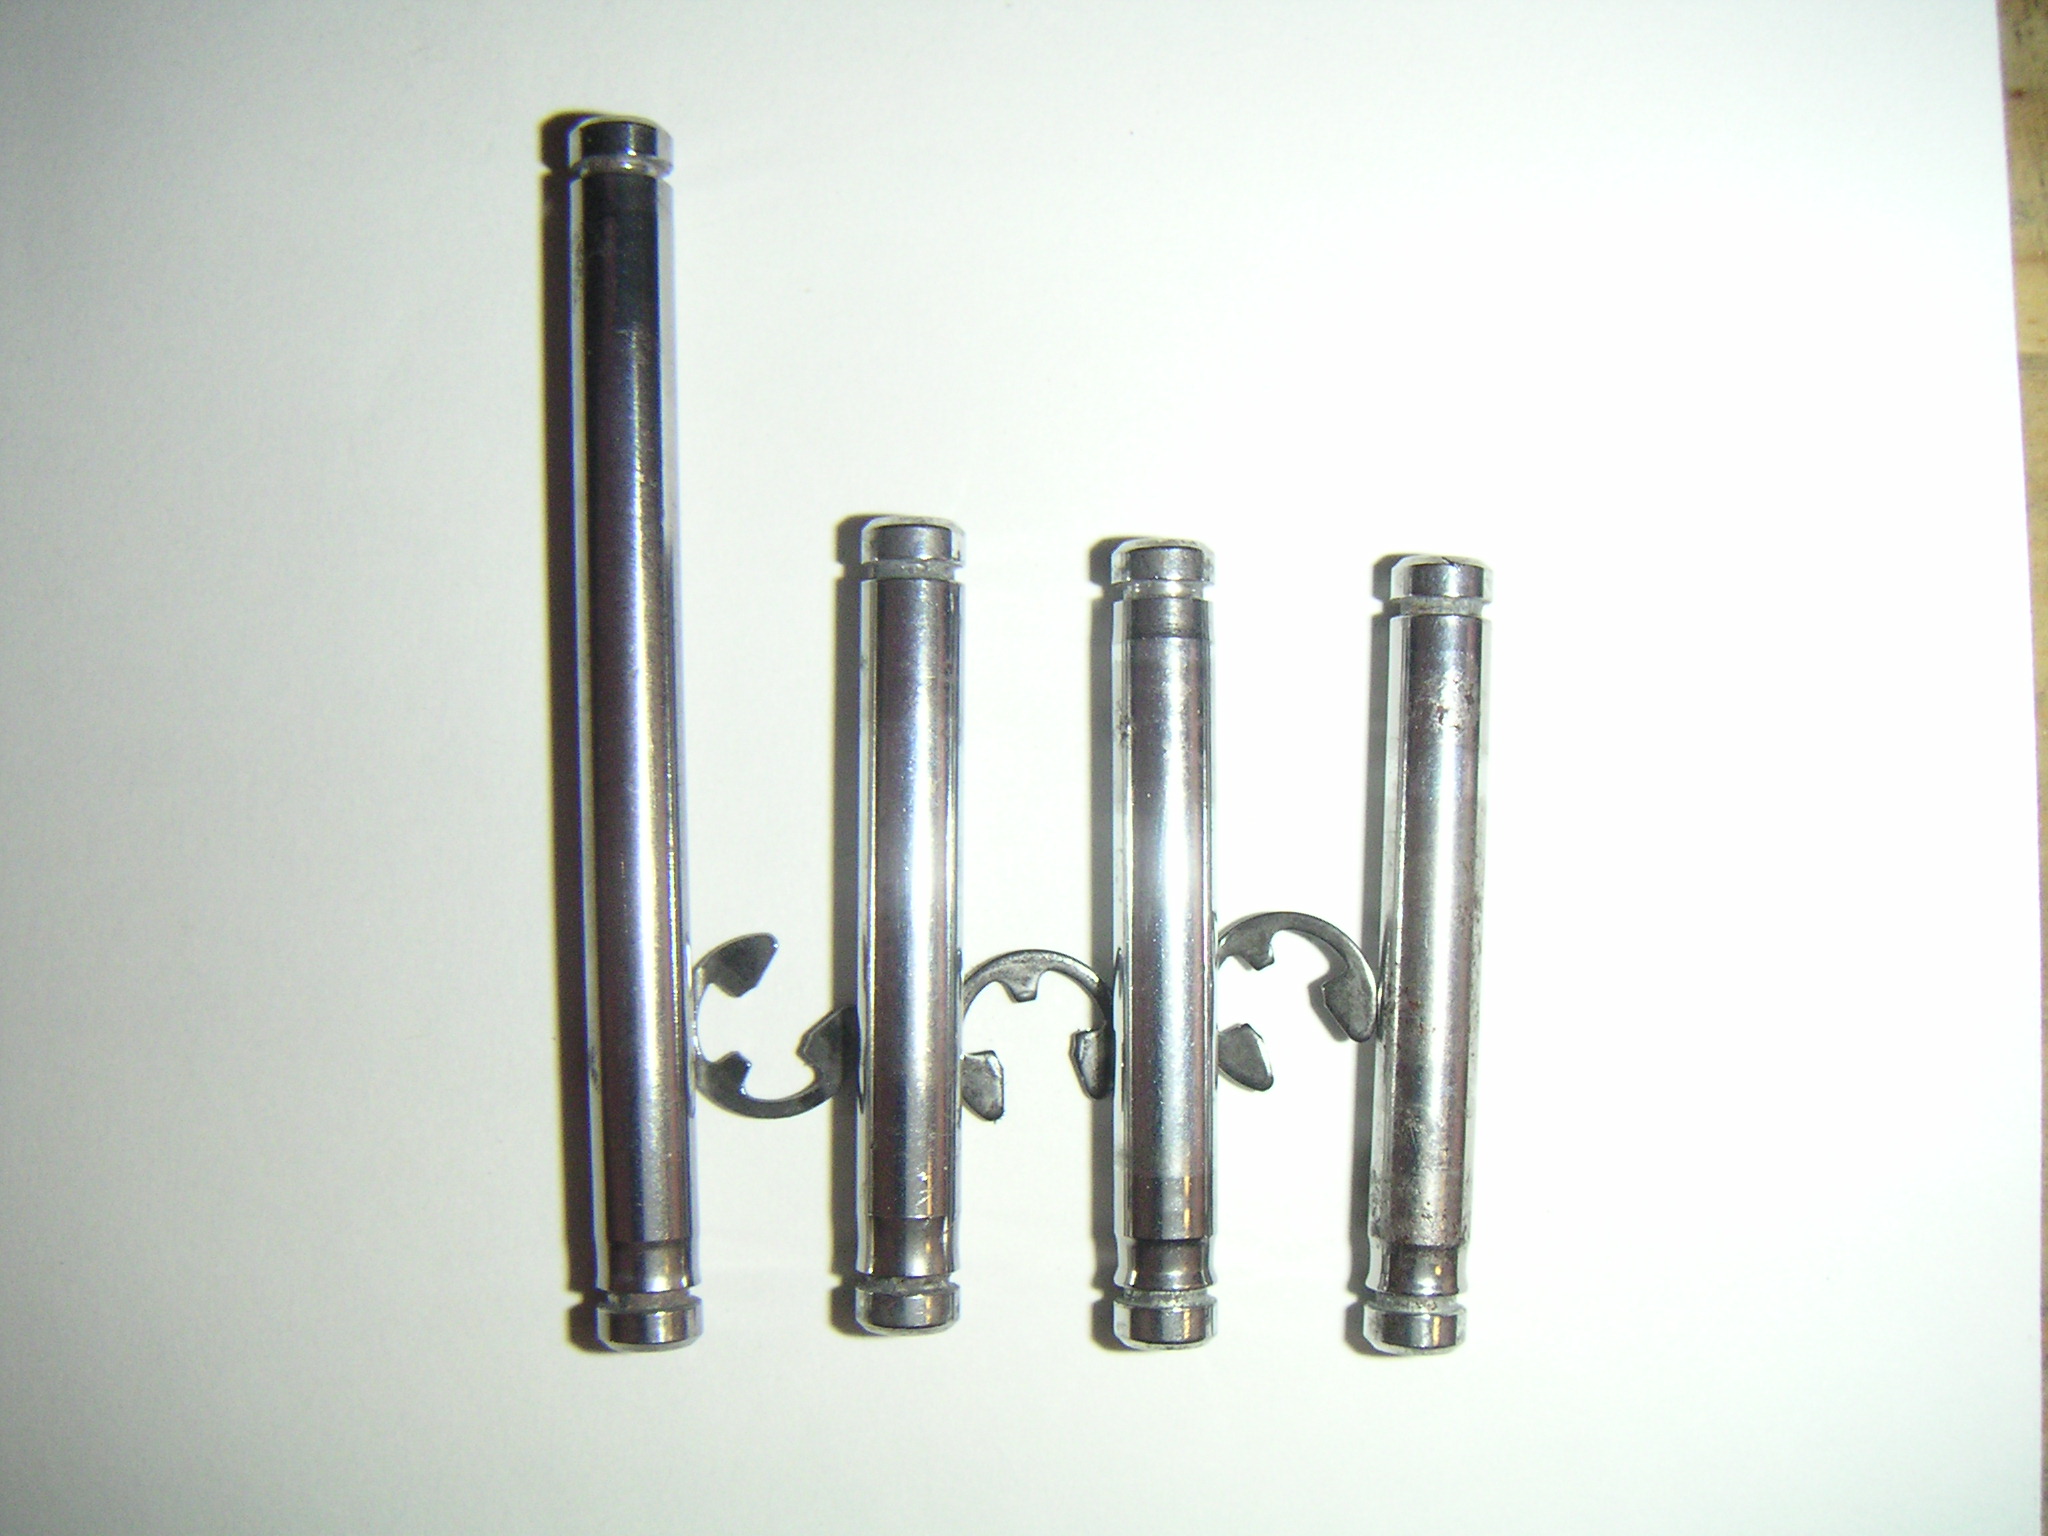
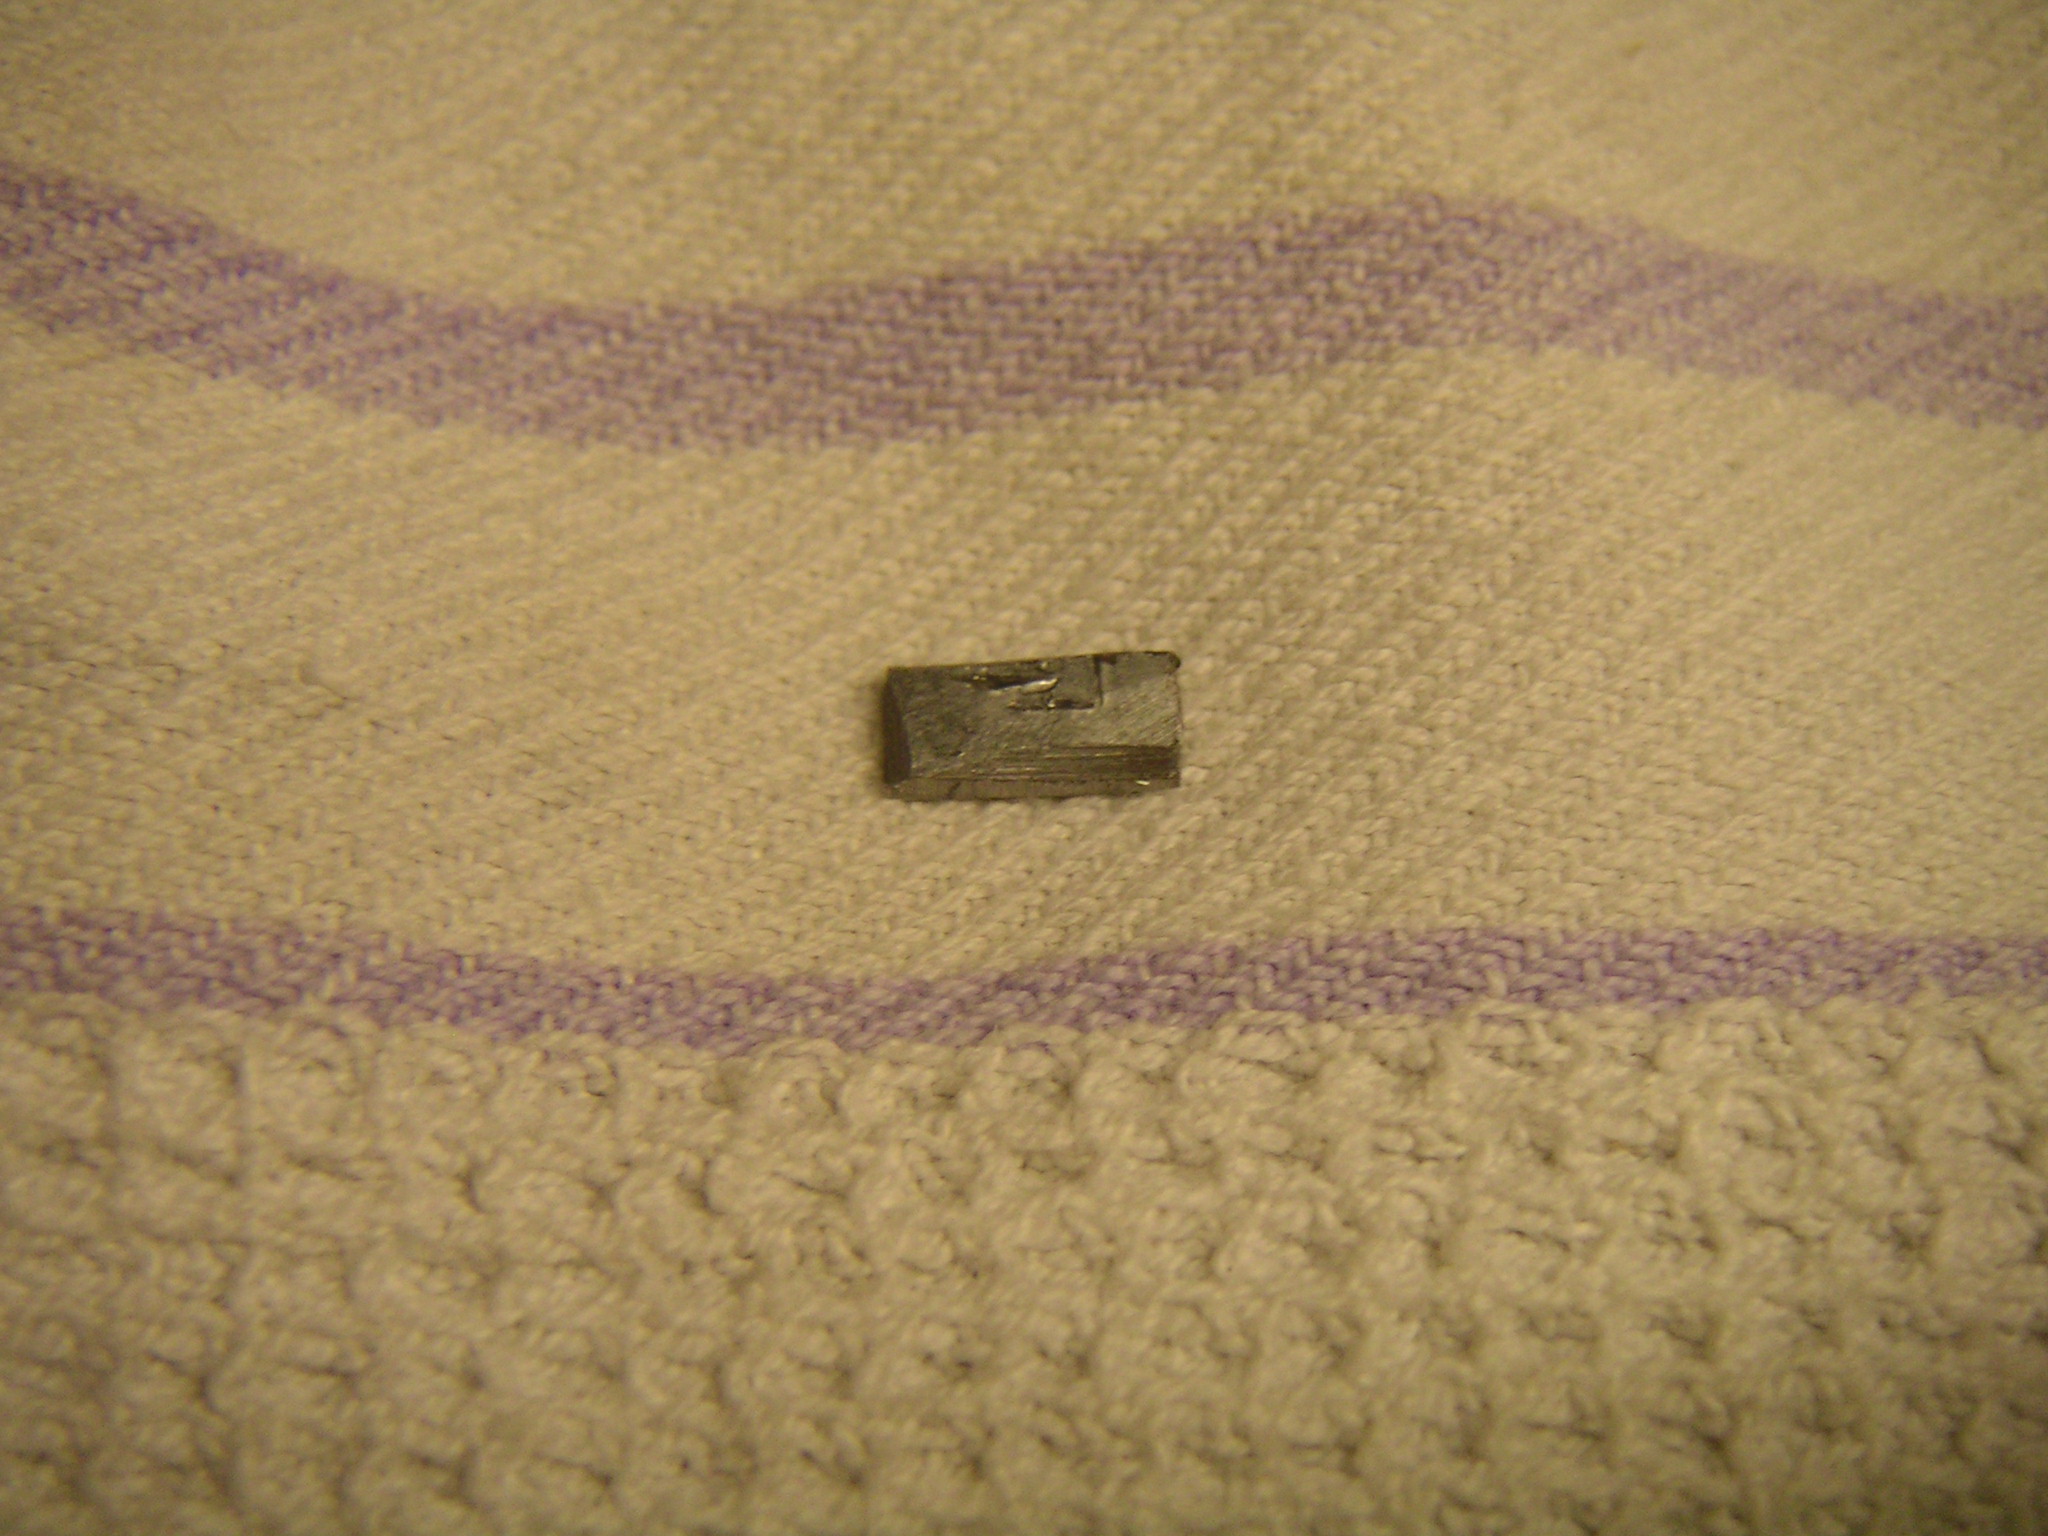
The pounded original pin is on the right. The shinier ones are drill rod; the rest are stainless. The milky look is a combination of the flash and the finish on the stainless stock. I have enough pins to fix four machines here (2 per machine).
June 5, 2005
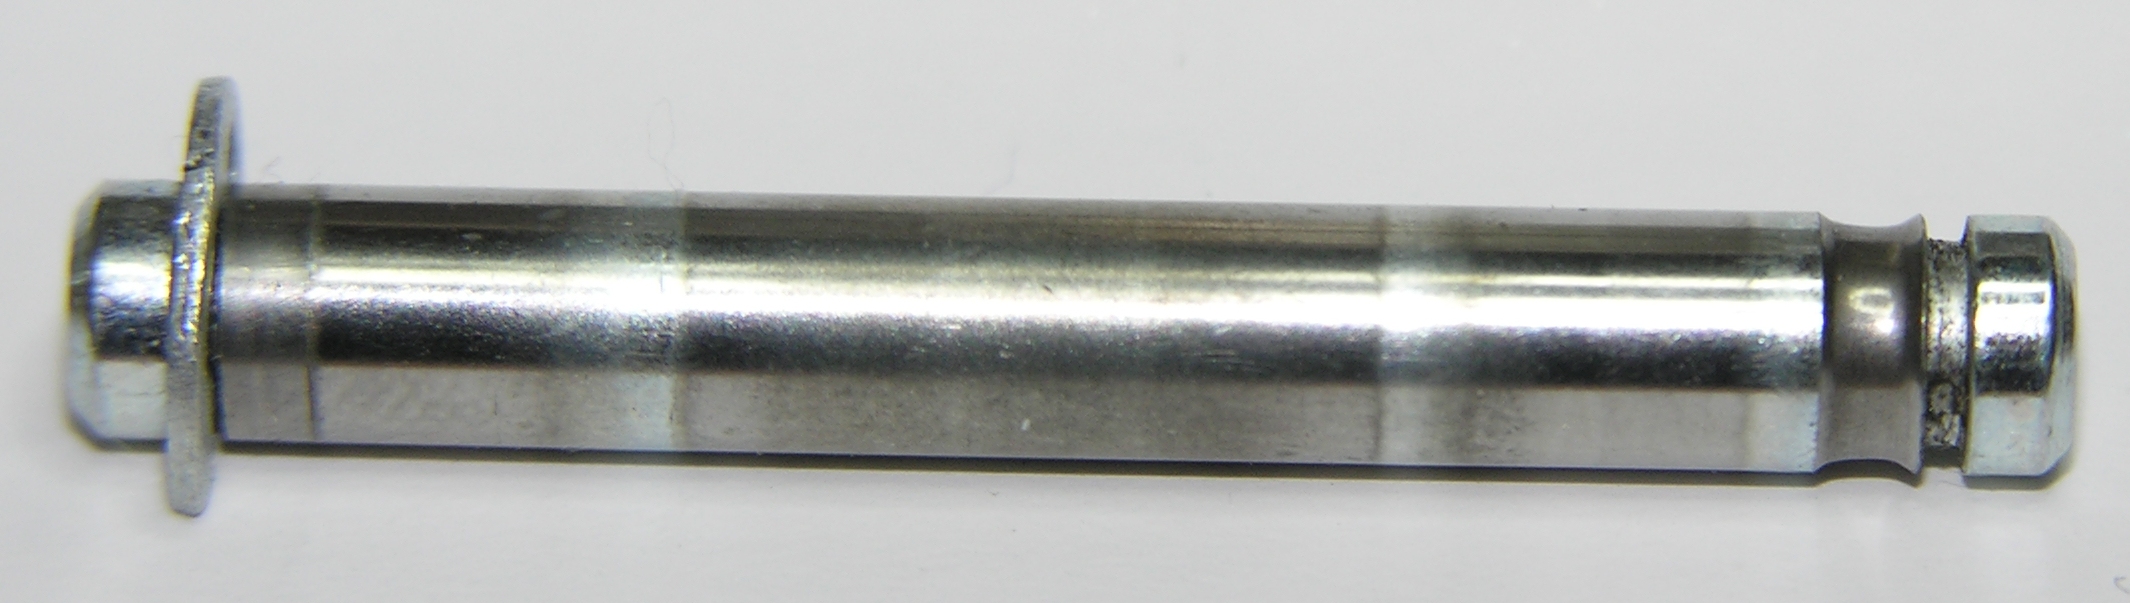
I have made some replacement castle pins. These are made from stainless steel, and are oversized with a 1/4" shaft diameter. Here they are, with the original 3/16" shaft at the bottom.

My metalworking isn't so good, but I did manage to create 8 of them - enough for about 4 machines. They are mostly a bit longer than the stock pins, but one is .03" shorter. Should not be a problem, but you never know. They require 1/4" 'e' clips on each end, as opposed to the 3/16" original to the machine. As they are stainless steel, they should not pound out of shape quite so easily.
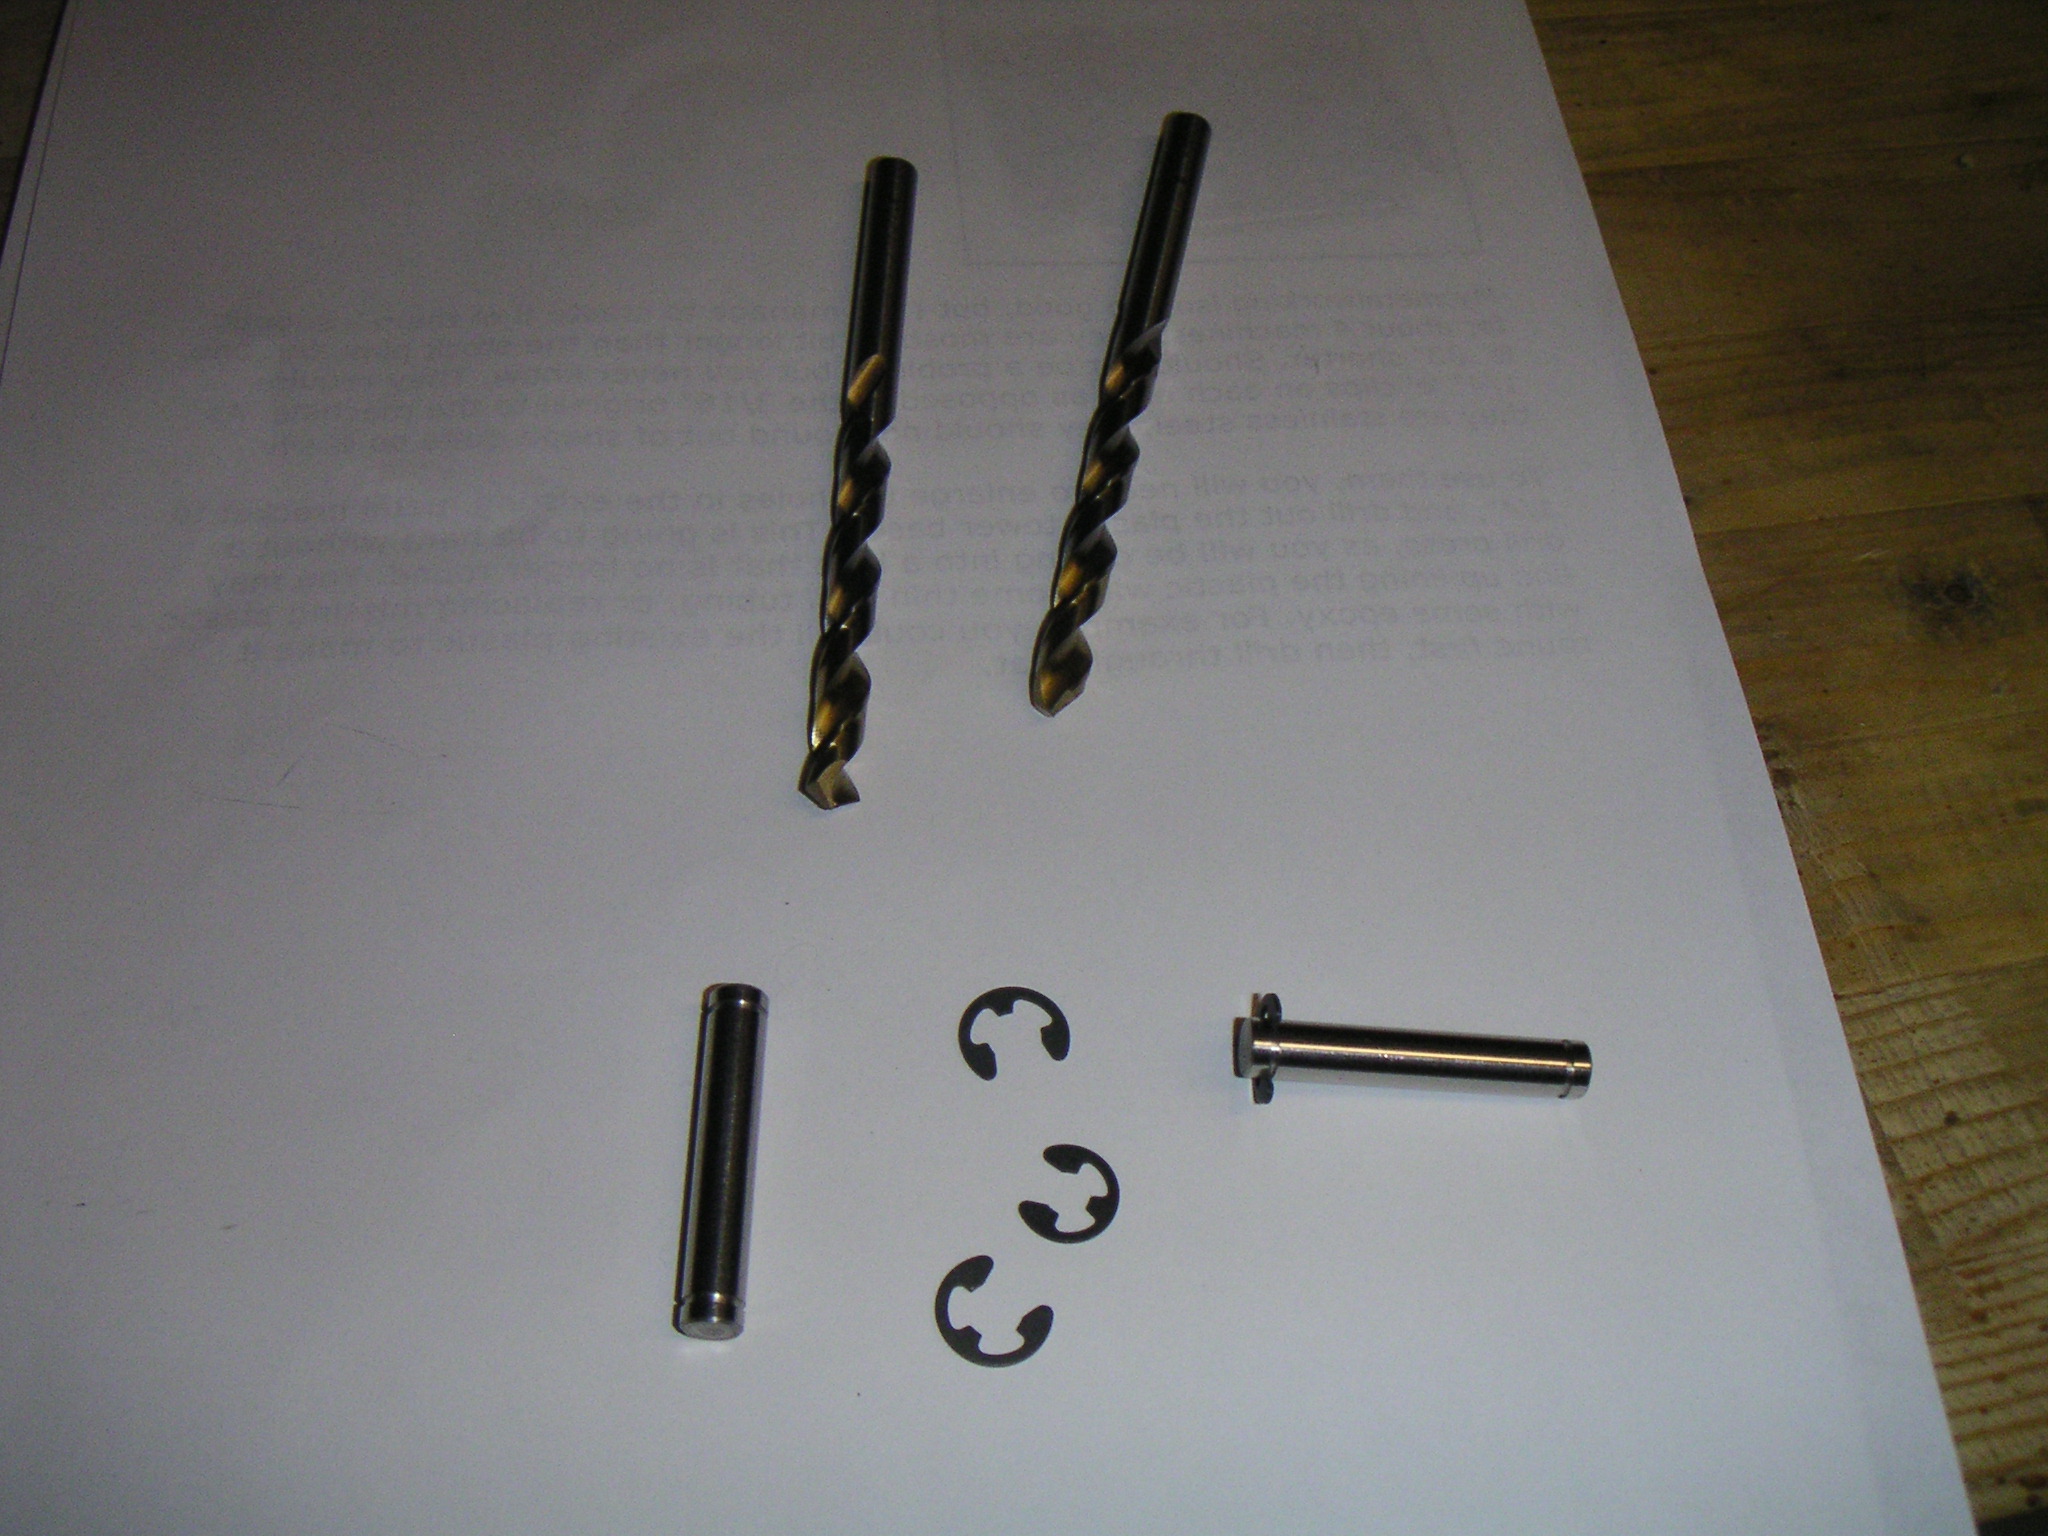
To use them, you will need to enlarge the holes in the existing metal bracket to 1/4", and drill out the plastic tower bases. This is going to be hard without a drill press, as you will be drilling into a hole that is no longer round. You may end up lining the plastic with some thin wall tubing, or replacing missing plastic with some epoxy. For example, you could fill the existing plastic to make it round first, then drill through that.
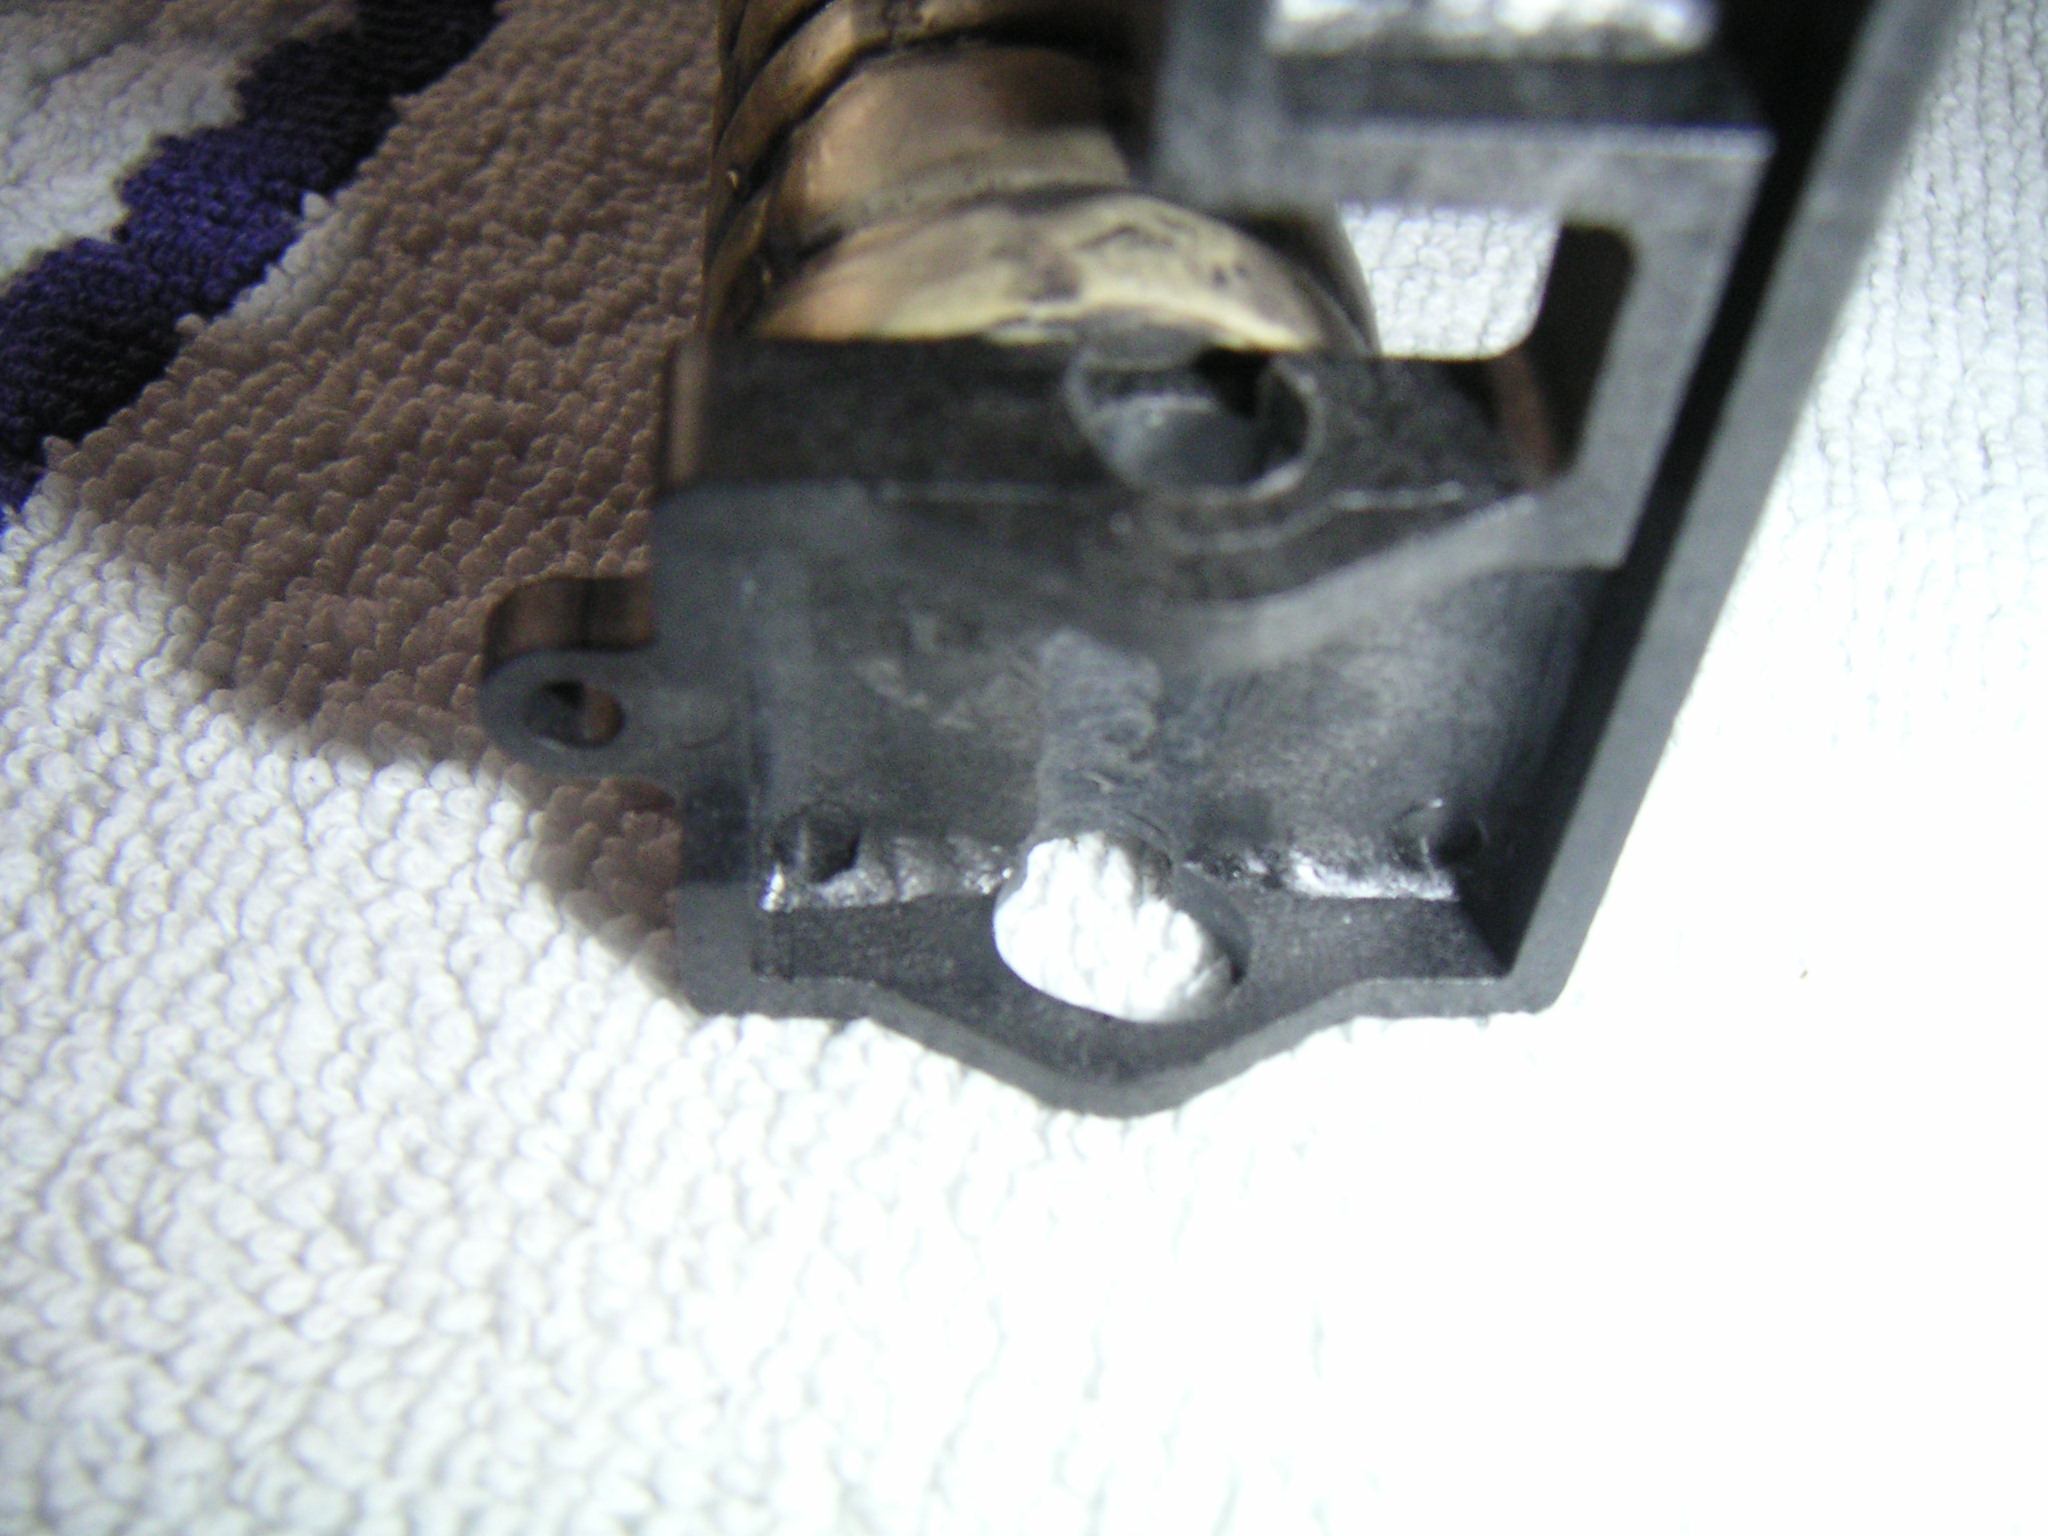
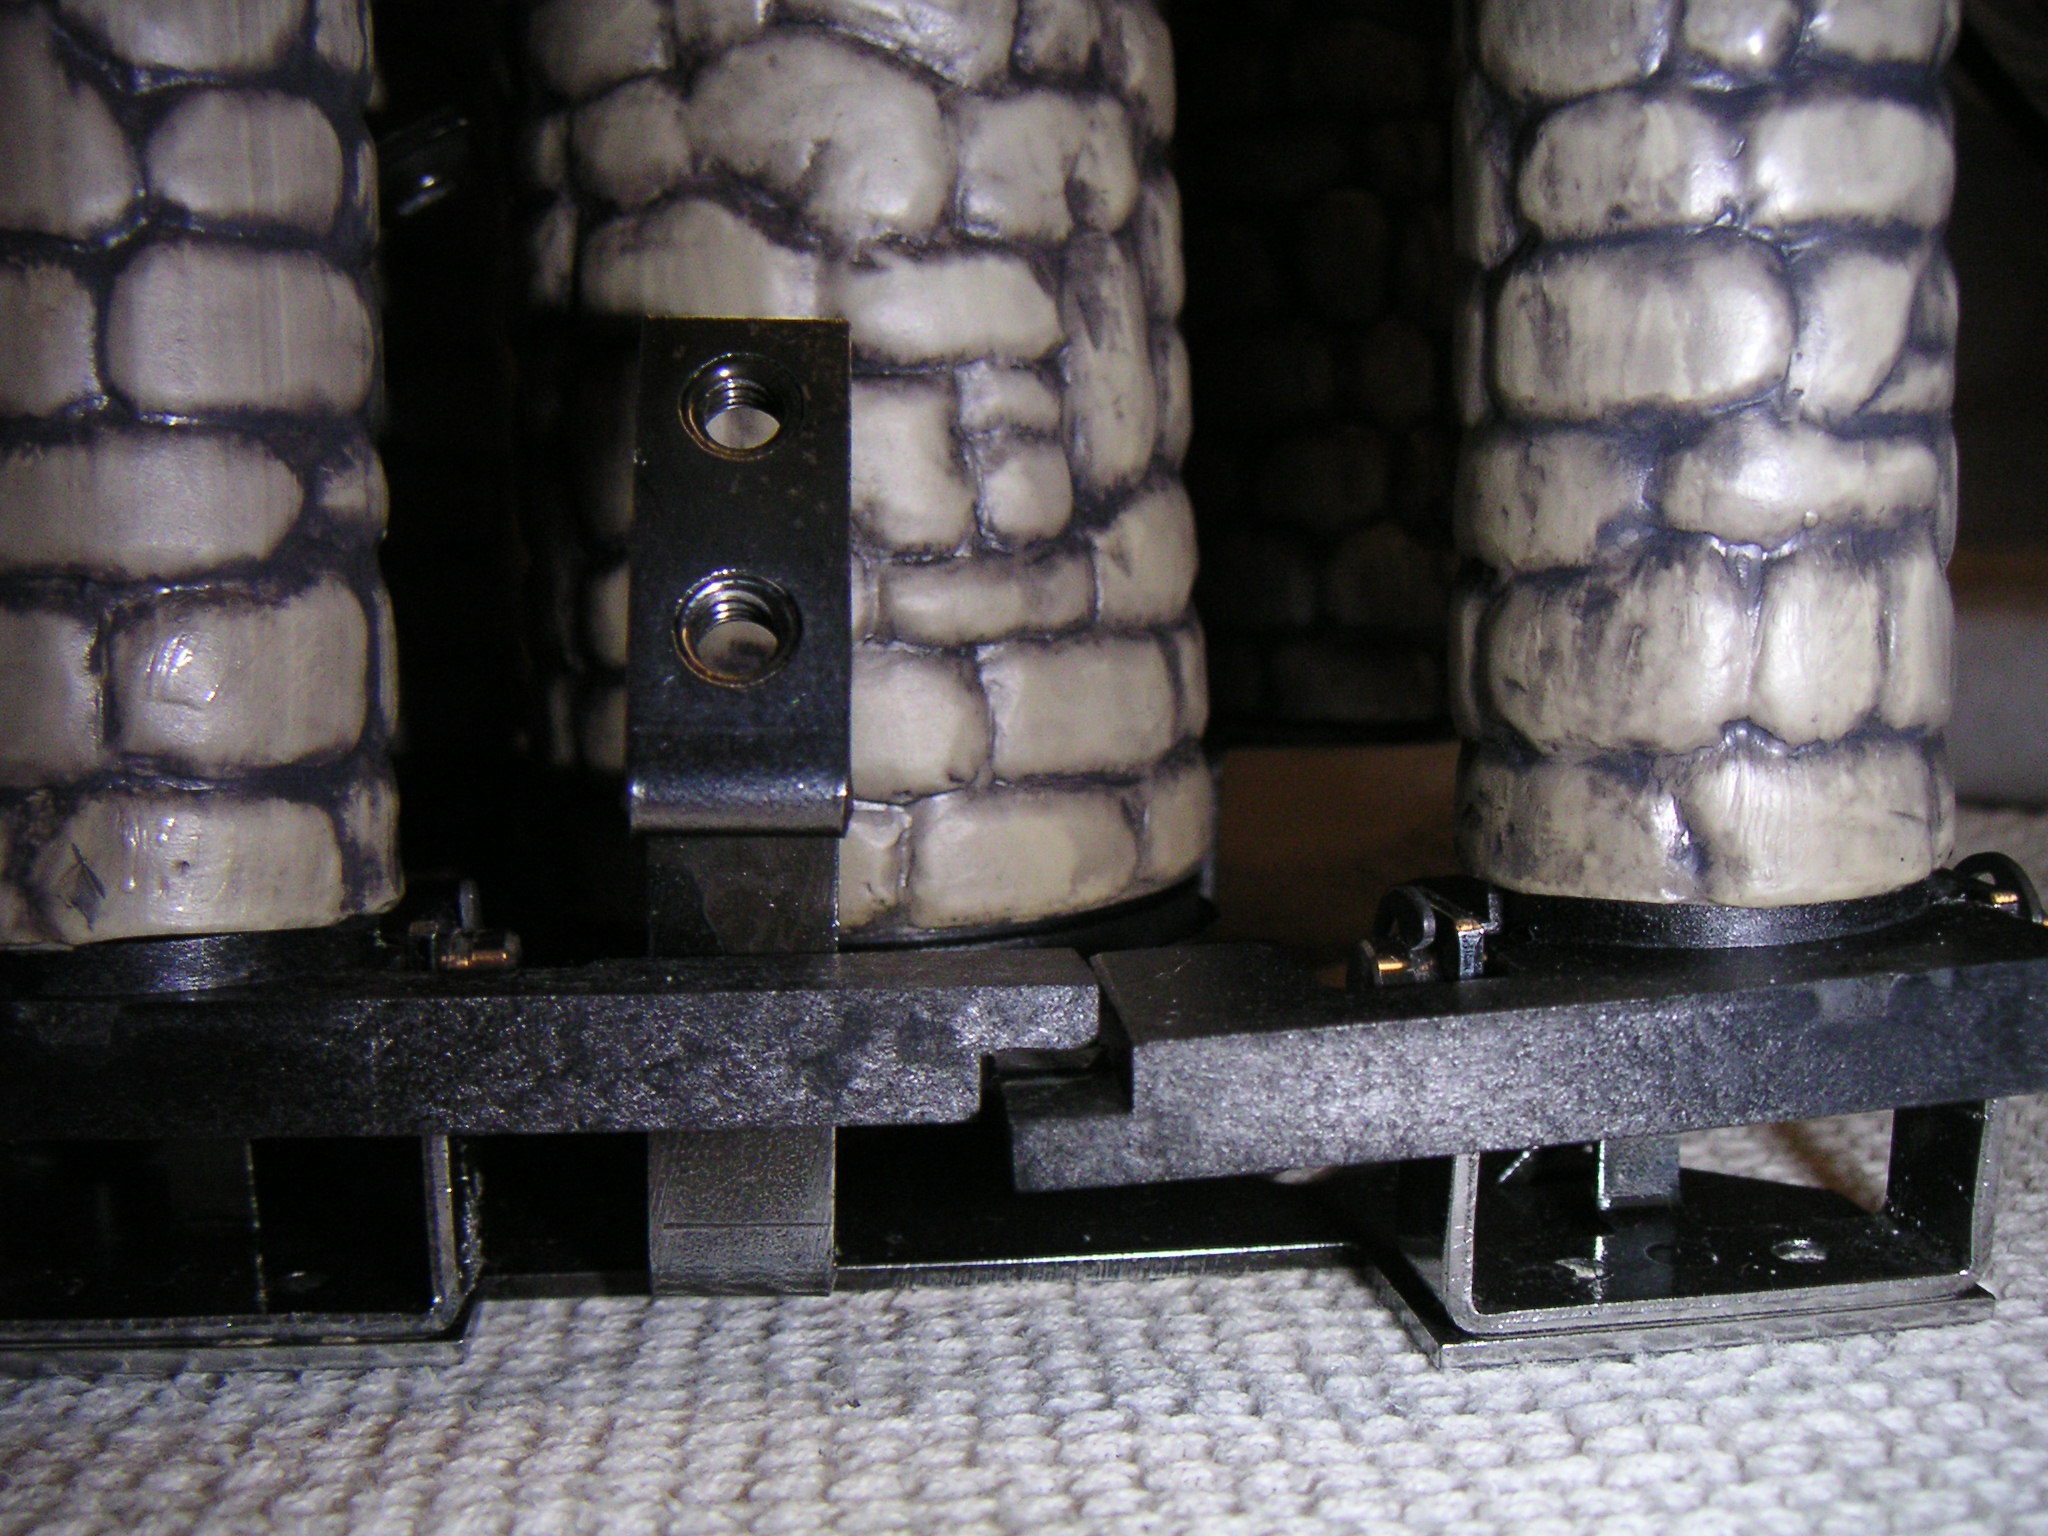
Roger's Pictures of Inserting the 0.25" Pin
Roger Thornton put the 1/4" pins into his wonky castle.
Here are his comments:
"A bench drill is an absolute must I would have to say, and you can how oval I still managed to make one of the holes. (More like a figure of eight, in fact). I fixed that with some epoxy putty built up on the inside though, and filed to shape. I decided to buy some e-clips as I didn’t fancy having to get those push nuts off the shaft. When I had finished, I had a gap between two of the towers, where one supports the other. A bit of metal plate cut to size and whacked with a hammer until it was the right thickness cured this, superglued into place. The towers all sit very nicely now."