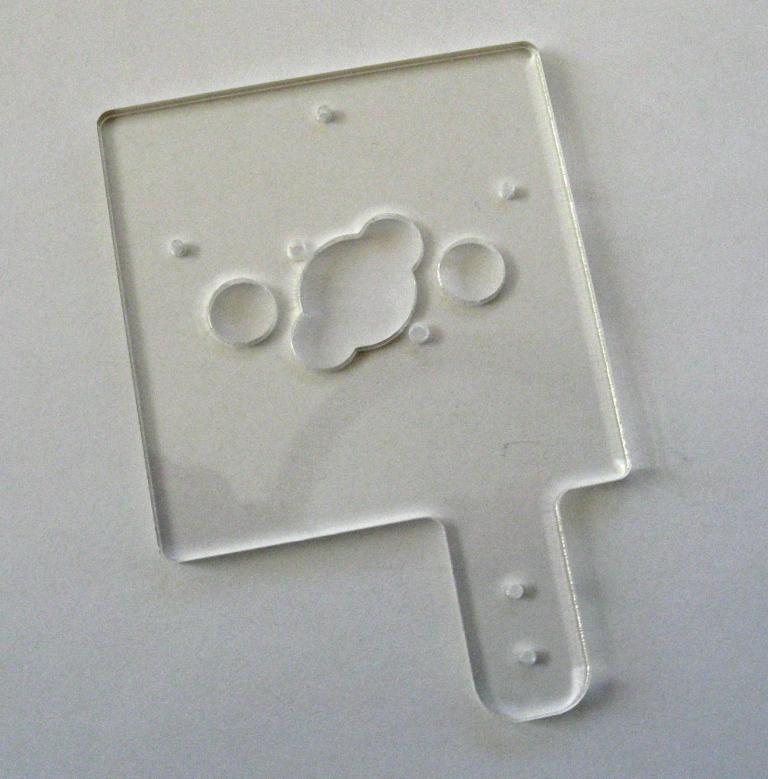
For the top side, place the template on the playfield oriented as shown in the picture. Align the large holes with the drilling template, and then tape the template in place. Your playfield will likely have holes marked for the three pop bumper mounting screws. These markings may well be off; the template is correct.
Then, drill three 1/16" holes, or use a sharp point to mark the spot. Also, mark the two small holes on the pop bumper pattern for the #4 mounting screws.
The mounting screws are supposed to be countersunk. The nailscrews that I have have a 0.275" diameter head, which means a 5/16 or 9/32 bit if you don't have a proper countersink.
Once the heads are countersunk, you can drill out the rest of the hole. It is a #6 thread, so a .140" drill would be perfect. Failing that, a 1/8" drill will let the nailscrew make some threads in the wood. The top thread of the nailscrew is about the same as a #8 screw.
For the mounting screws, a 1/16" hole is fine.
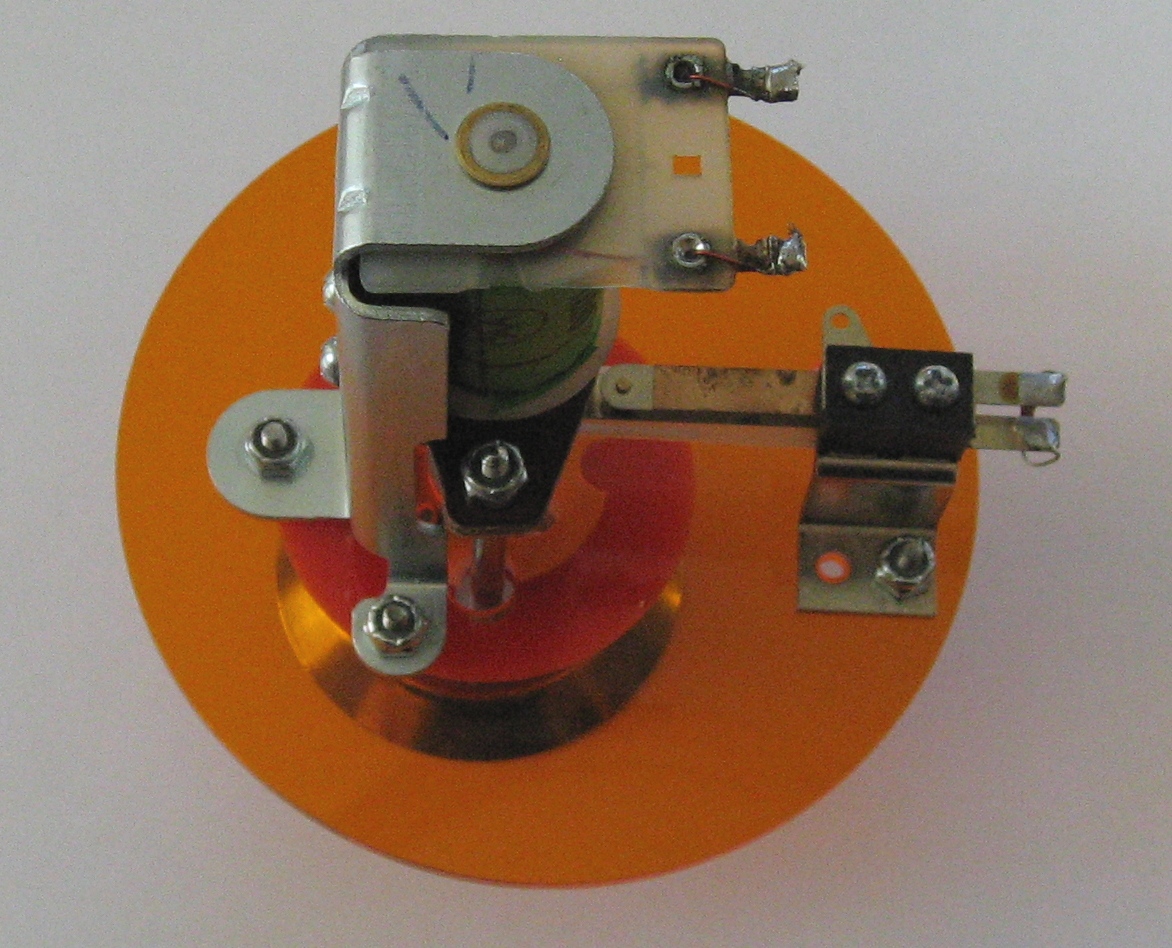
So to use this template, align the large center hole and rotate the template to the correct angle. Then drill pilot holes for the spoon switch. Using this template guarantees that the spoon switch will be centered on the pop bumper tail.