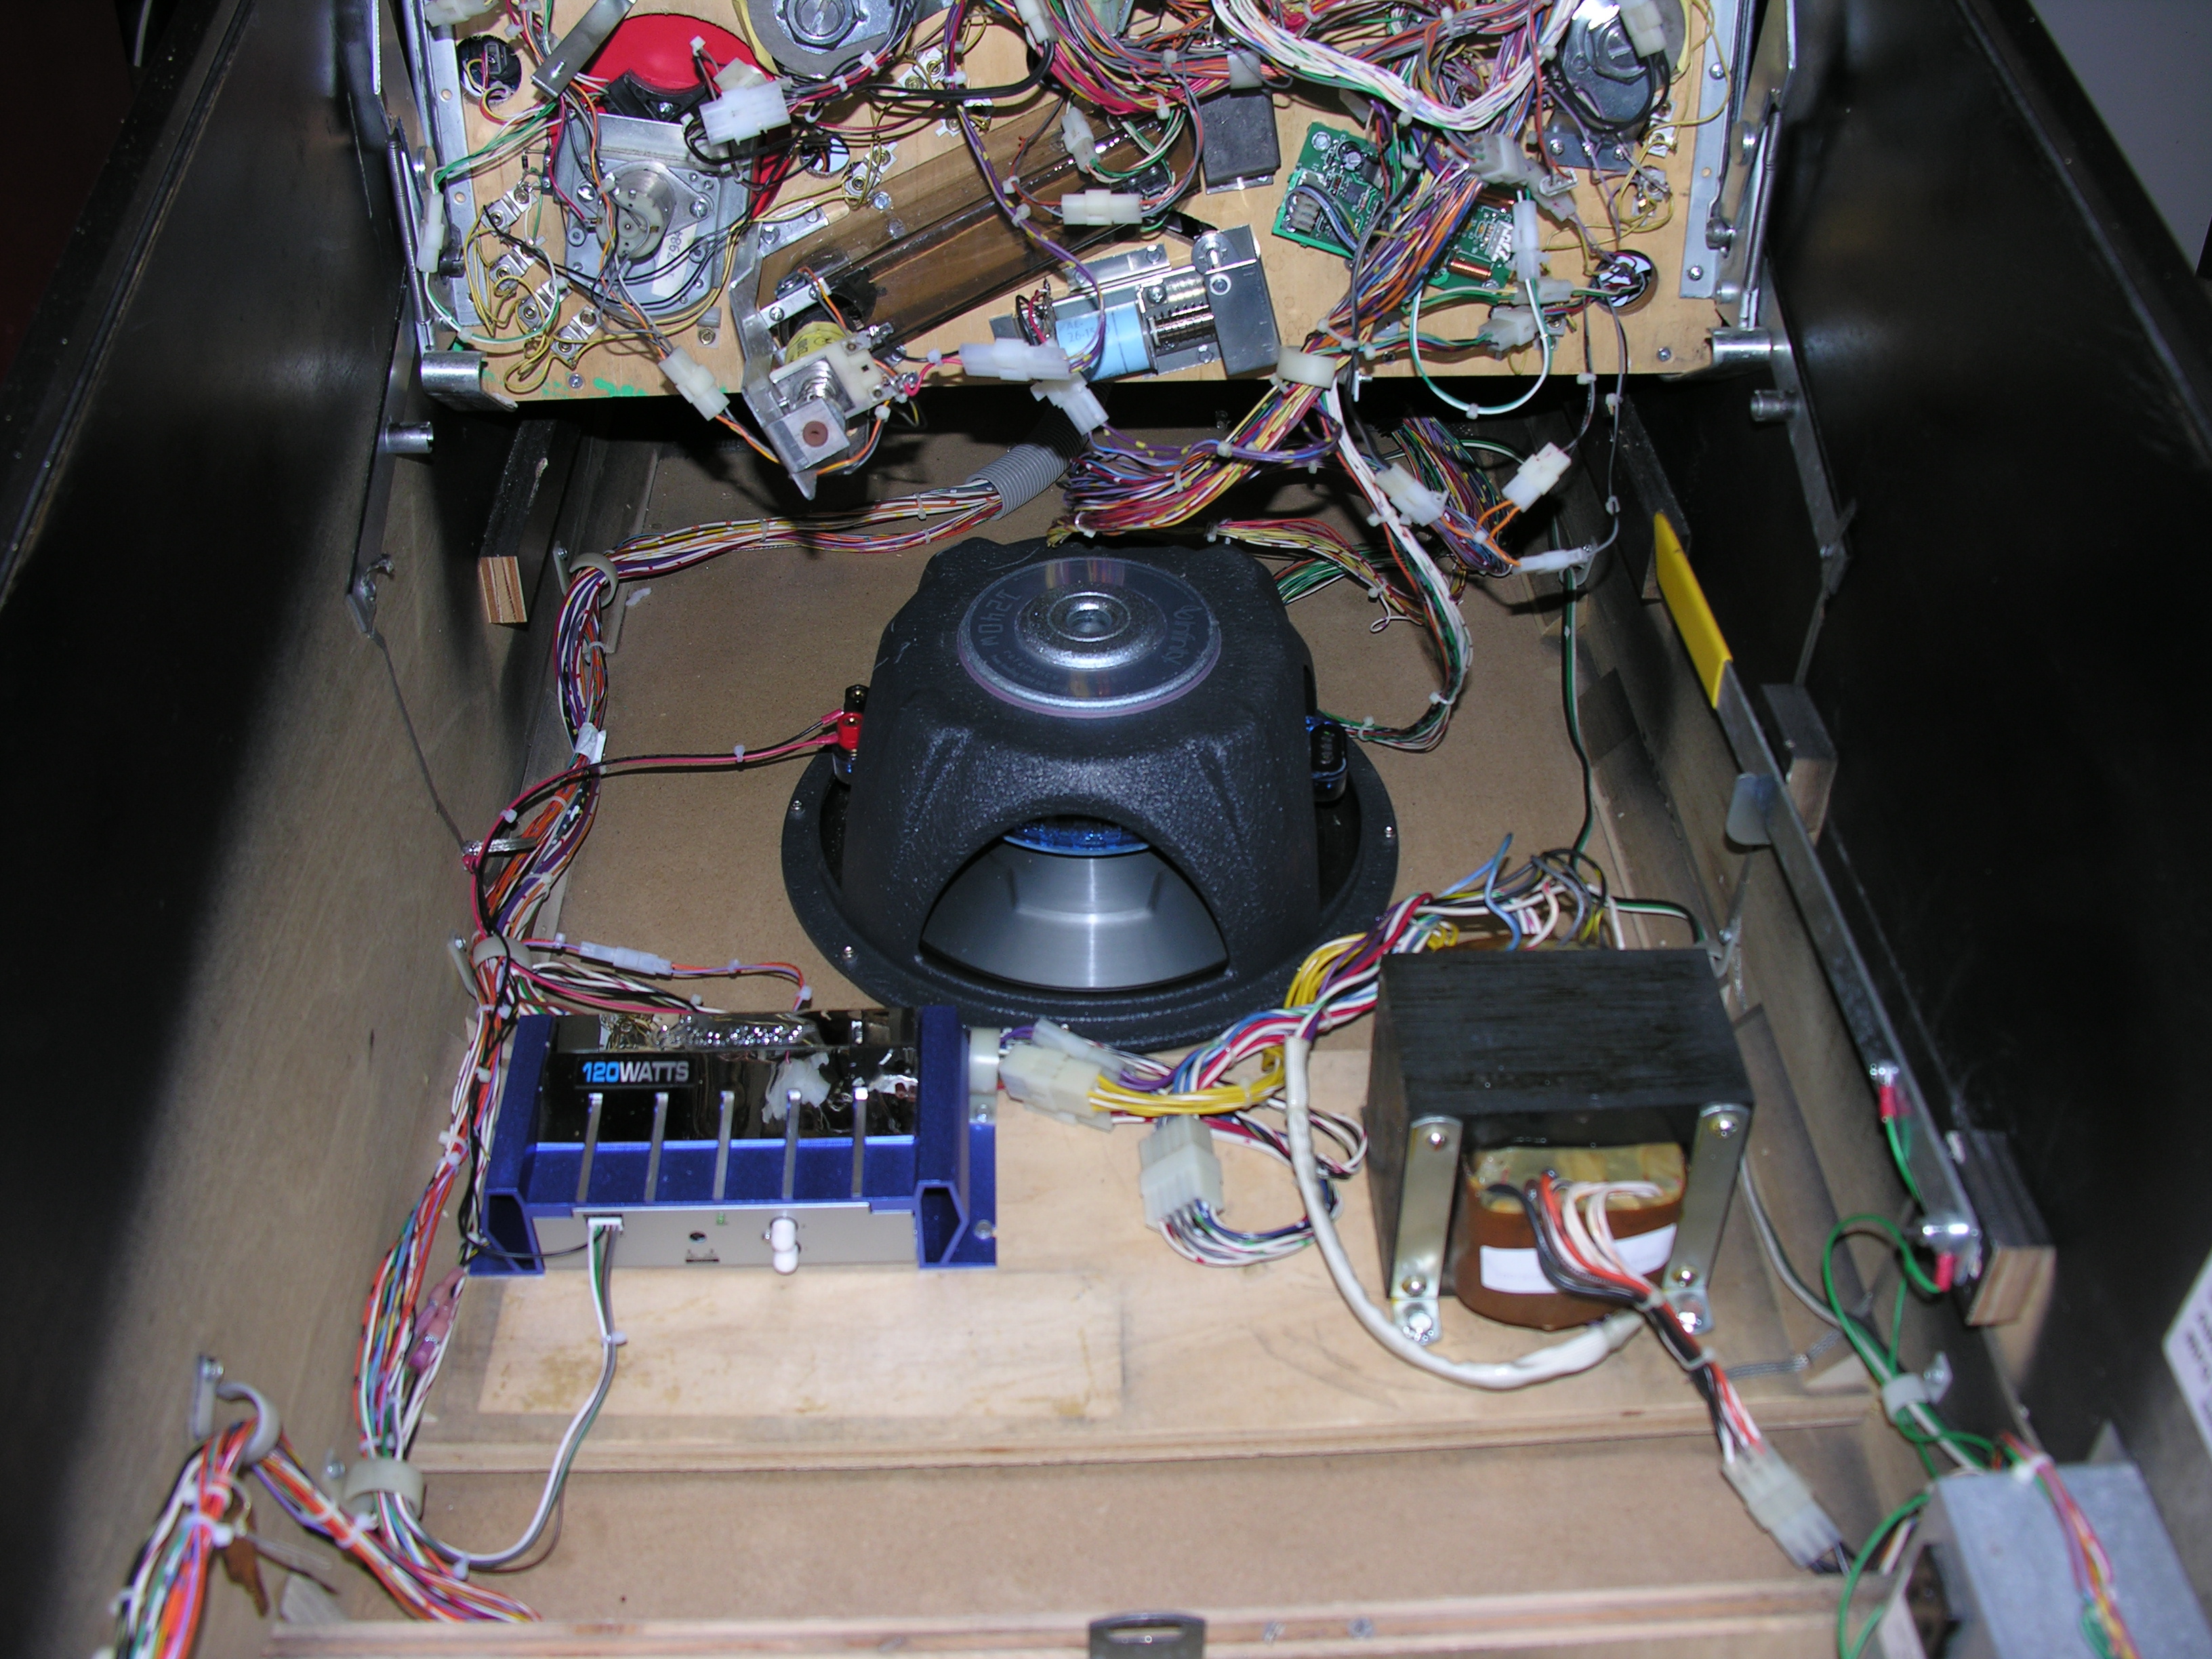
 Here's
the 12" sub and its amp. It is tapped into the 12V supply at the coin
door. It has no problem keeping up with the efficient 5 1/4" speakers in
the backbox, which hurt your ears at level 31. Everything is on a
disconnect.
Here's
the 12" sub and its amp. It is tapped into the 12V supply at the coin
door. It has no problem keeping up with the efficient 5 1/4" speakers in
the backbox, which hurt your ears at level 31. Everything is on a
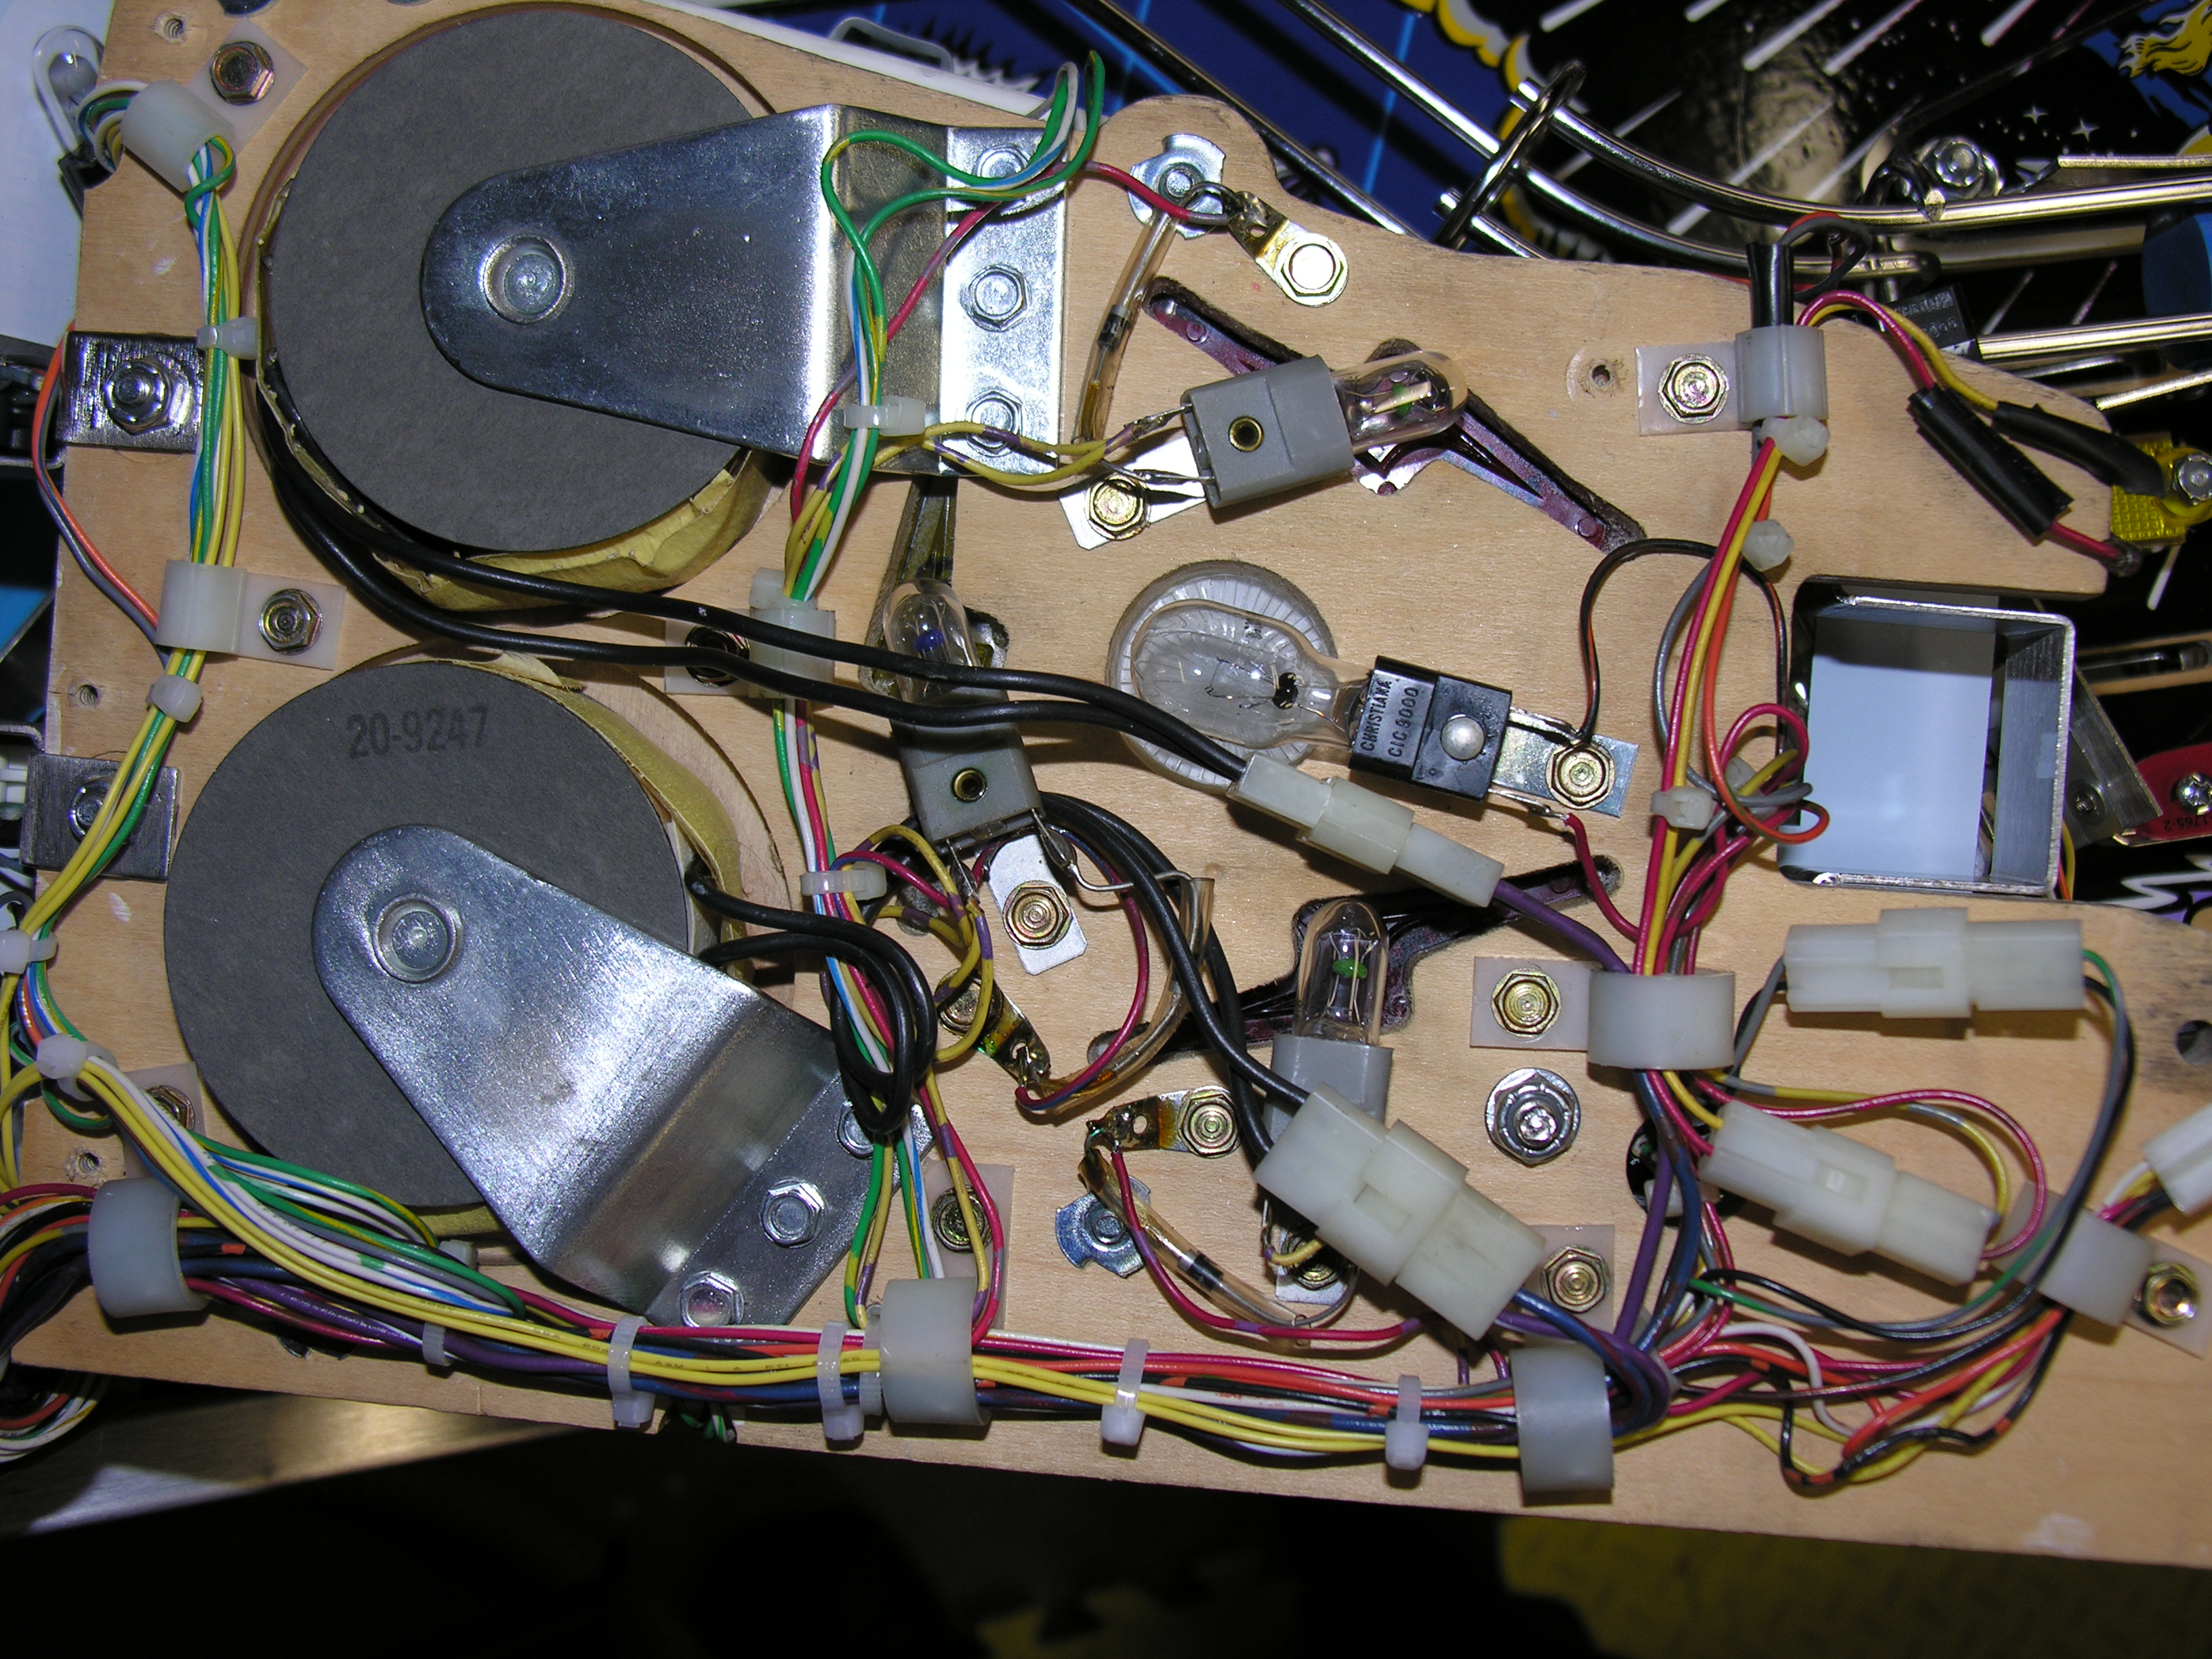
disconnect.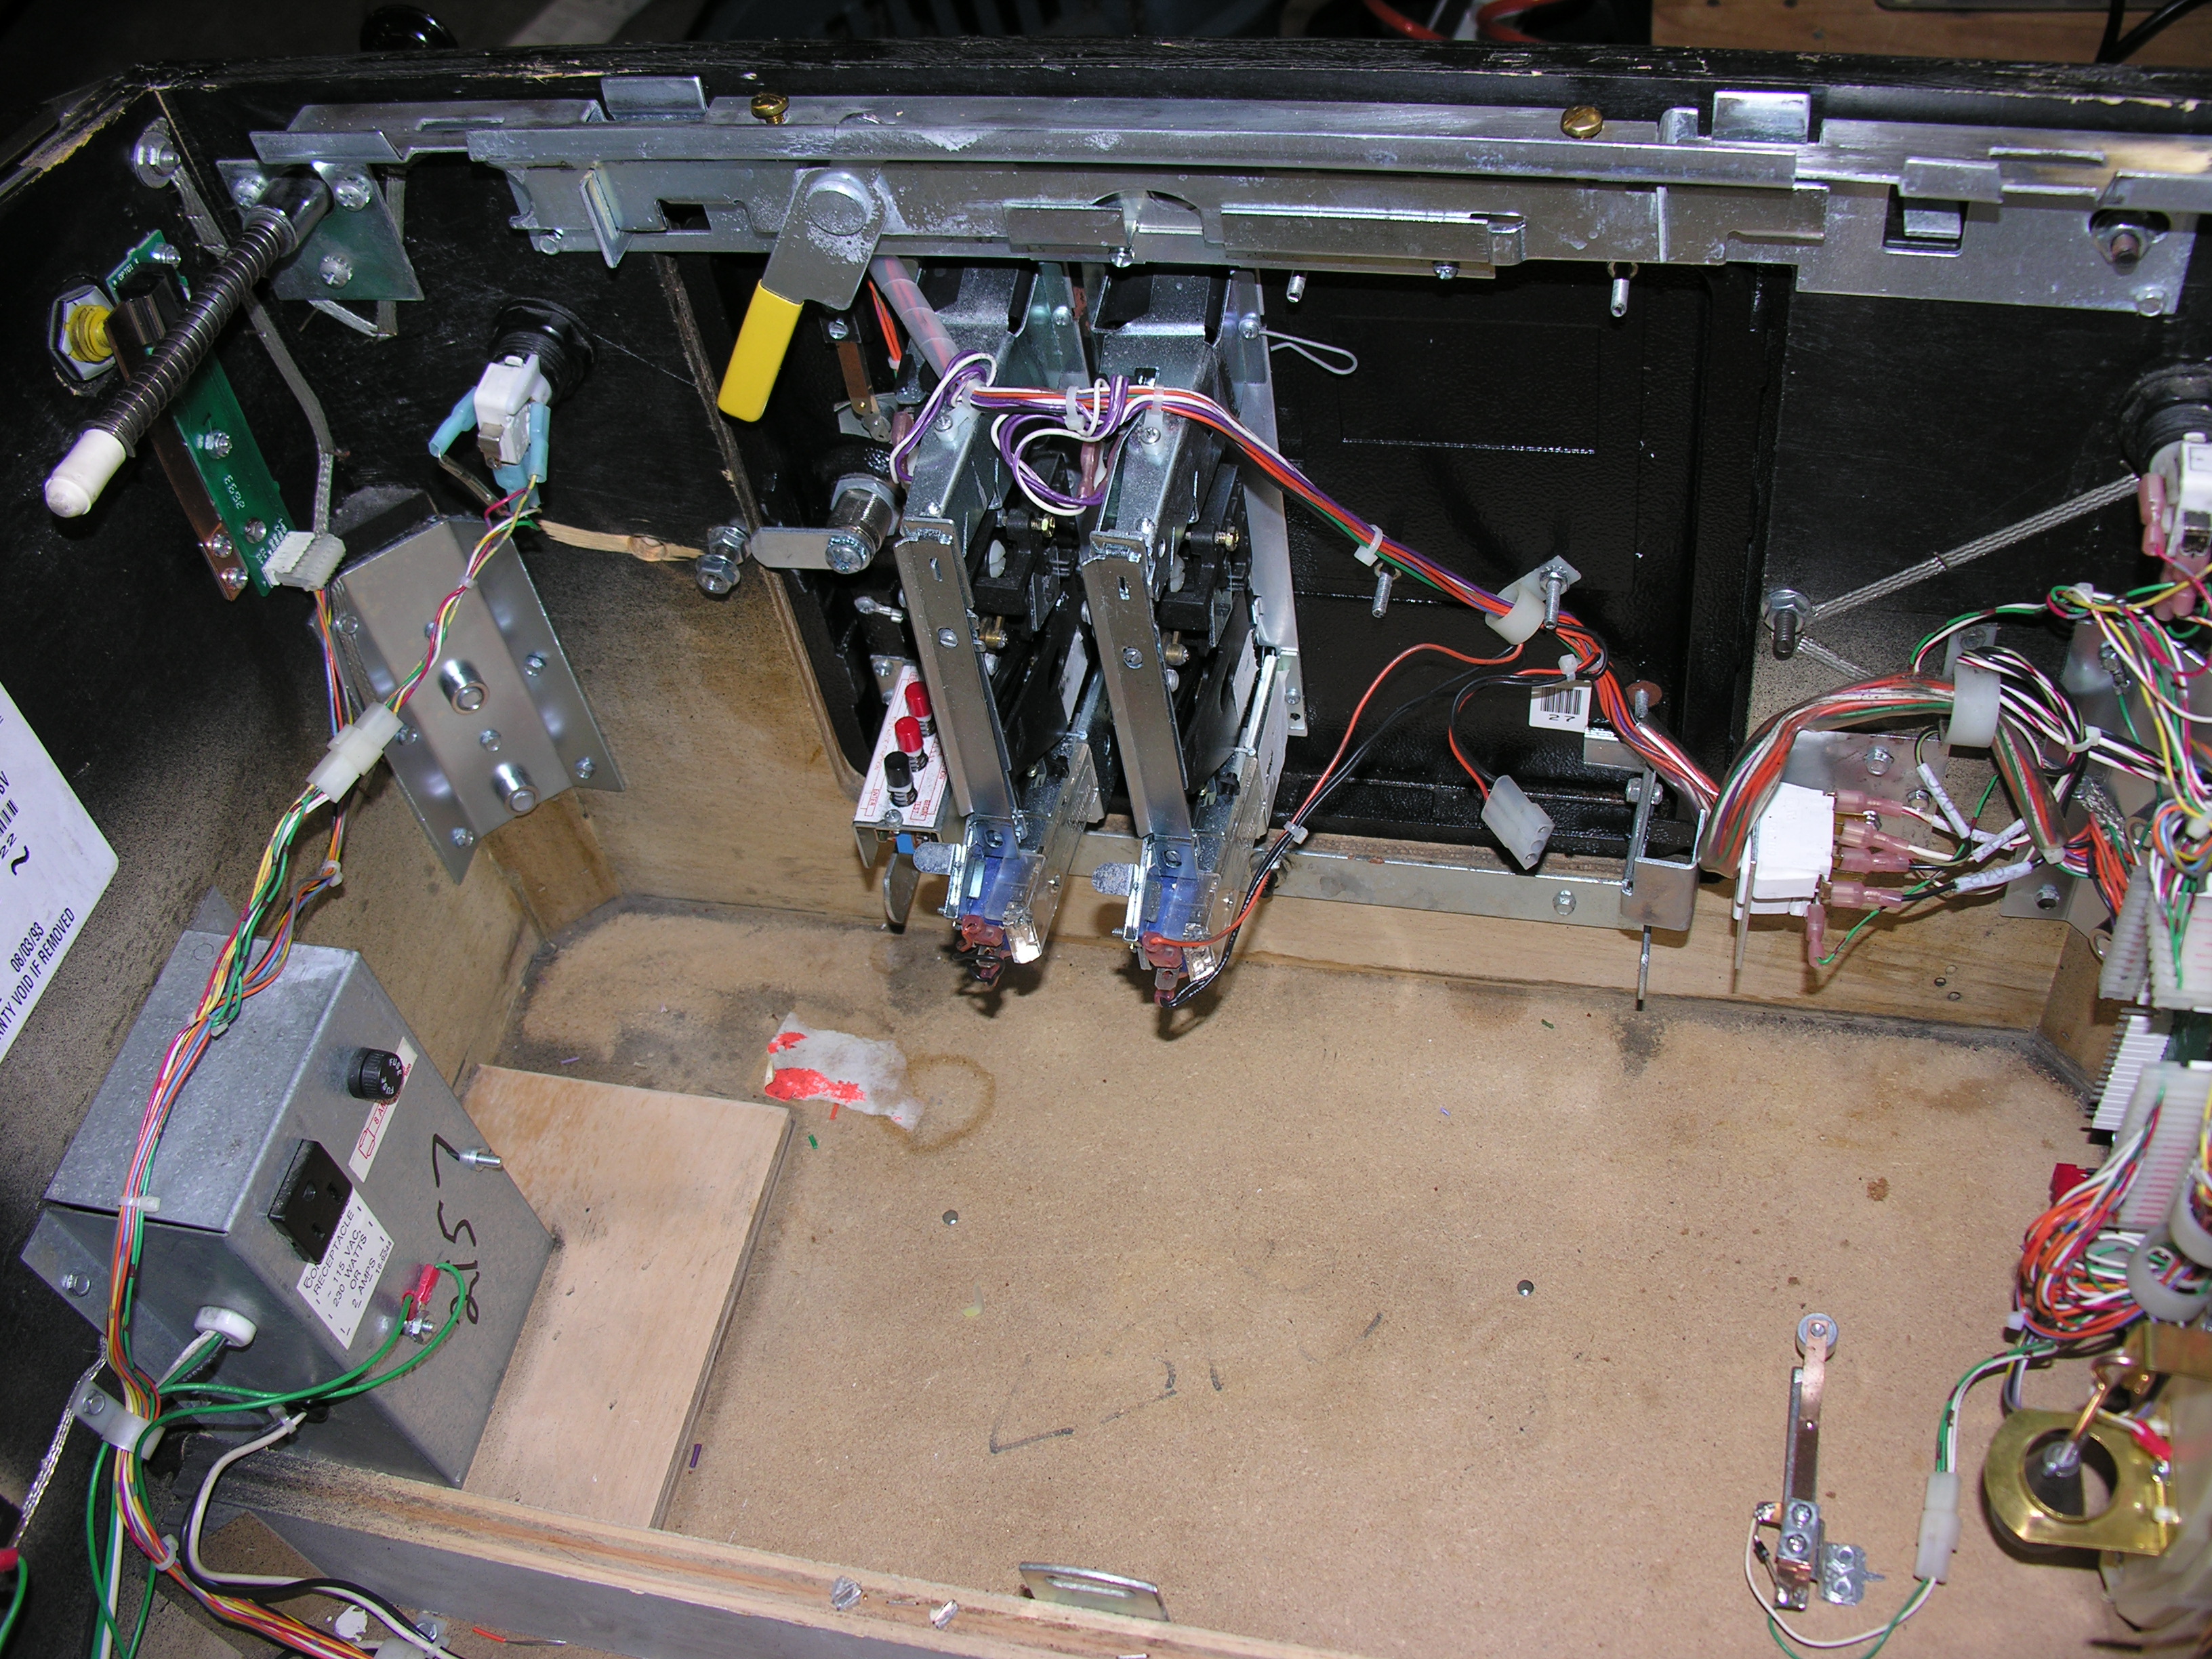 The
coin box area. I didn't quite get everything with my sander. Note the
polished slam tilt and tilt mechanisms, and the polished flipper
springs.
The
coin box area. I didn't quite get everything with my sander. Note the
polished slam tilt and tilt mechanisms, and the polished flipper
springs. 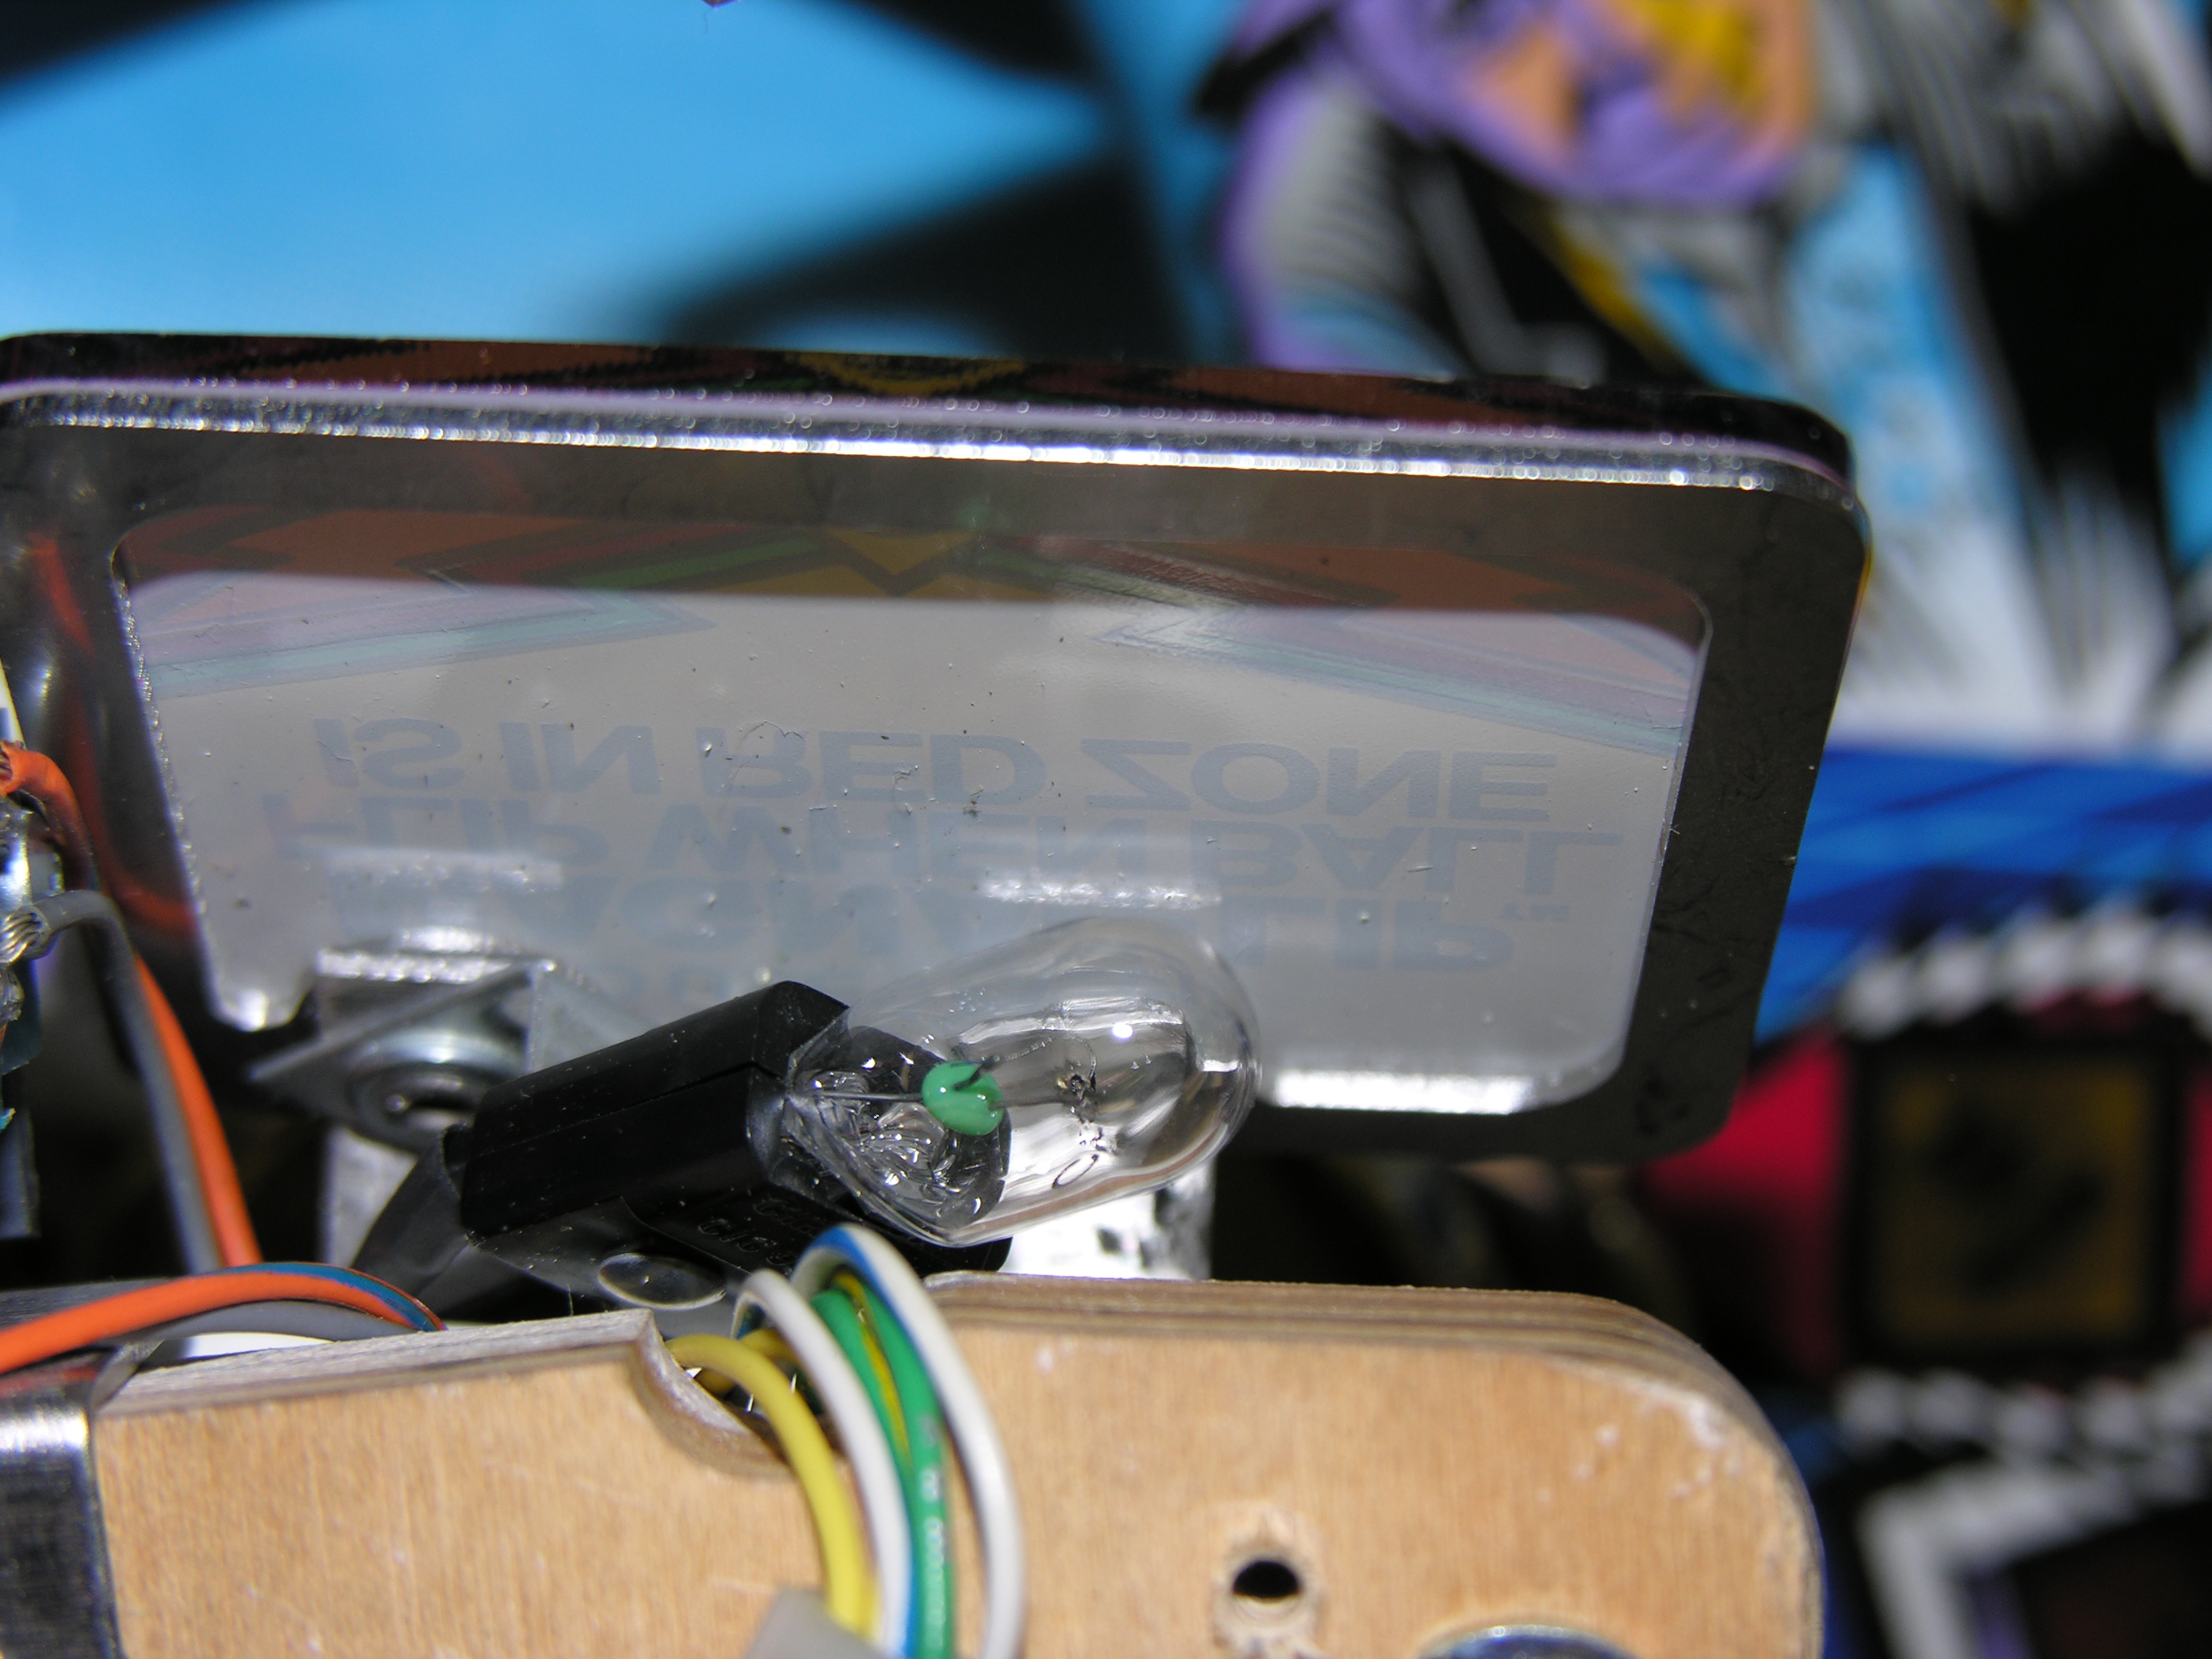 The
Magna-Flip sign with its 18GA stainless reinforcement, and the 555 bulb
riveted to the bracket.
The
Magna-Flip sign with its 18GA stainless reinforcement, and the 555 bulb
riveted to the bracket. 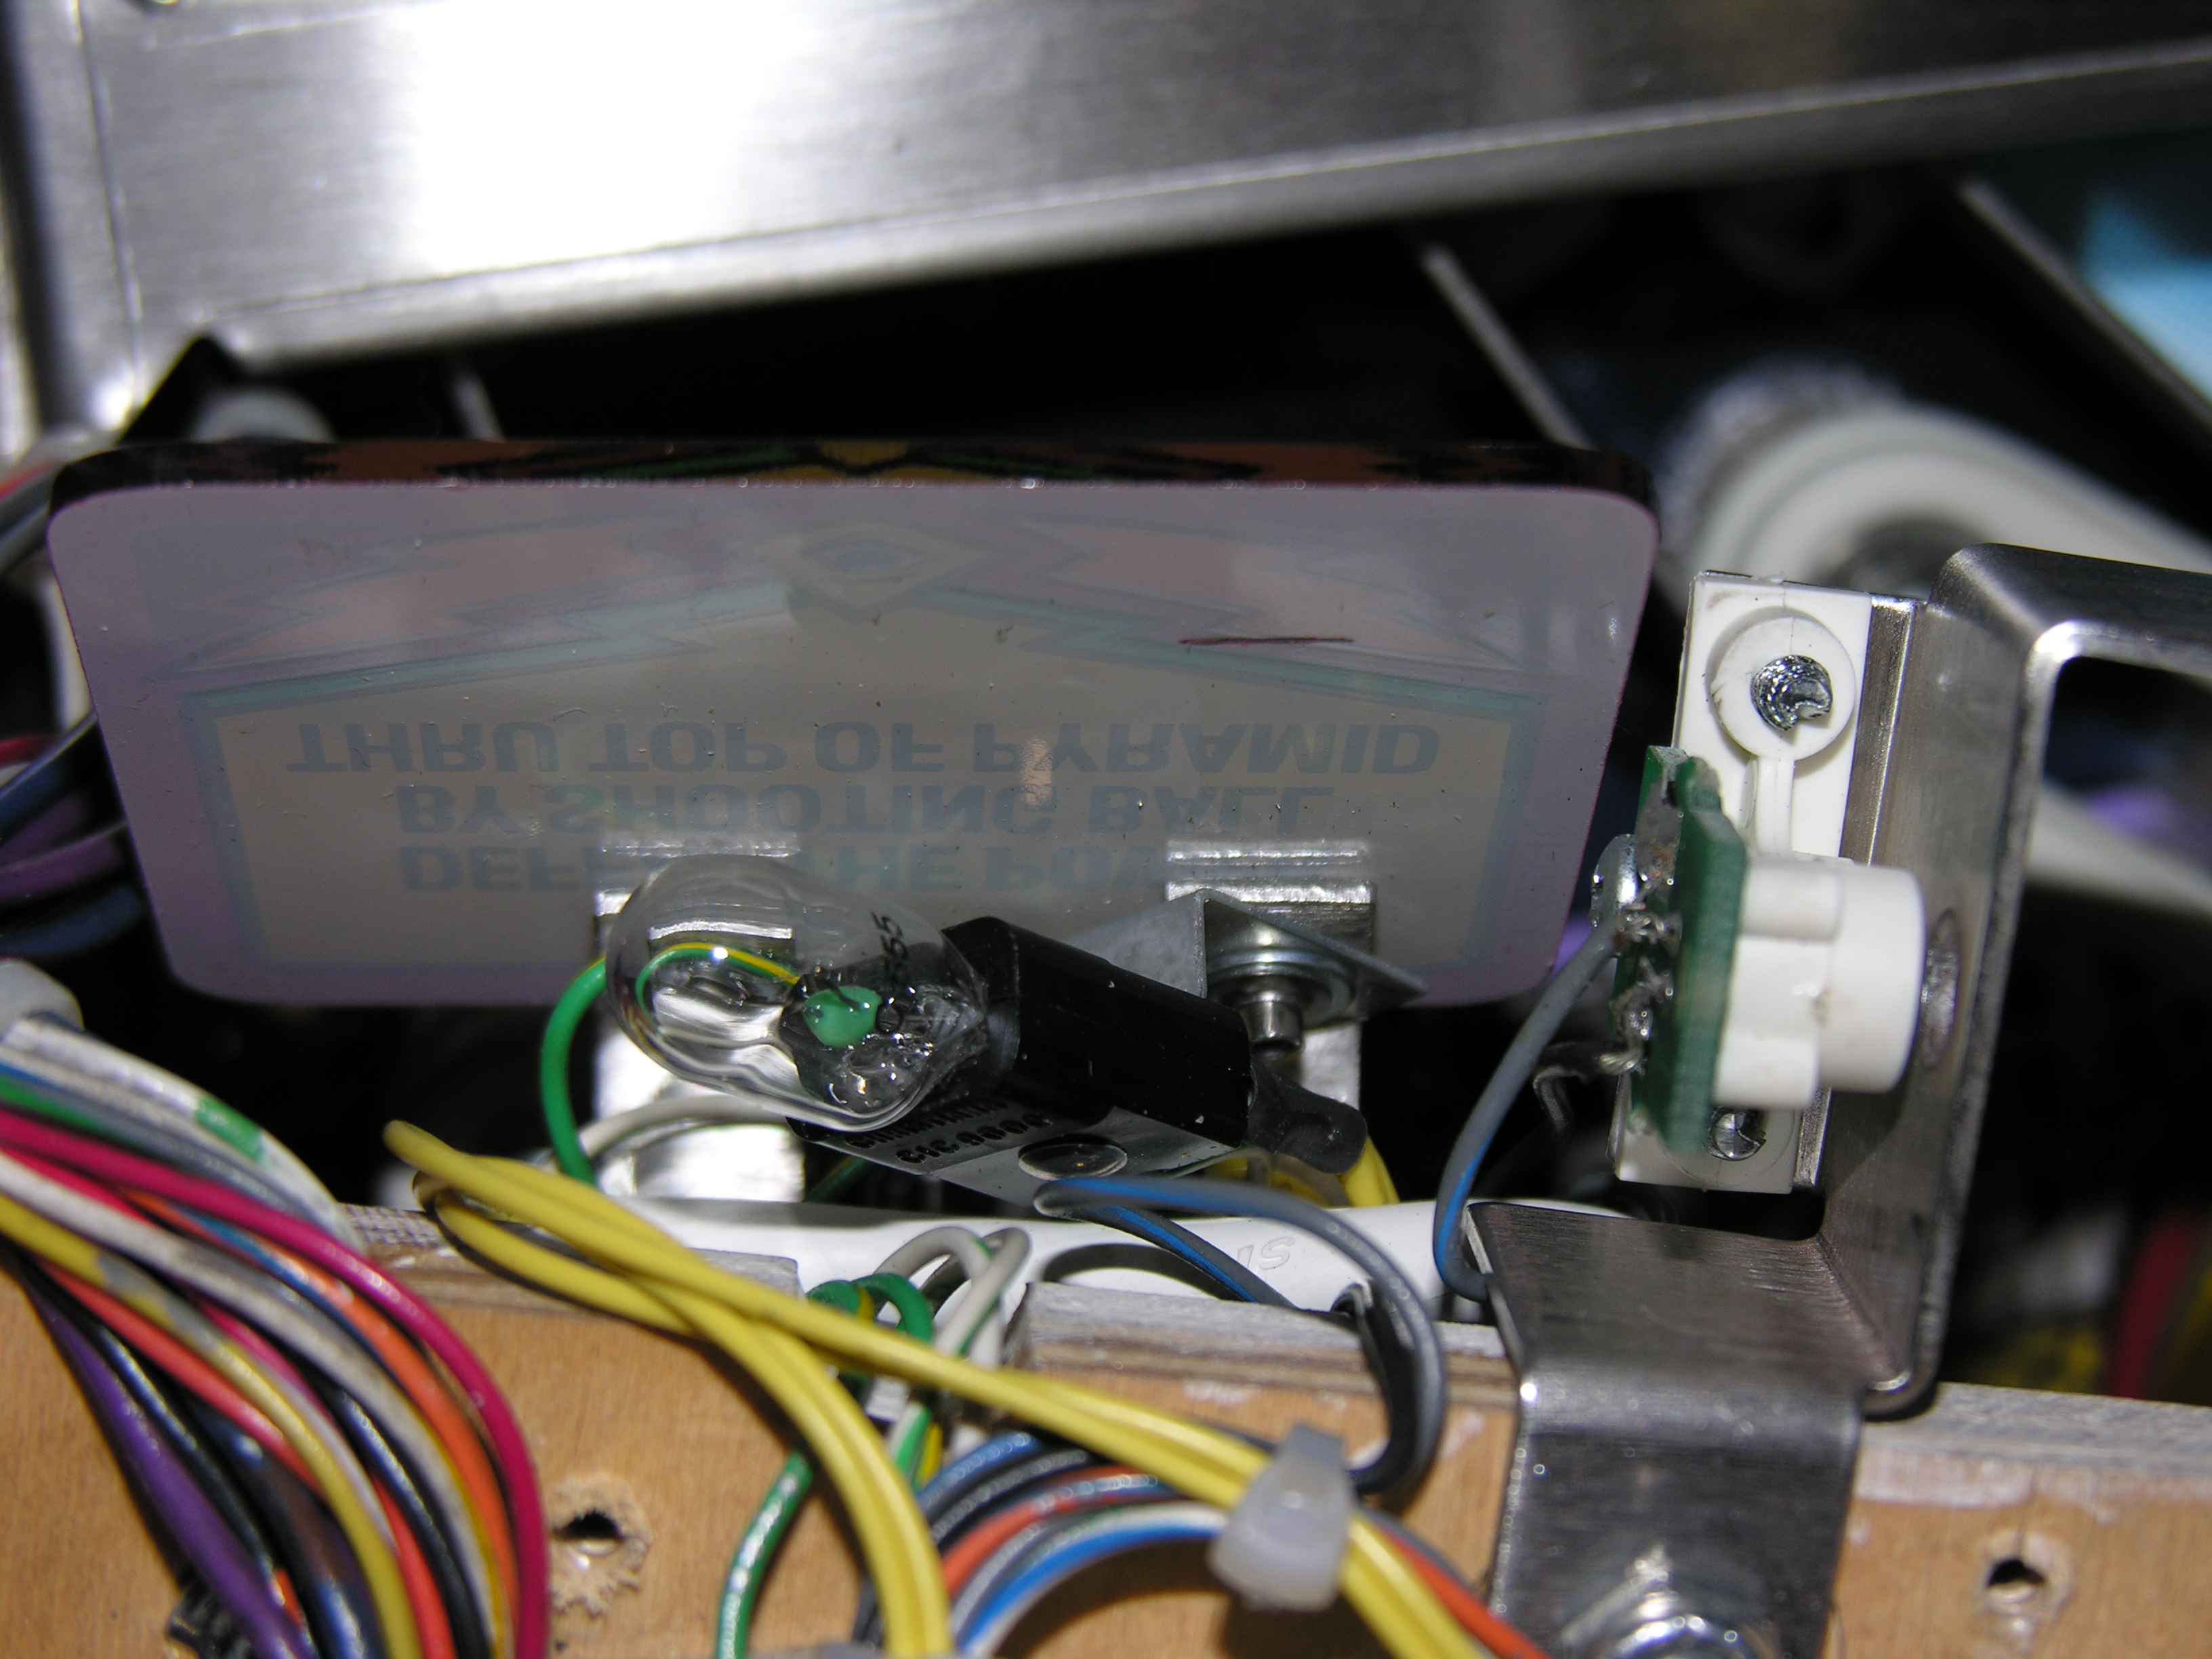 Lamp
(no bracket) for the Battle the Power..." sign.
Lamp
(no bracket) for the Battle the Power..." sign.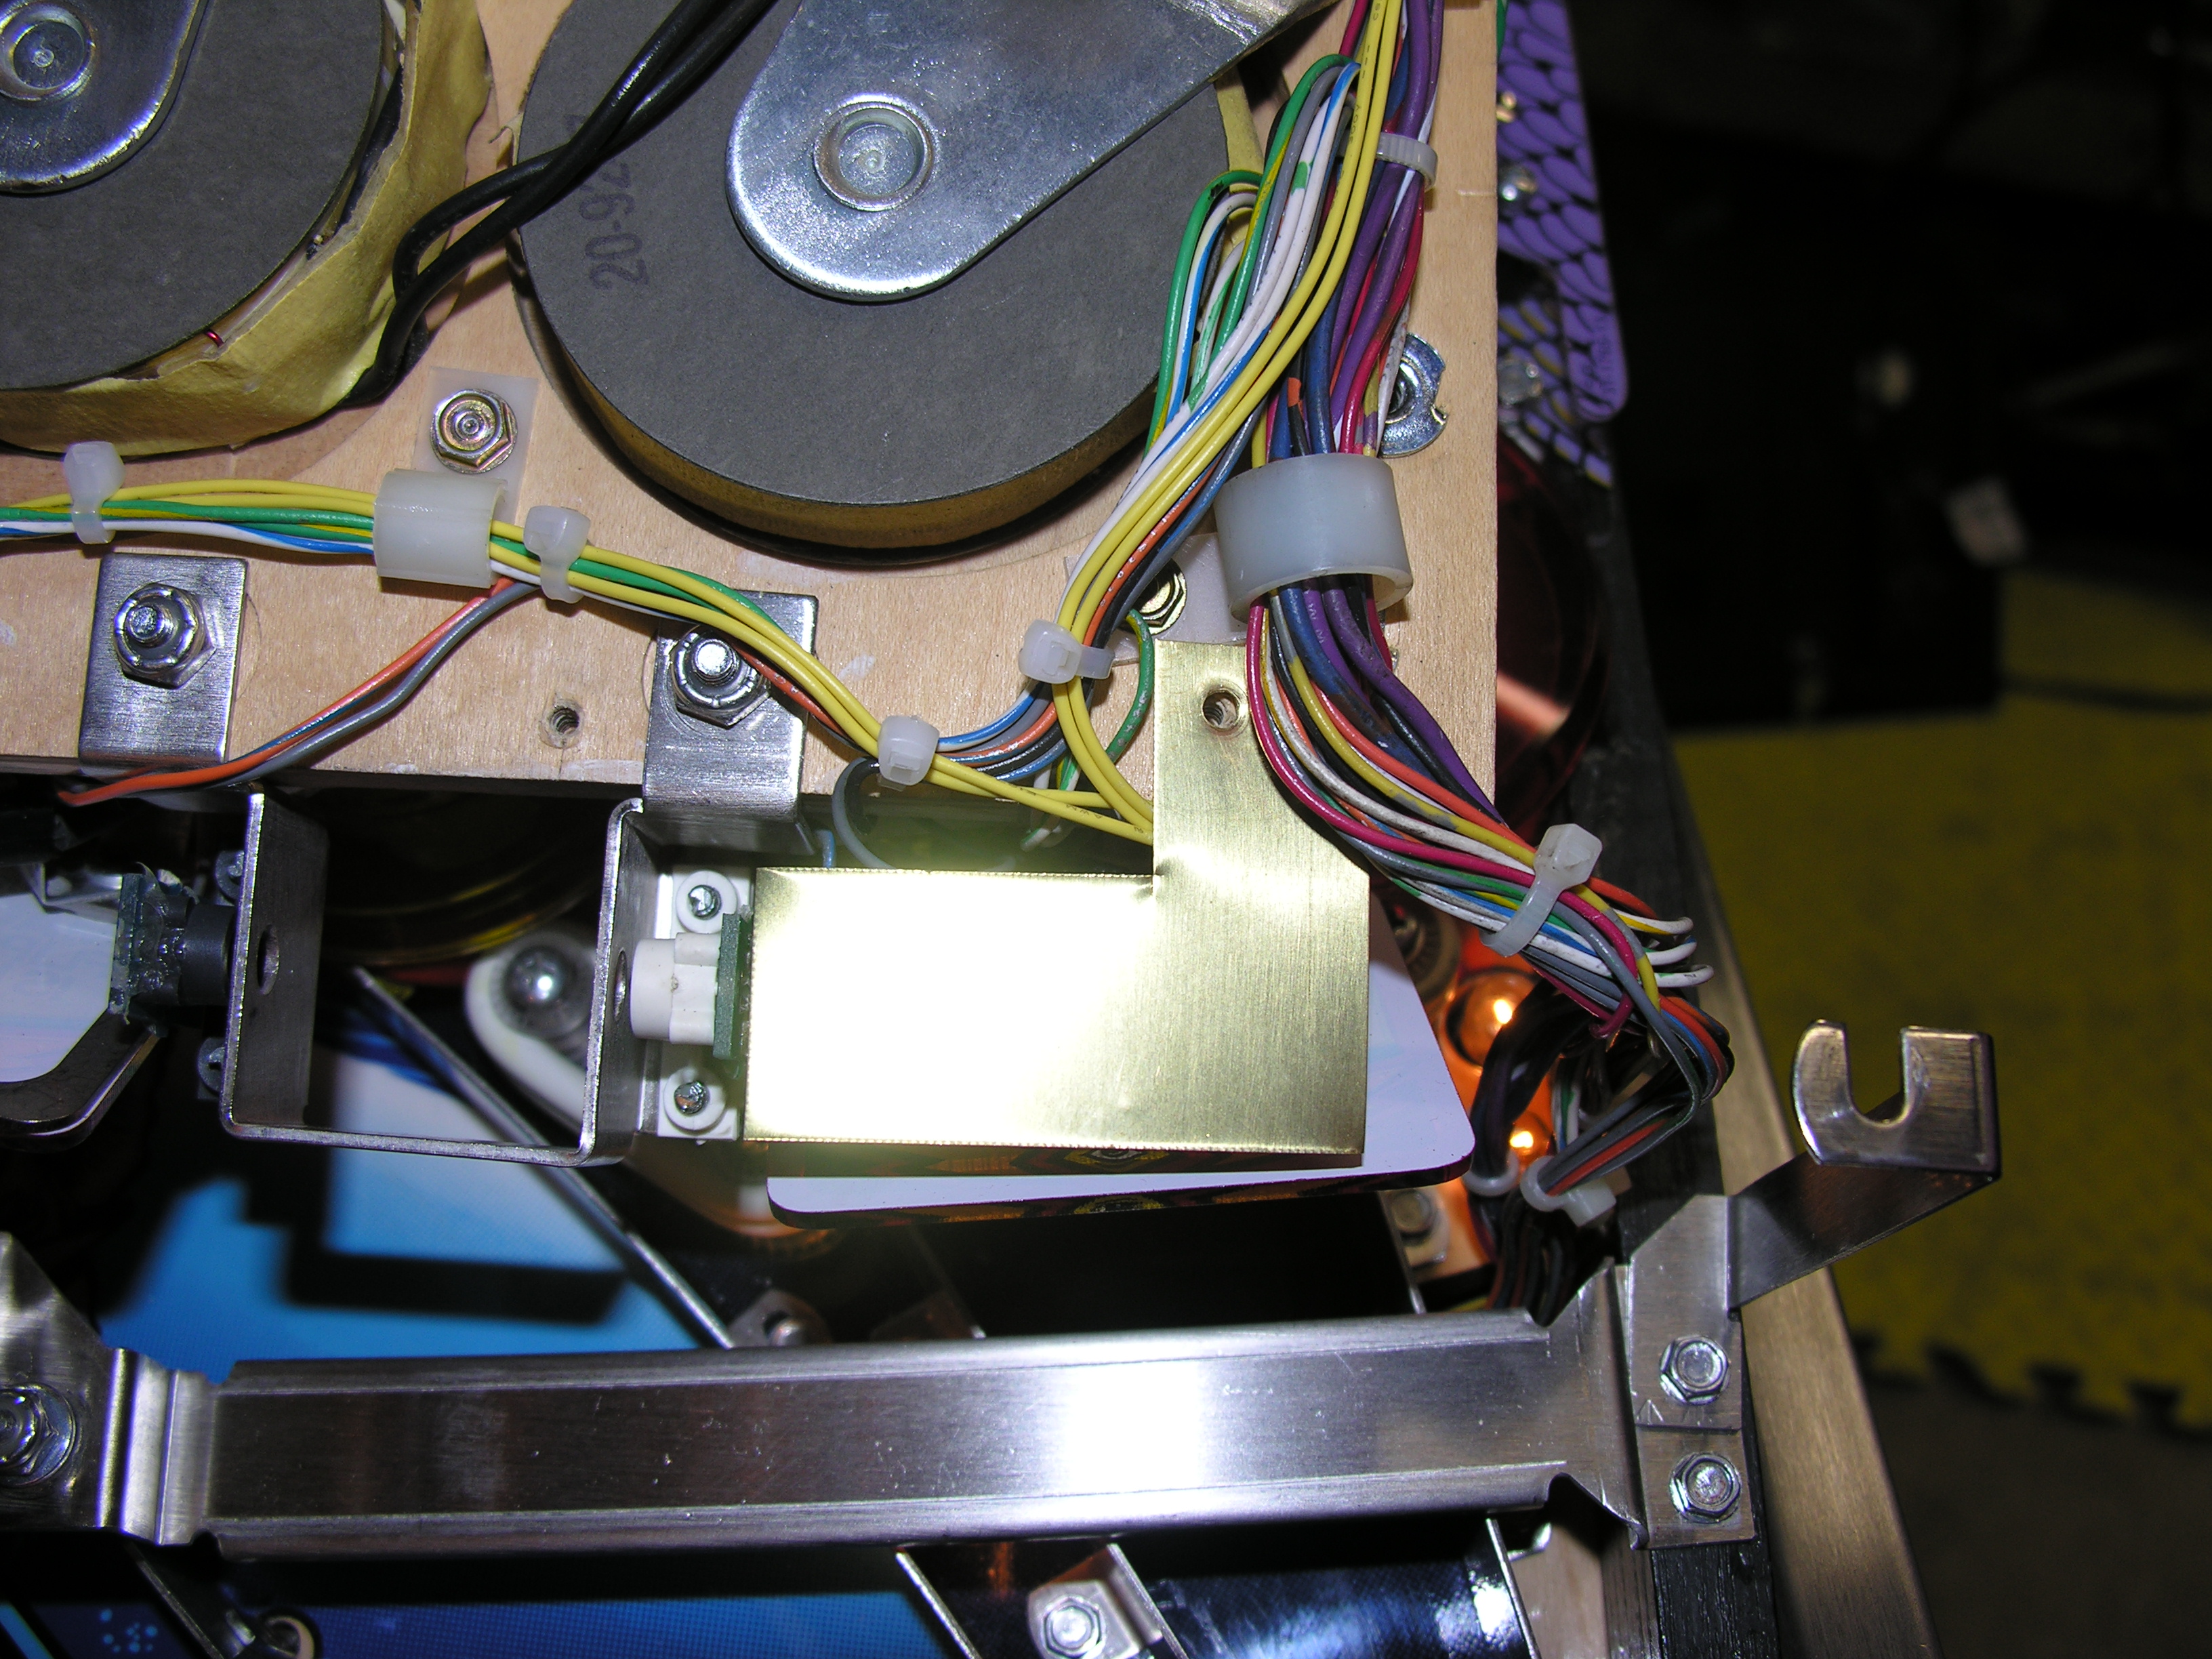
 On
the left, the new wiring- the bright yellow wires running down the left
and along the bottom of the mini playfield. They are crimped into the GI
supply for the lamp. And on the right, a prototype shield to keep the
bulb from reflecting off of the pop bumpers.
On
the left, the new wiring- the bright yellow wires running down the left
and along the bottom of the mini playfield. They are crimped into the GI
supply for the lamp. And on the right, a prototype shield to keep the
bulb from reflecting off of the pop bumpers.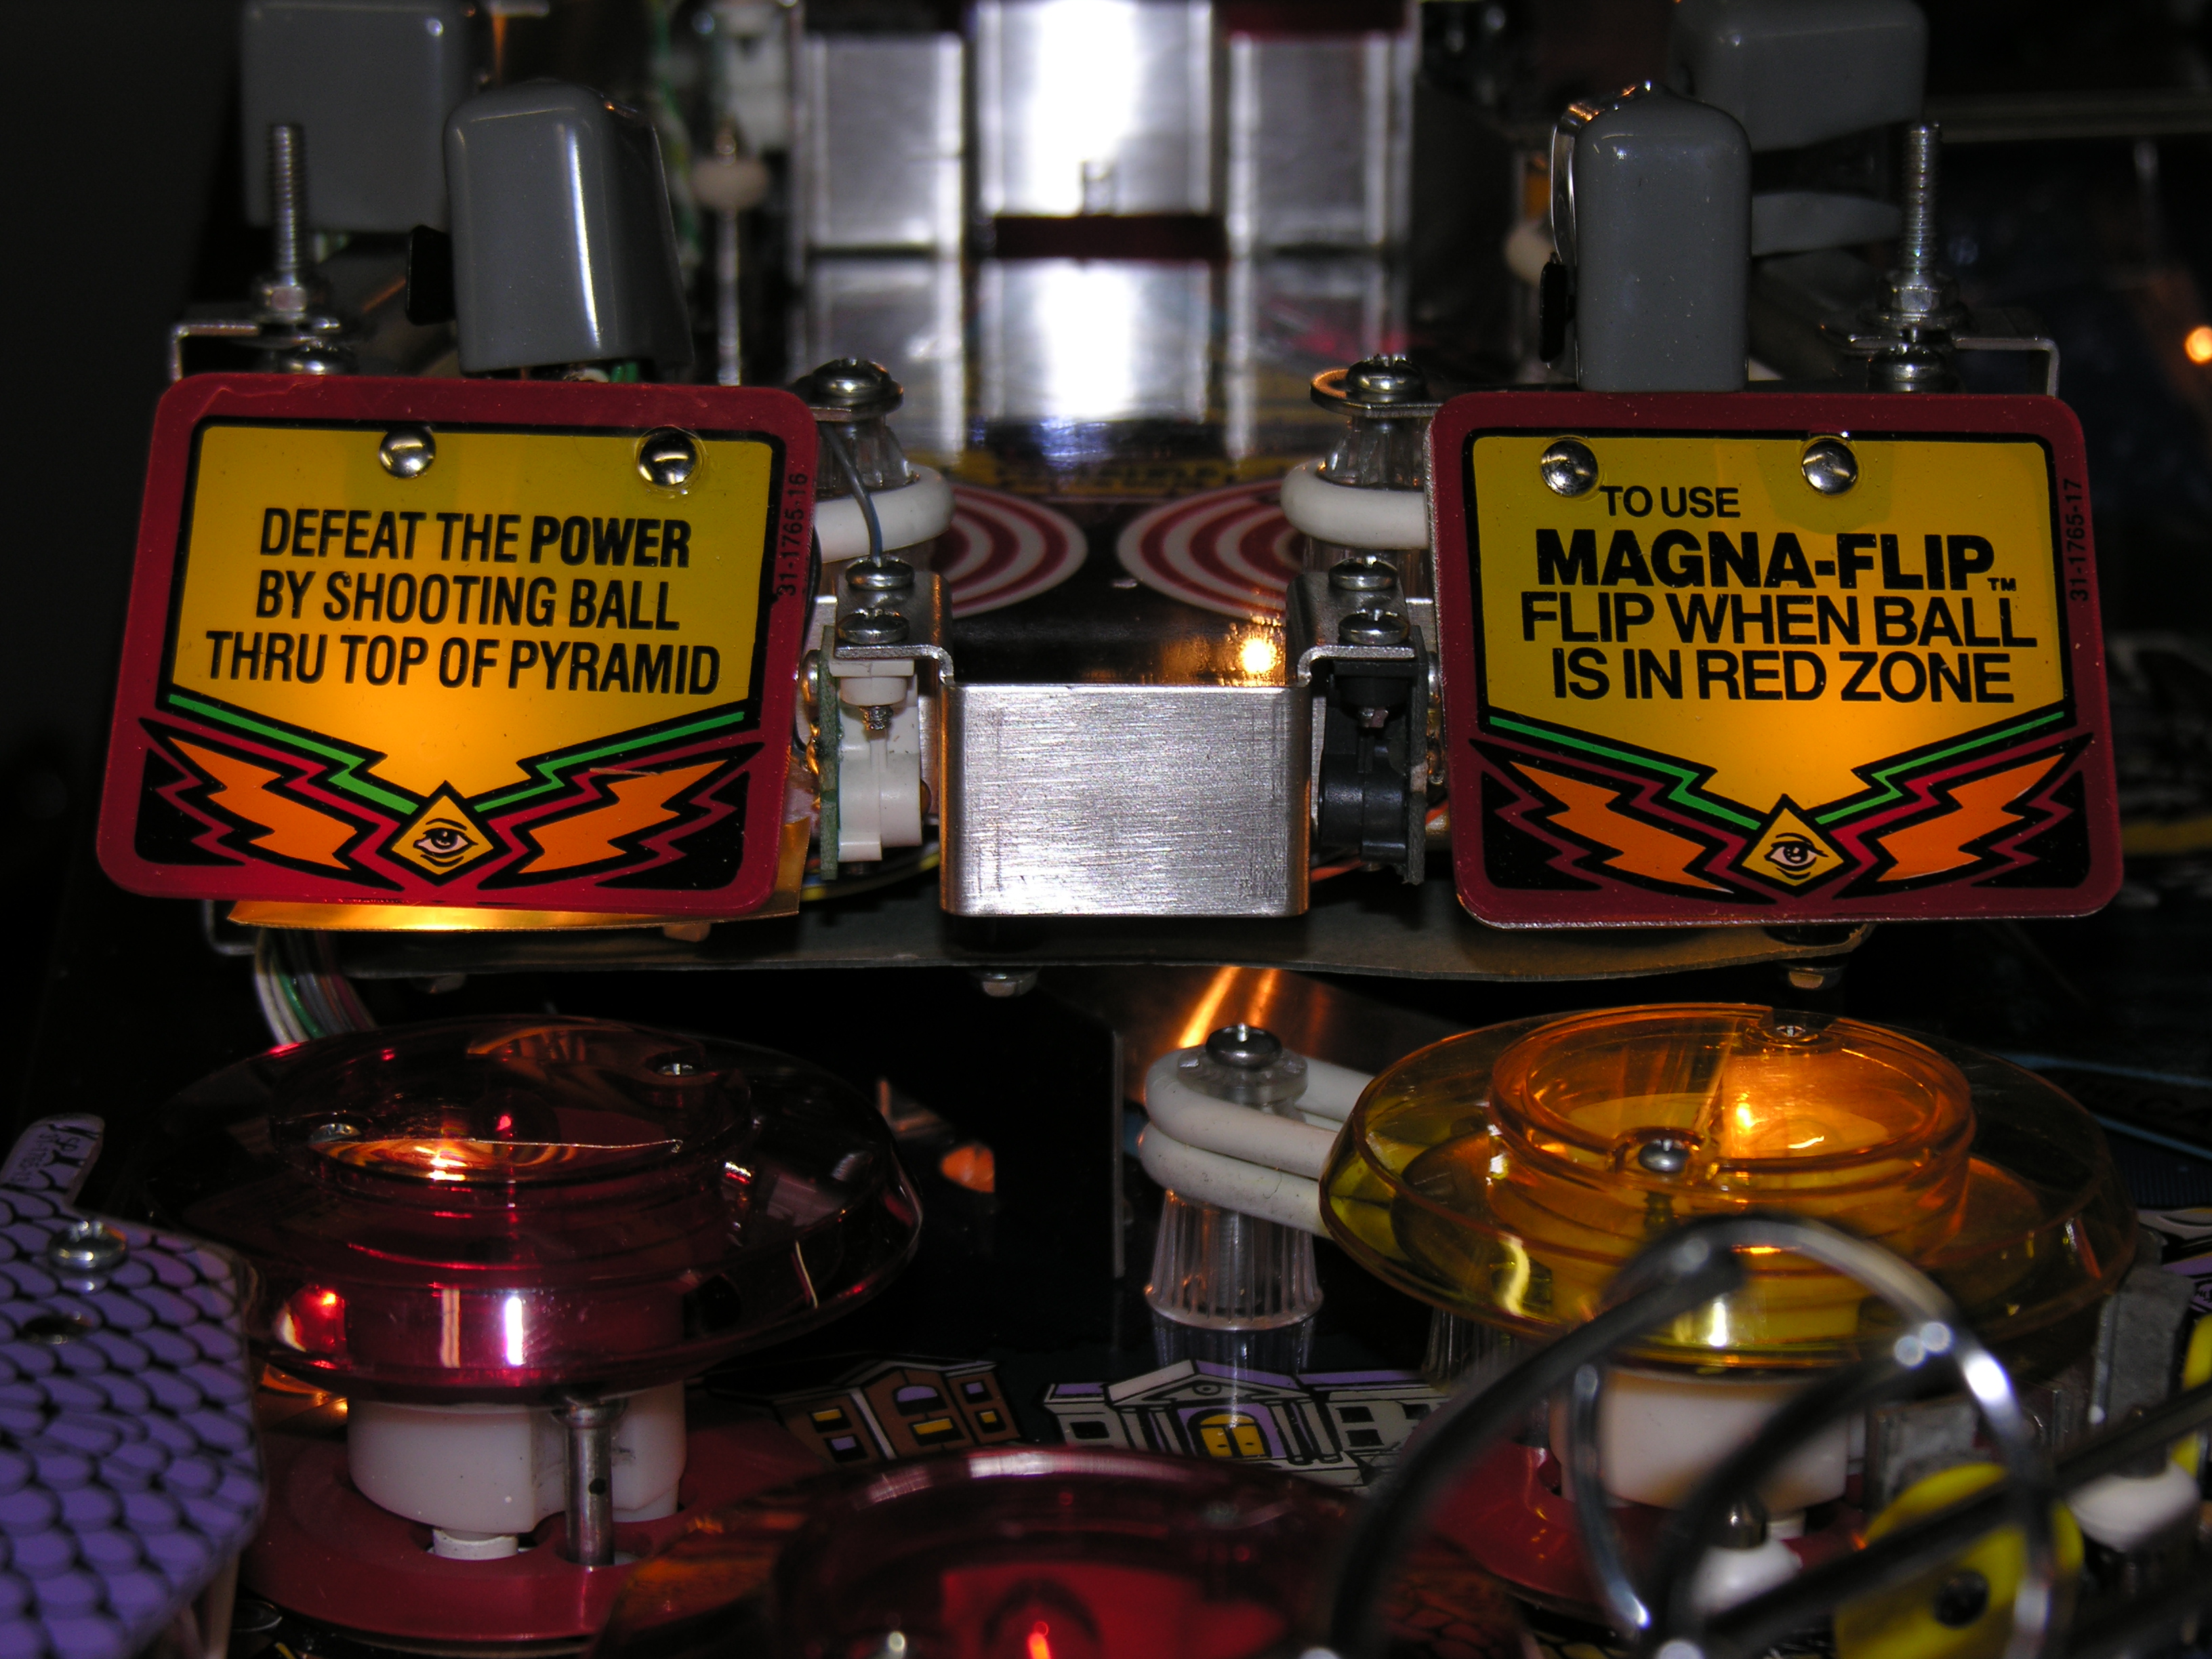 Here's
a flash shot of the lamps behind the signs. The left bumper is shielded,
the right is not... yet.
Here's
a flash shot of the lamps behind the signs. The left bumper is shielded,
the right is not... yet.
 A
couple of overall playfield shots. Note the clear ramp and stainless
steel ramp flaps. The flaps are extended slightly to cover wear. I also
put a small strip of mylar under the flaps.
A
couple of overall playfield shots. Note the clear ramp and stainless
steel ramp flaps. The flaps are extended slightly to cover wear. I also
put a small strip of mylar under the flaps.
The clock is still vacationing.
These are handheld shots, a tripod would have given better results.
 Another
flash shot, you can see the stainless ramp flaps.
Another
flash shot, you can see the stainless ramp flaps.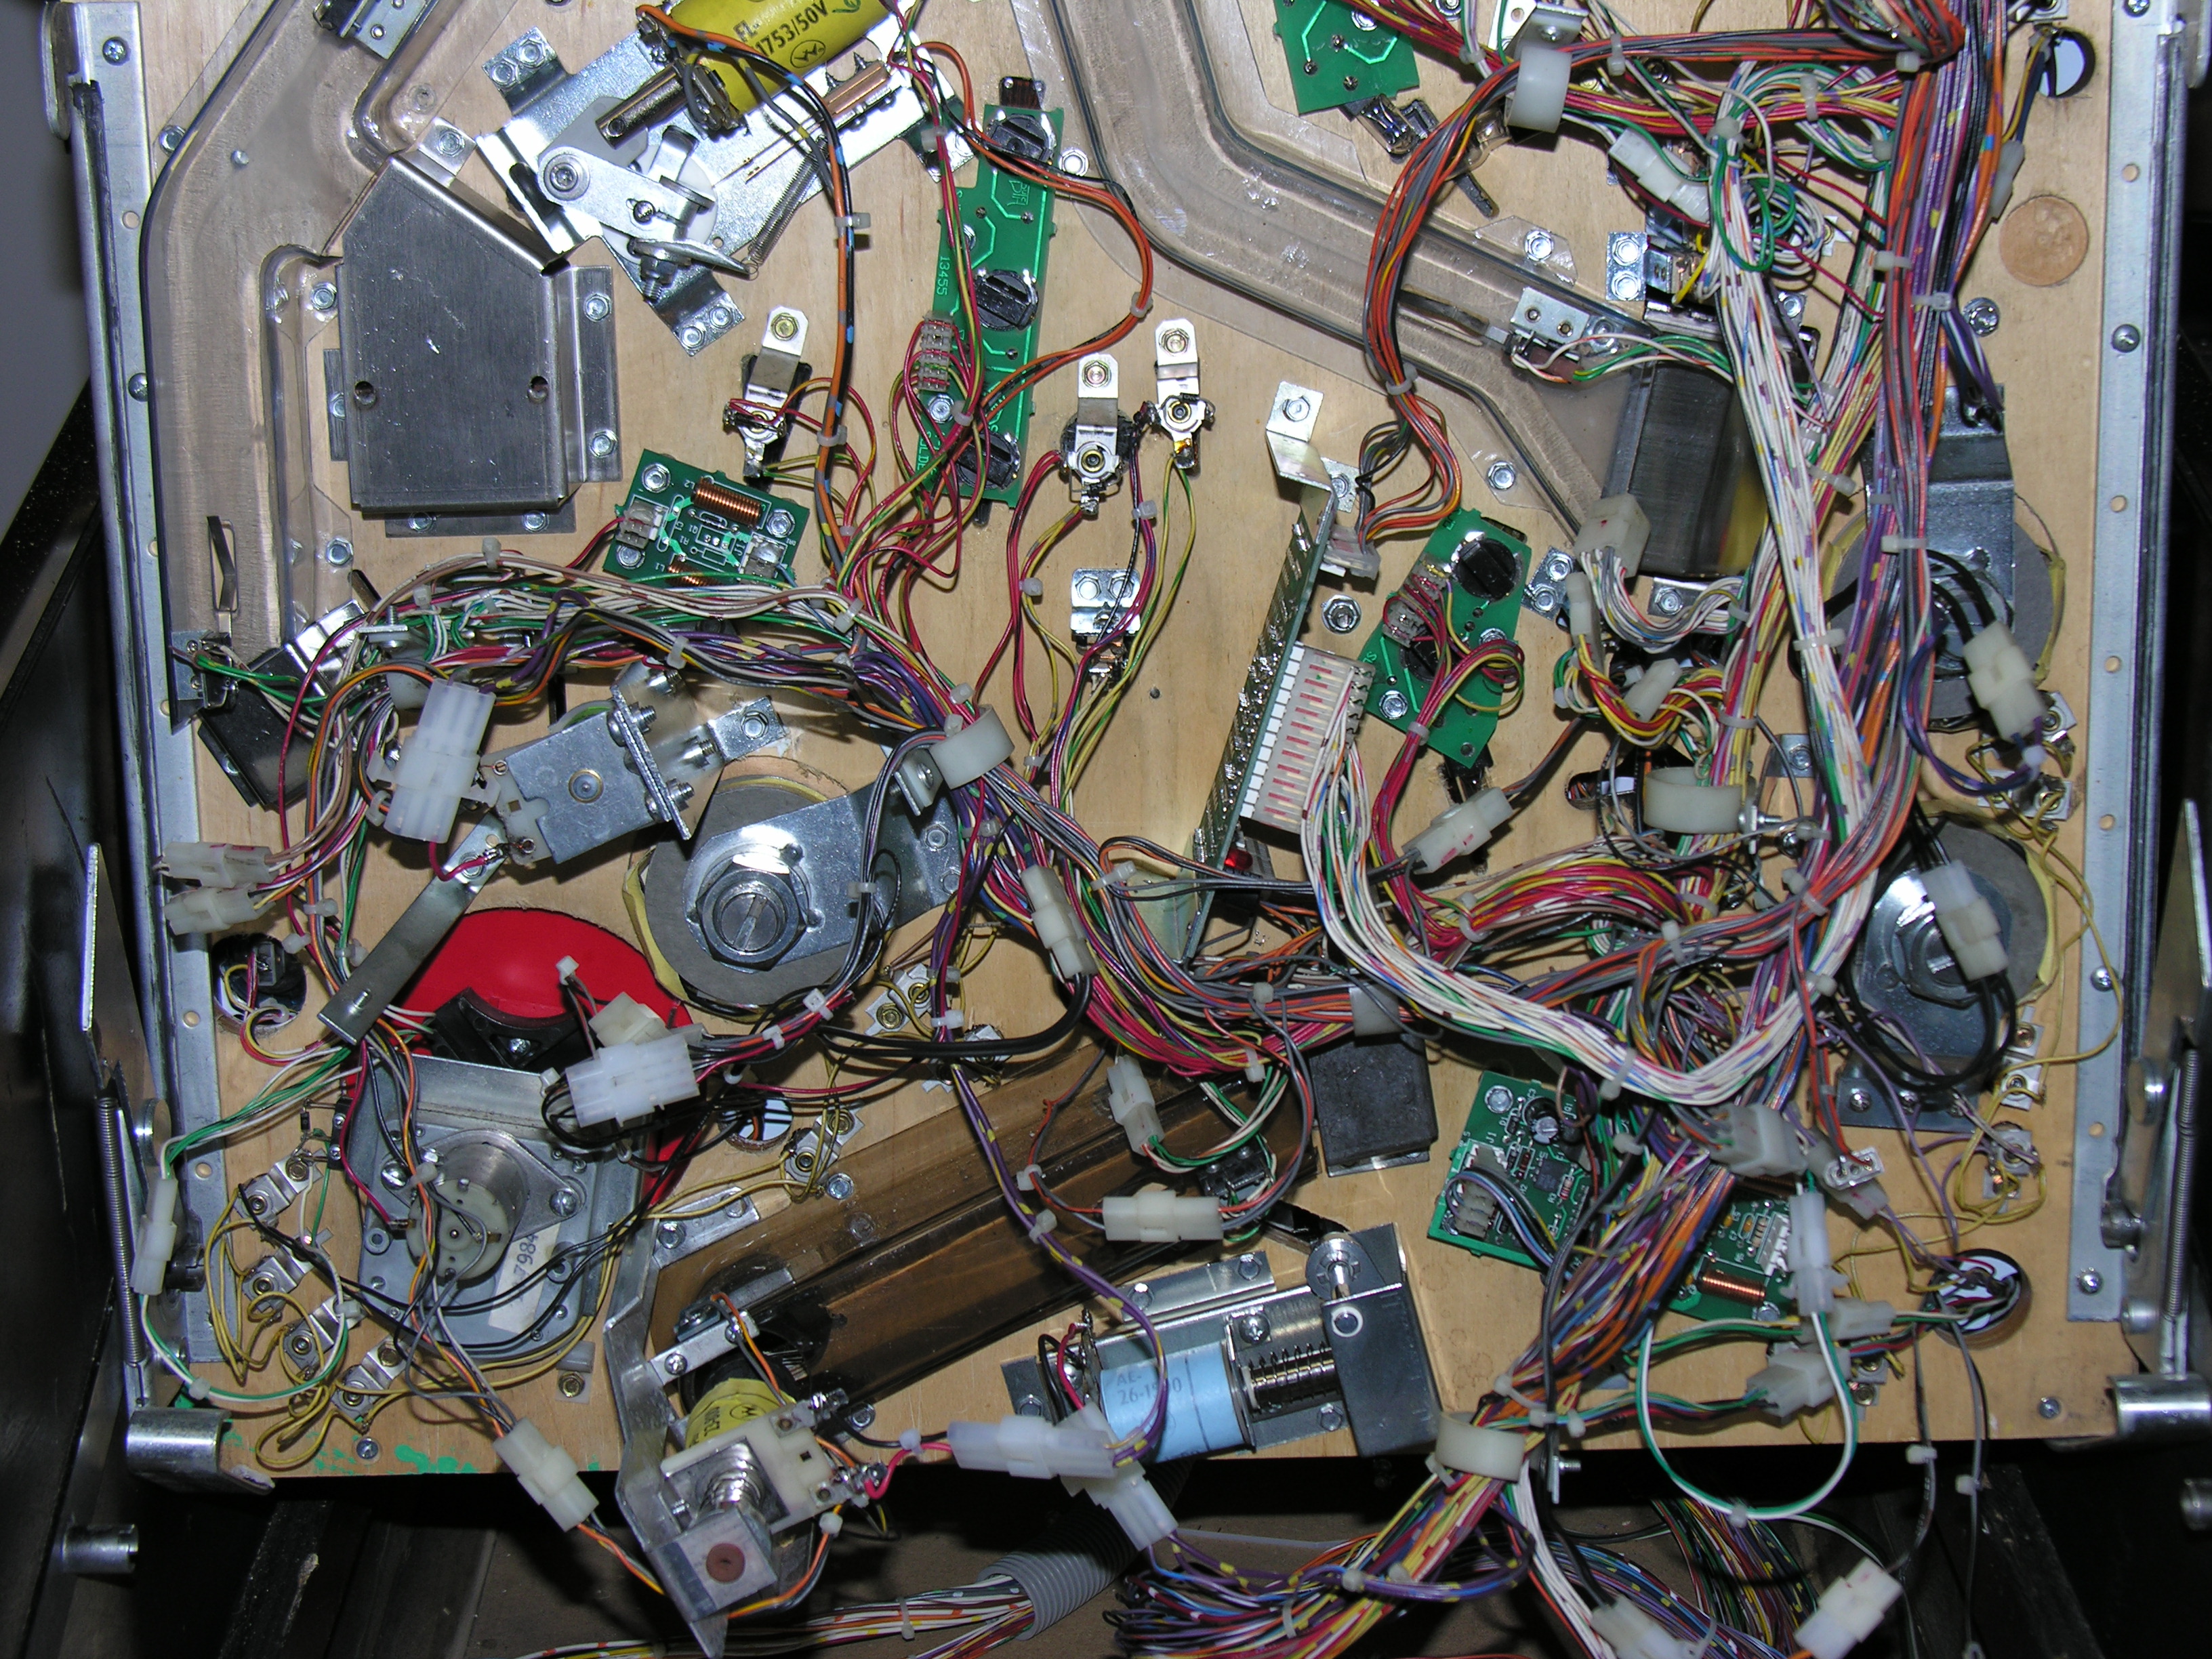 Some
under playfield shots. Here's the back end. Note the disconnects for the
solenoids, and the extra magnet on the right.
Some
under playfield shots. Here's the back end. Note the disconnects for the
solenoids, and the extra magnet on the right.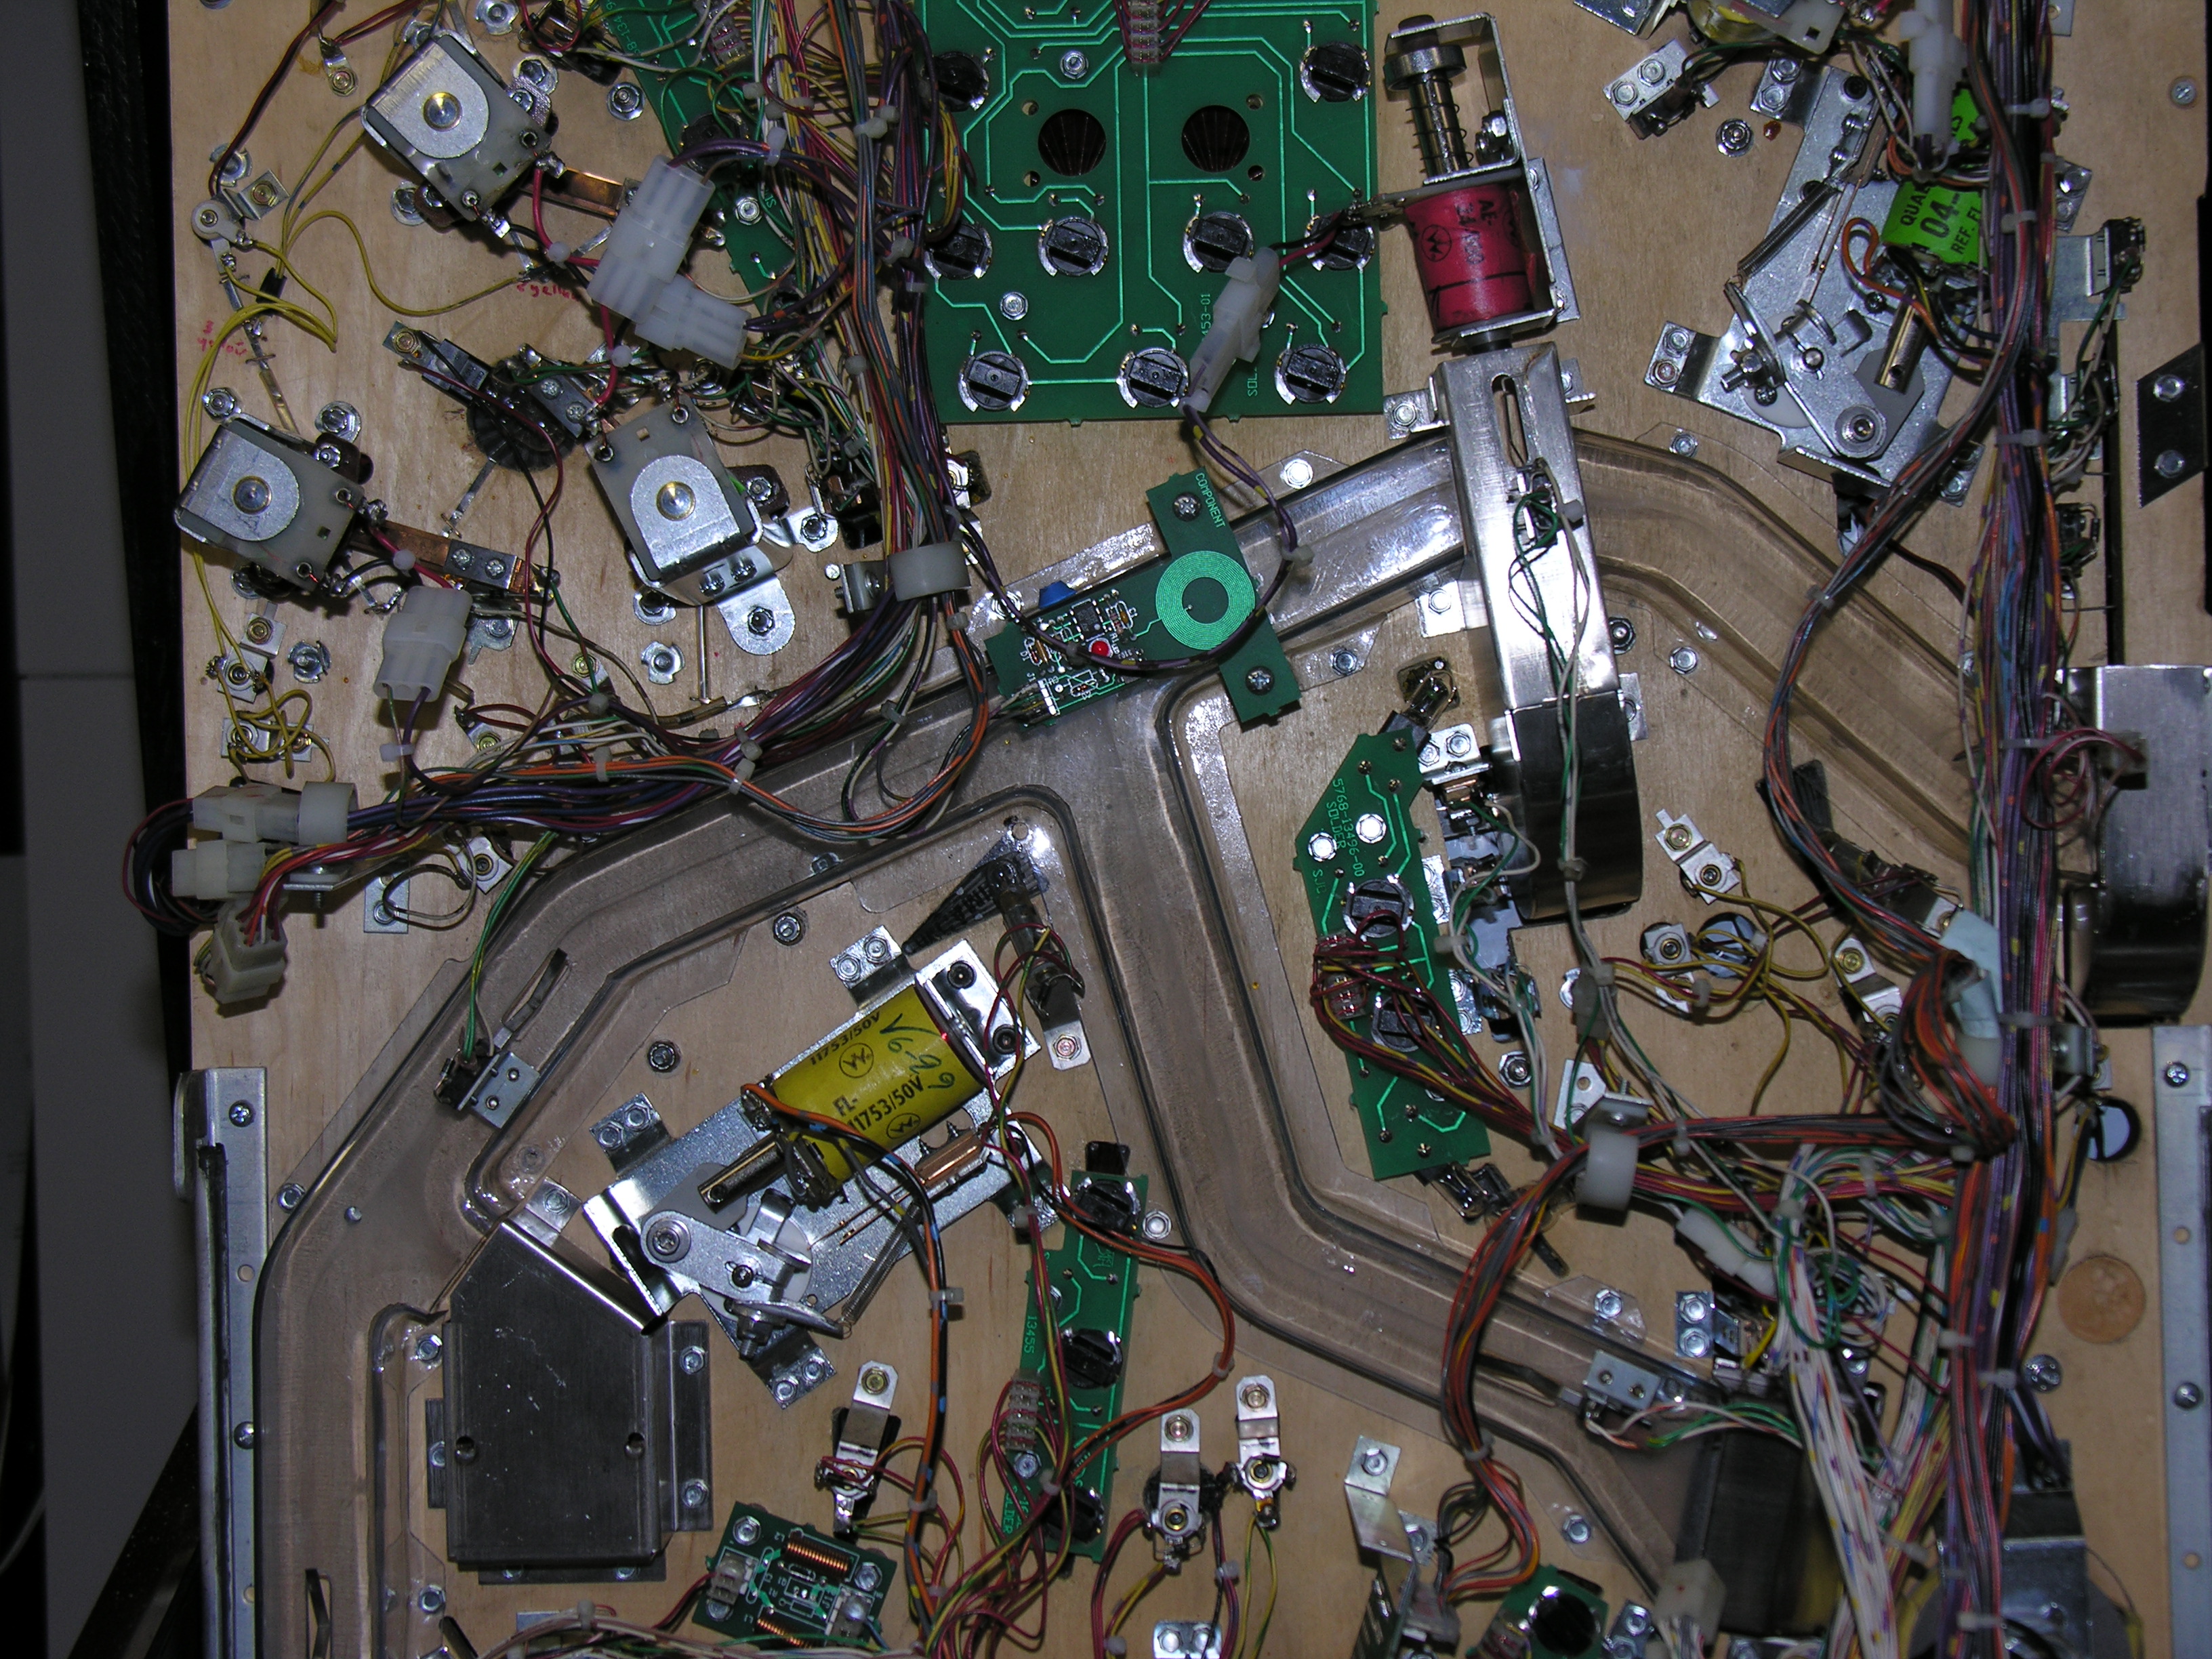 The
main subway.
The
main subway. 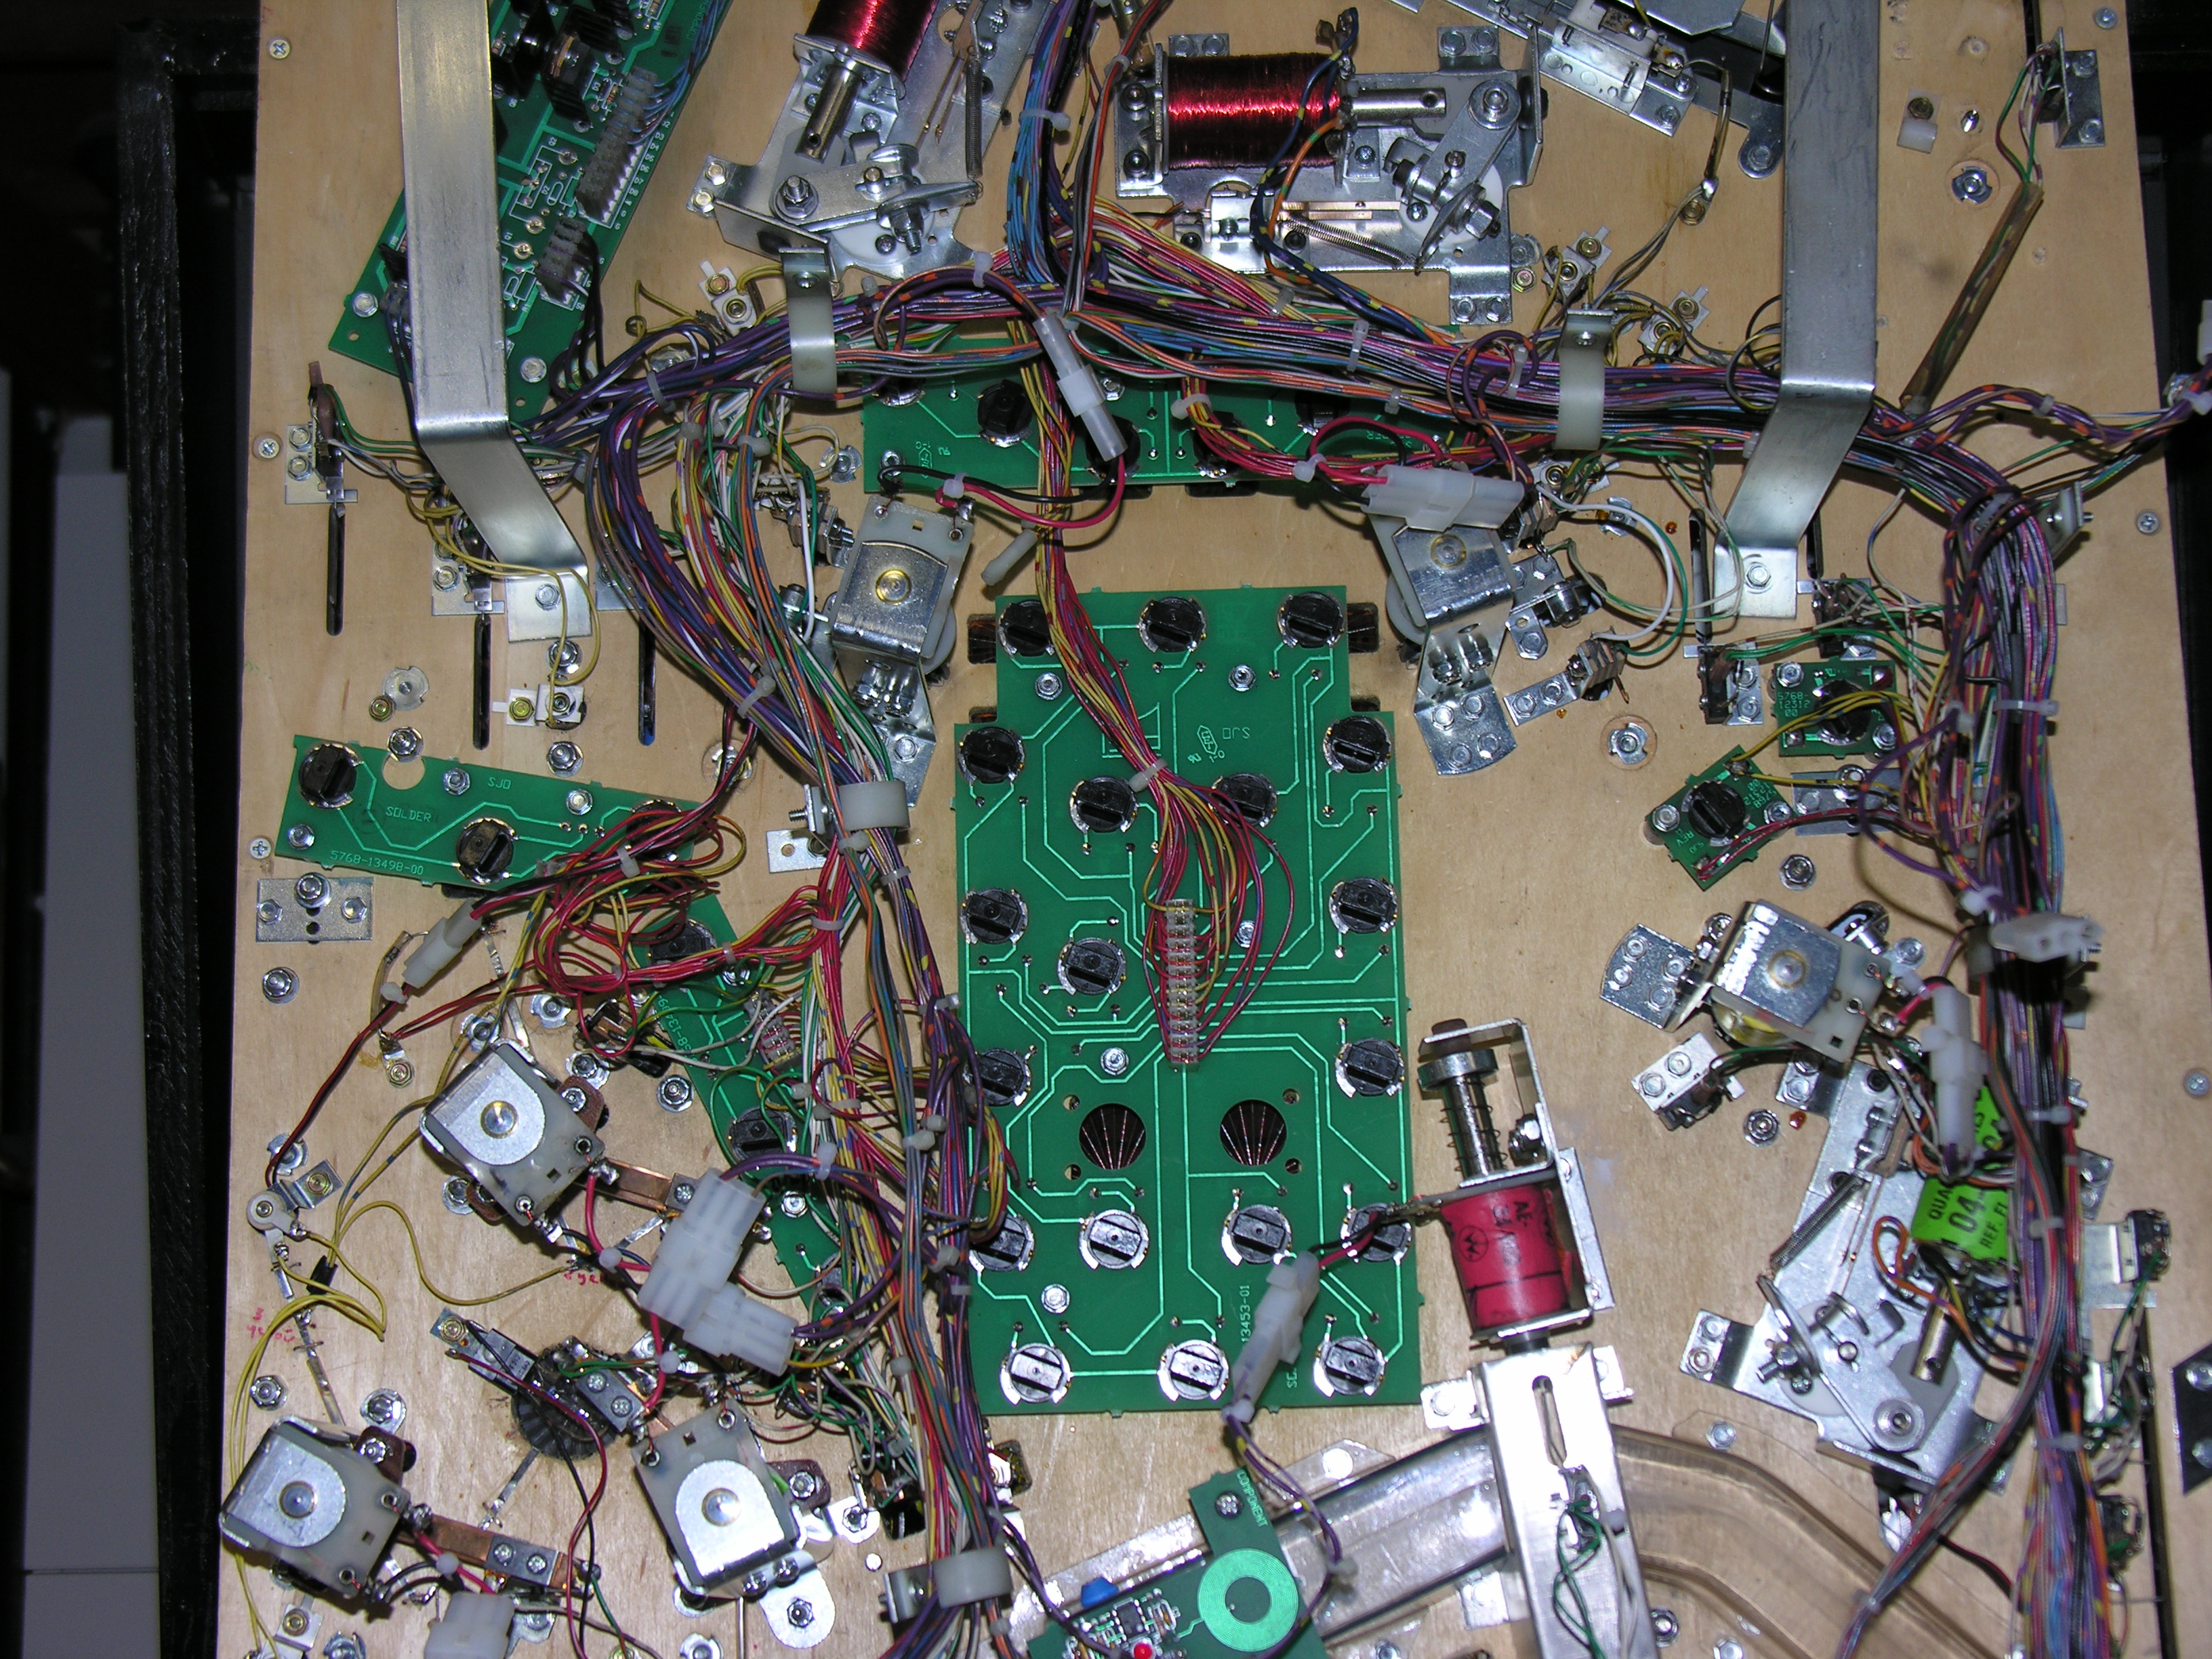 The
door panel area.
The
door panel area. 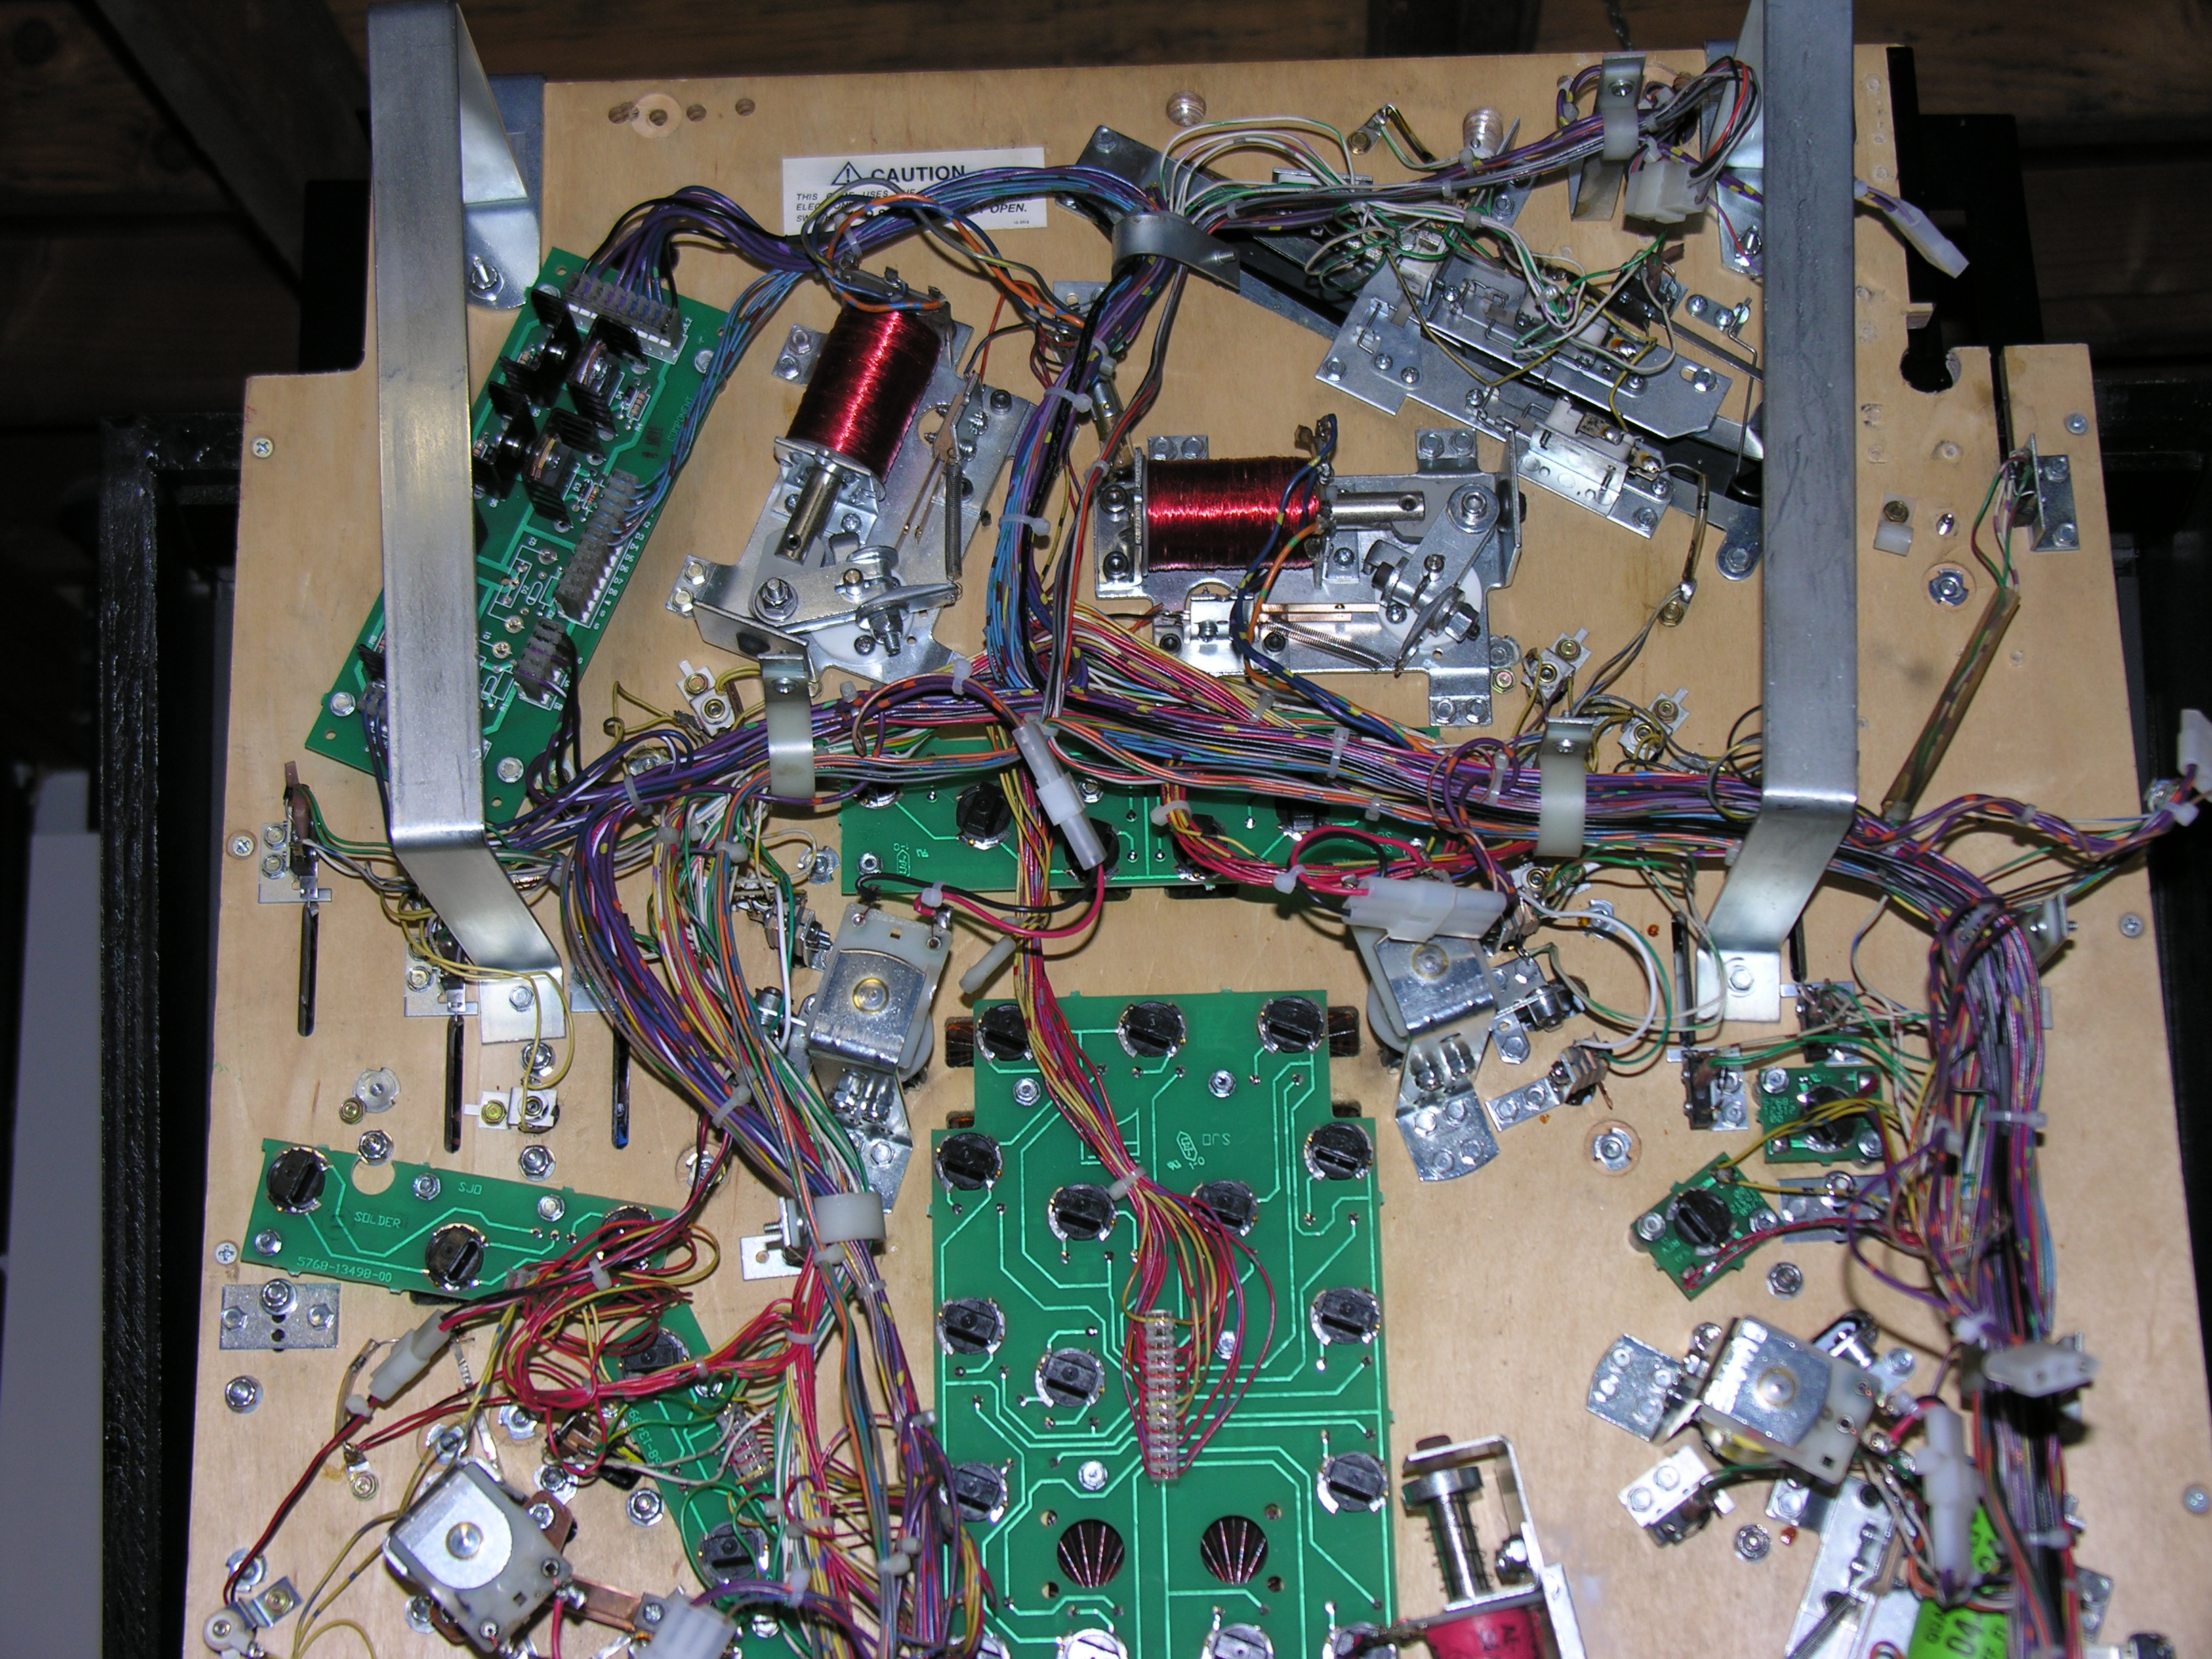 And
the main flippers and ball trough (ball mechs are being cleaned).
And
the main flippers and ball trough (ball mechs are being cleaned).