 This
insert had some visible chipping, all hidden now - which is why I know
it was the Diamond Plate.
This
insert had some visible chipping, all hidden now - which is why I know
it was the Diamond Plate.  Here
you can just see the edge of the insert; the edge of my clearcoat; and
the ghost of an old flipper mylar. For some reason, the mylar leaves an
outline in the Diamond Plate.
Here
you can just see the edge of the insert; the edge of my clearcoat; and
the ghost of an old flipper mylar. For some reason, the mylar leaves an
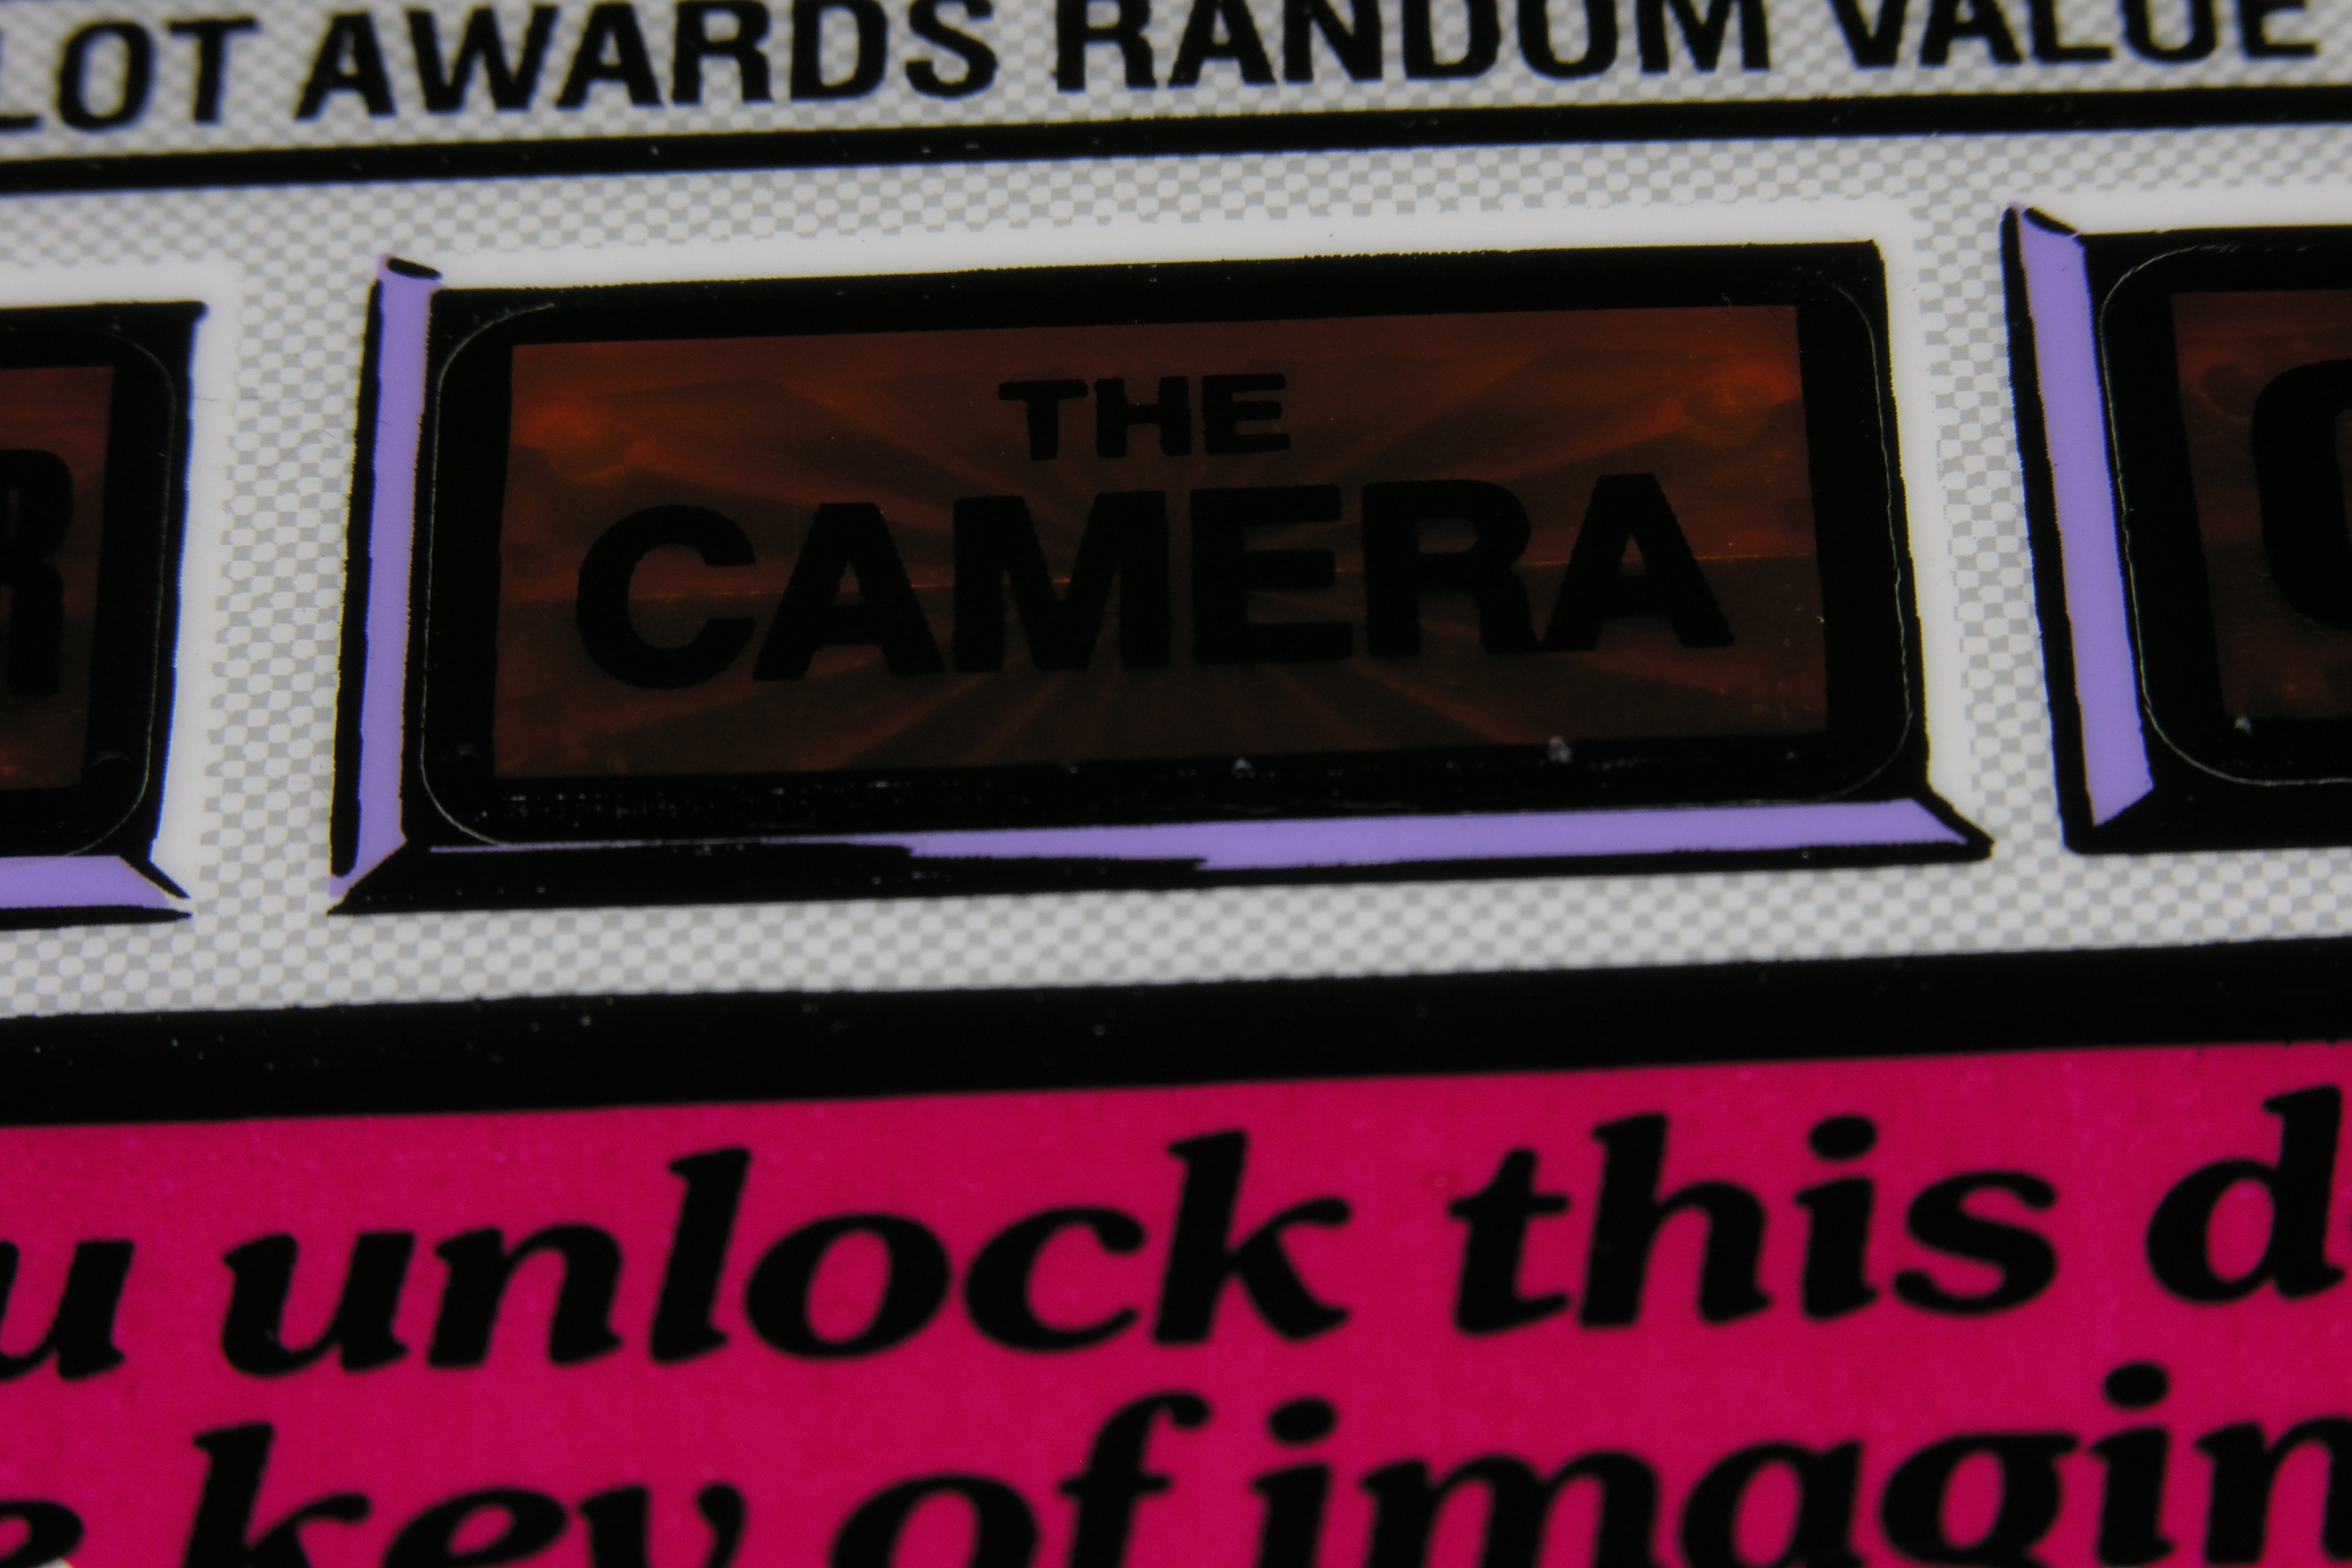
outline in the Diamond Plate. 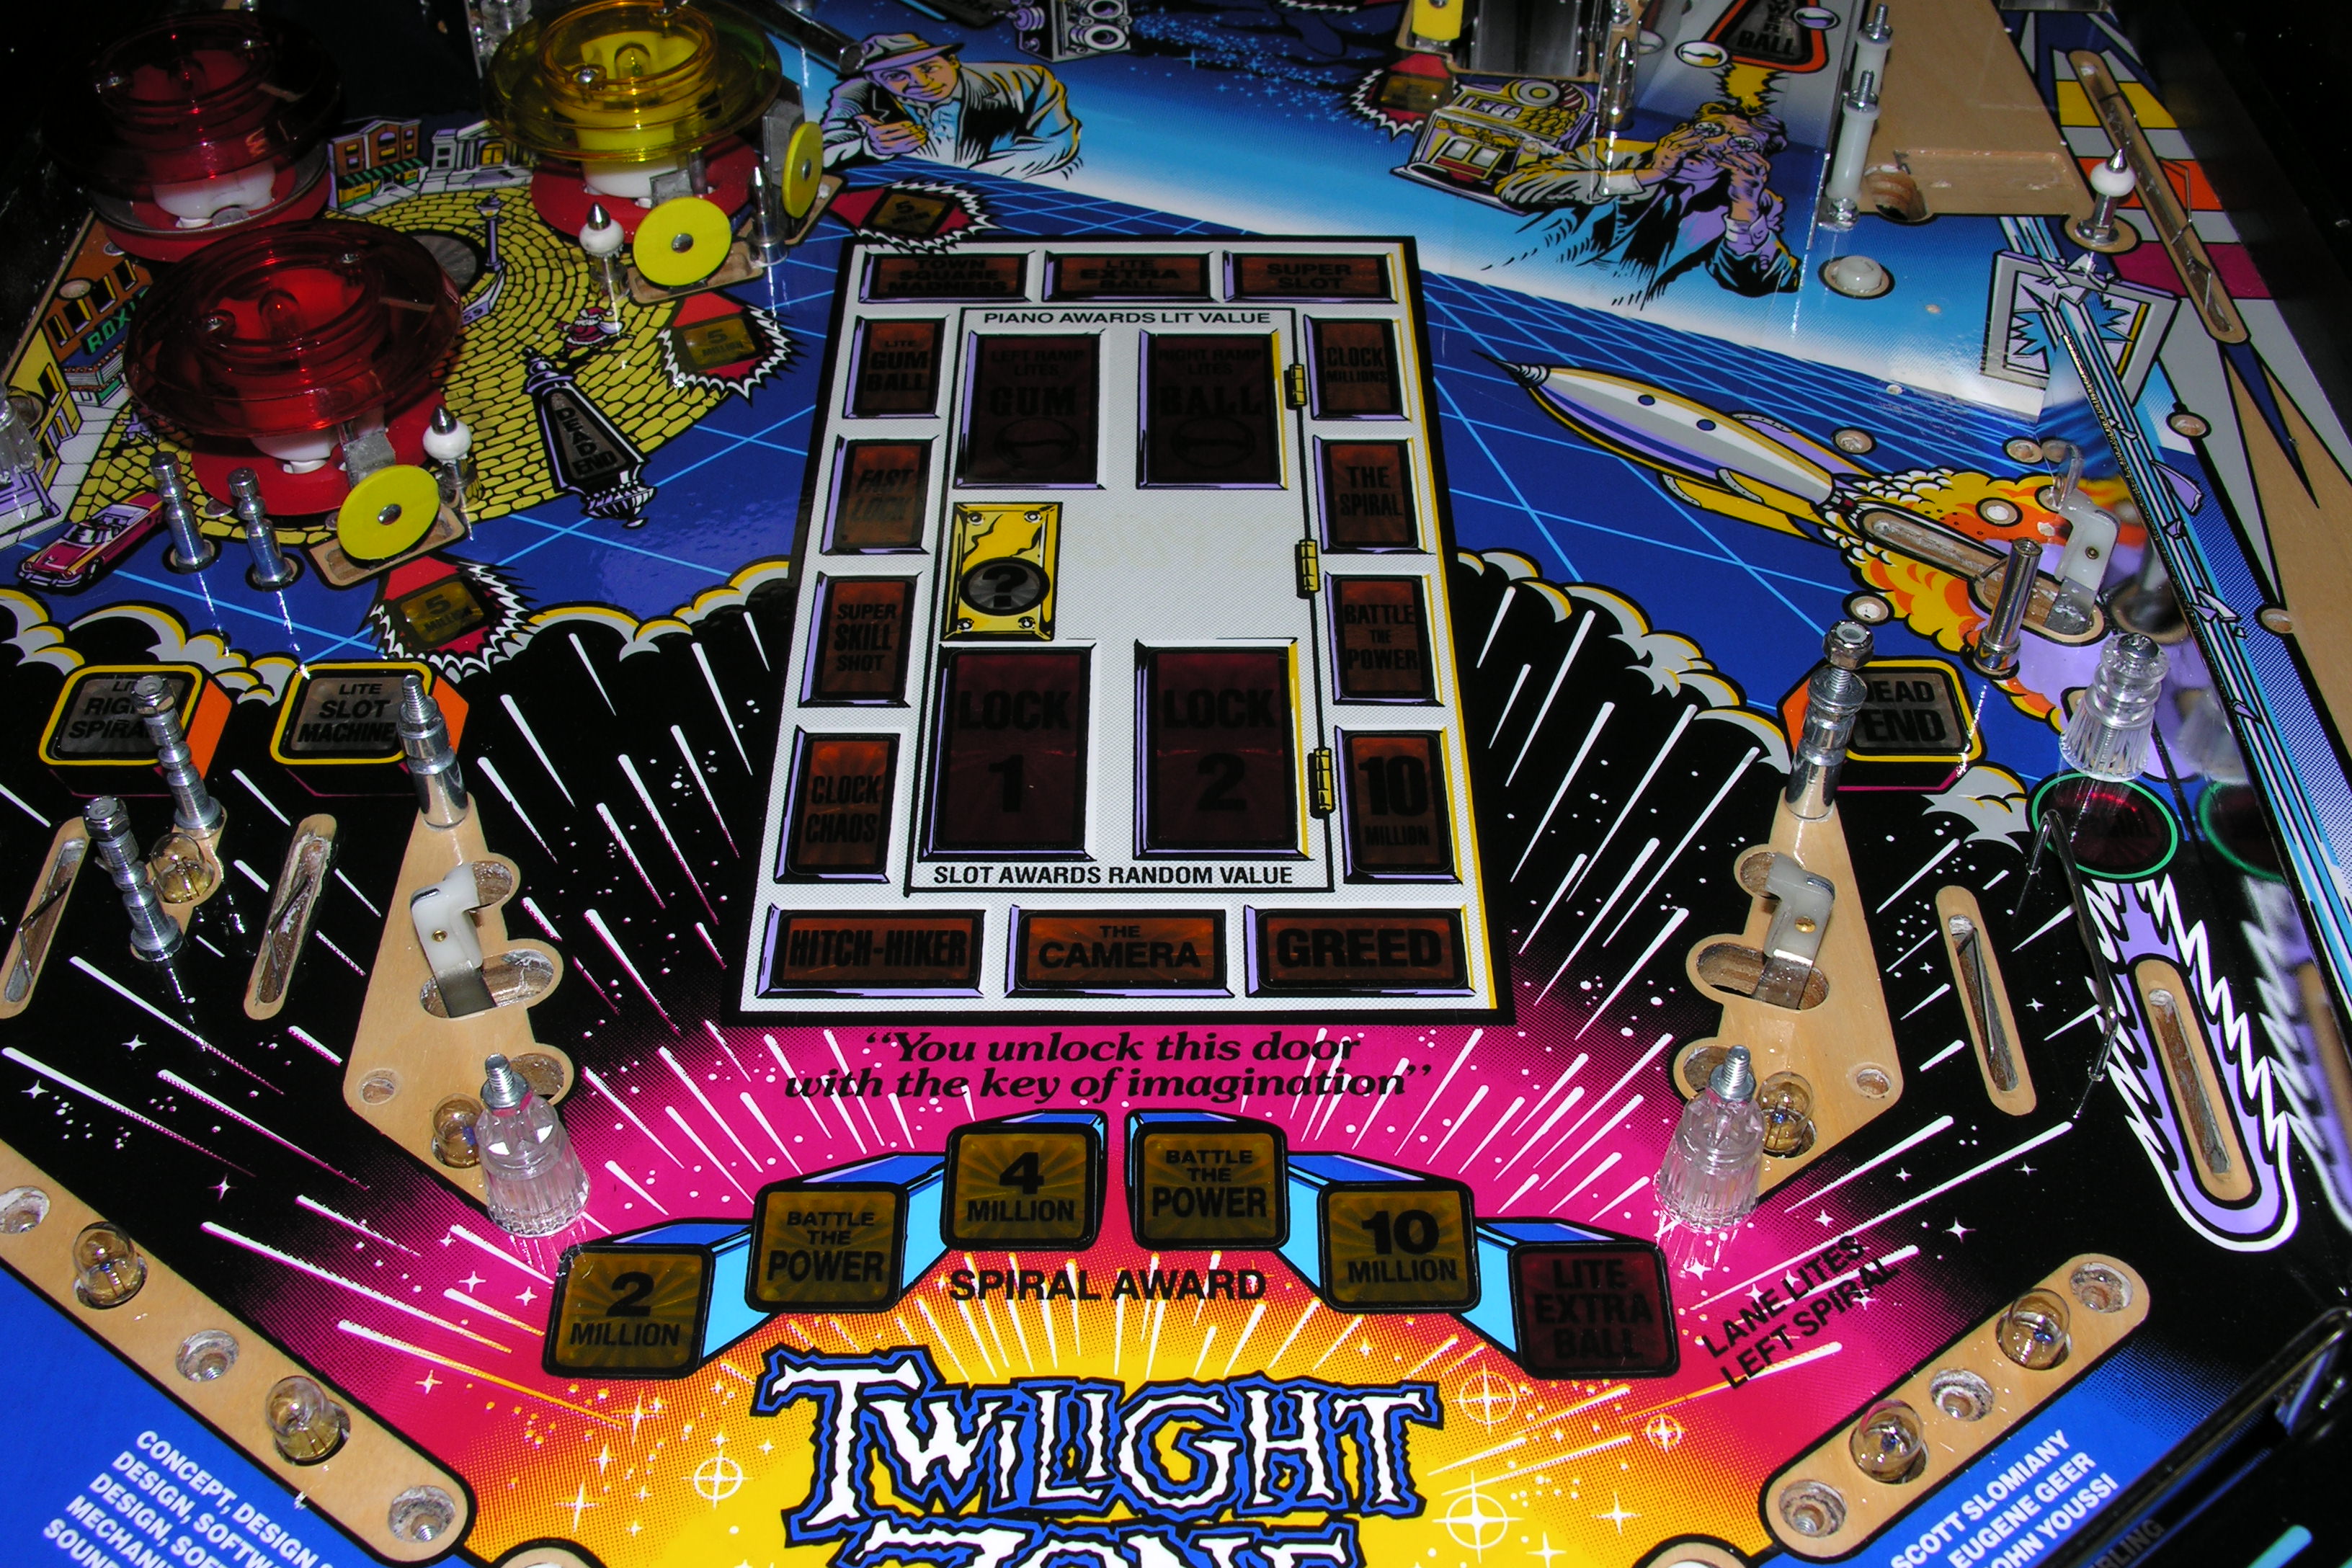 The
whole thing. The camera sees better than I do.
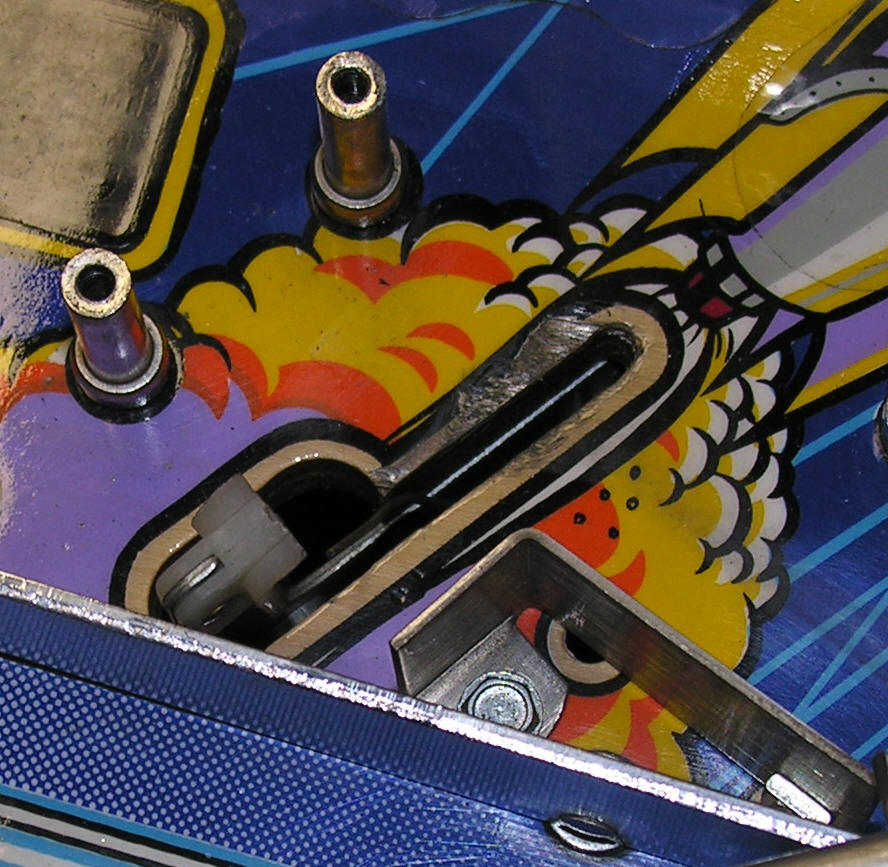
The
whole thing. The camera sees better than I do.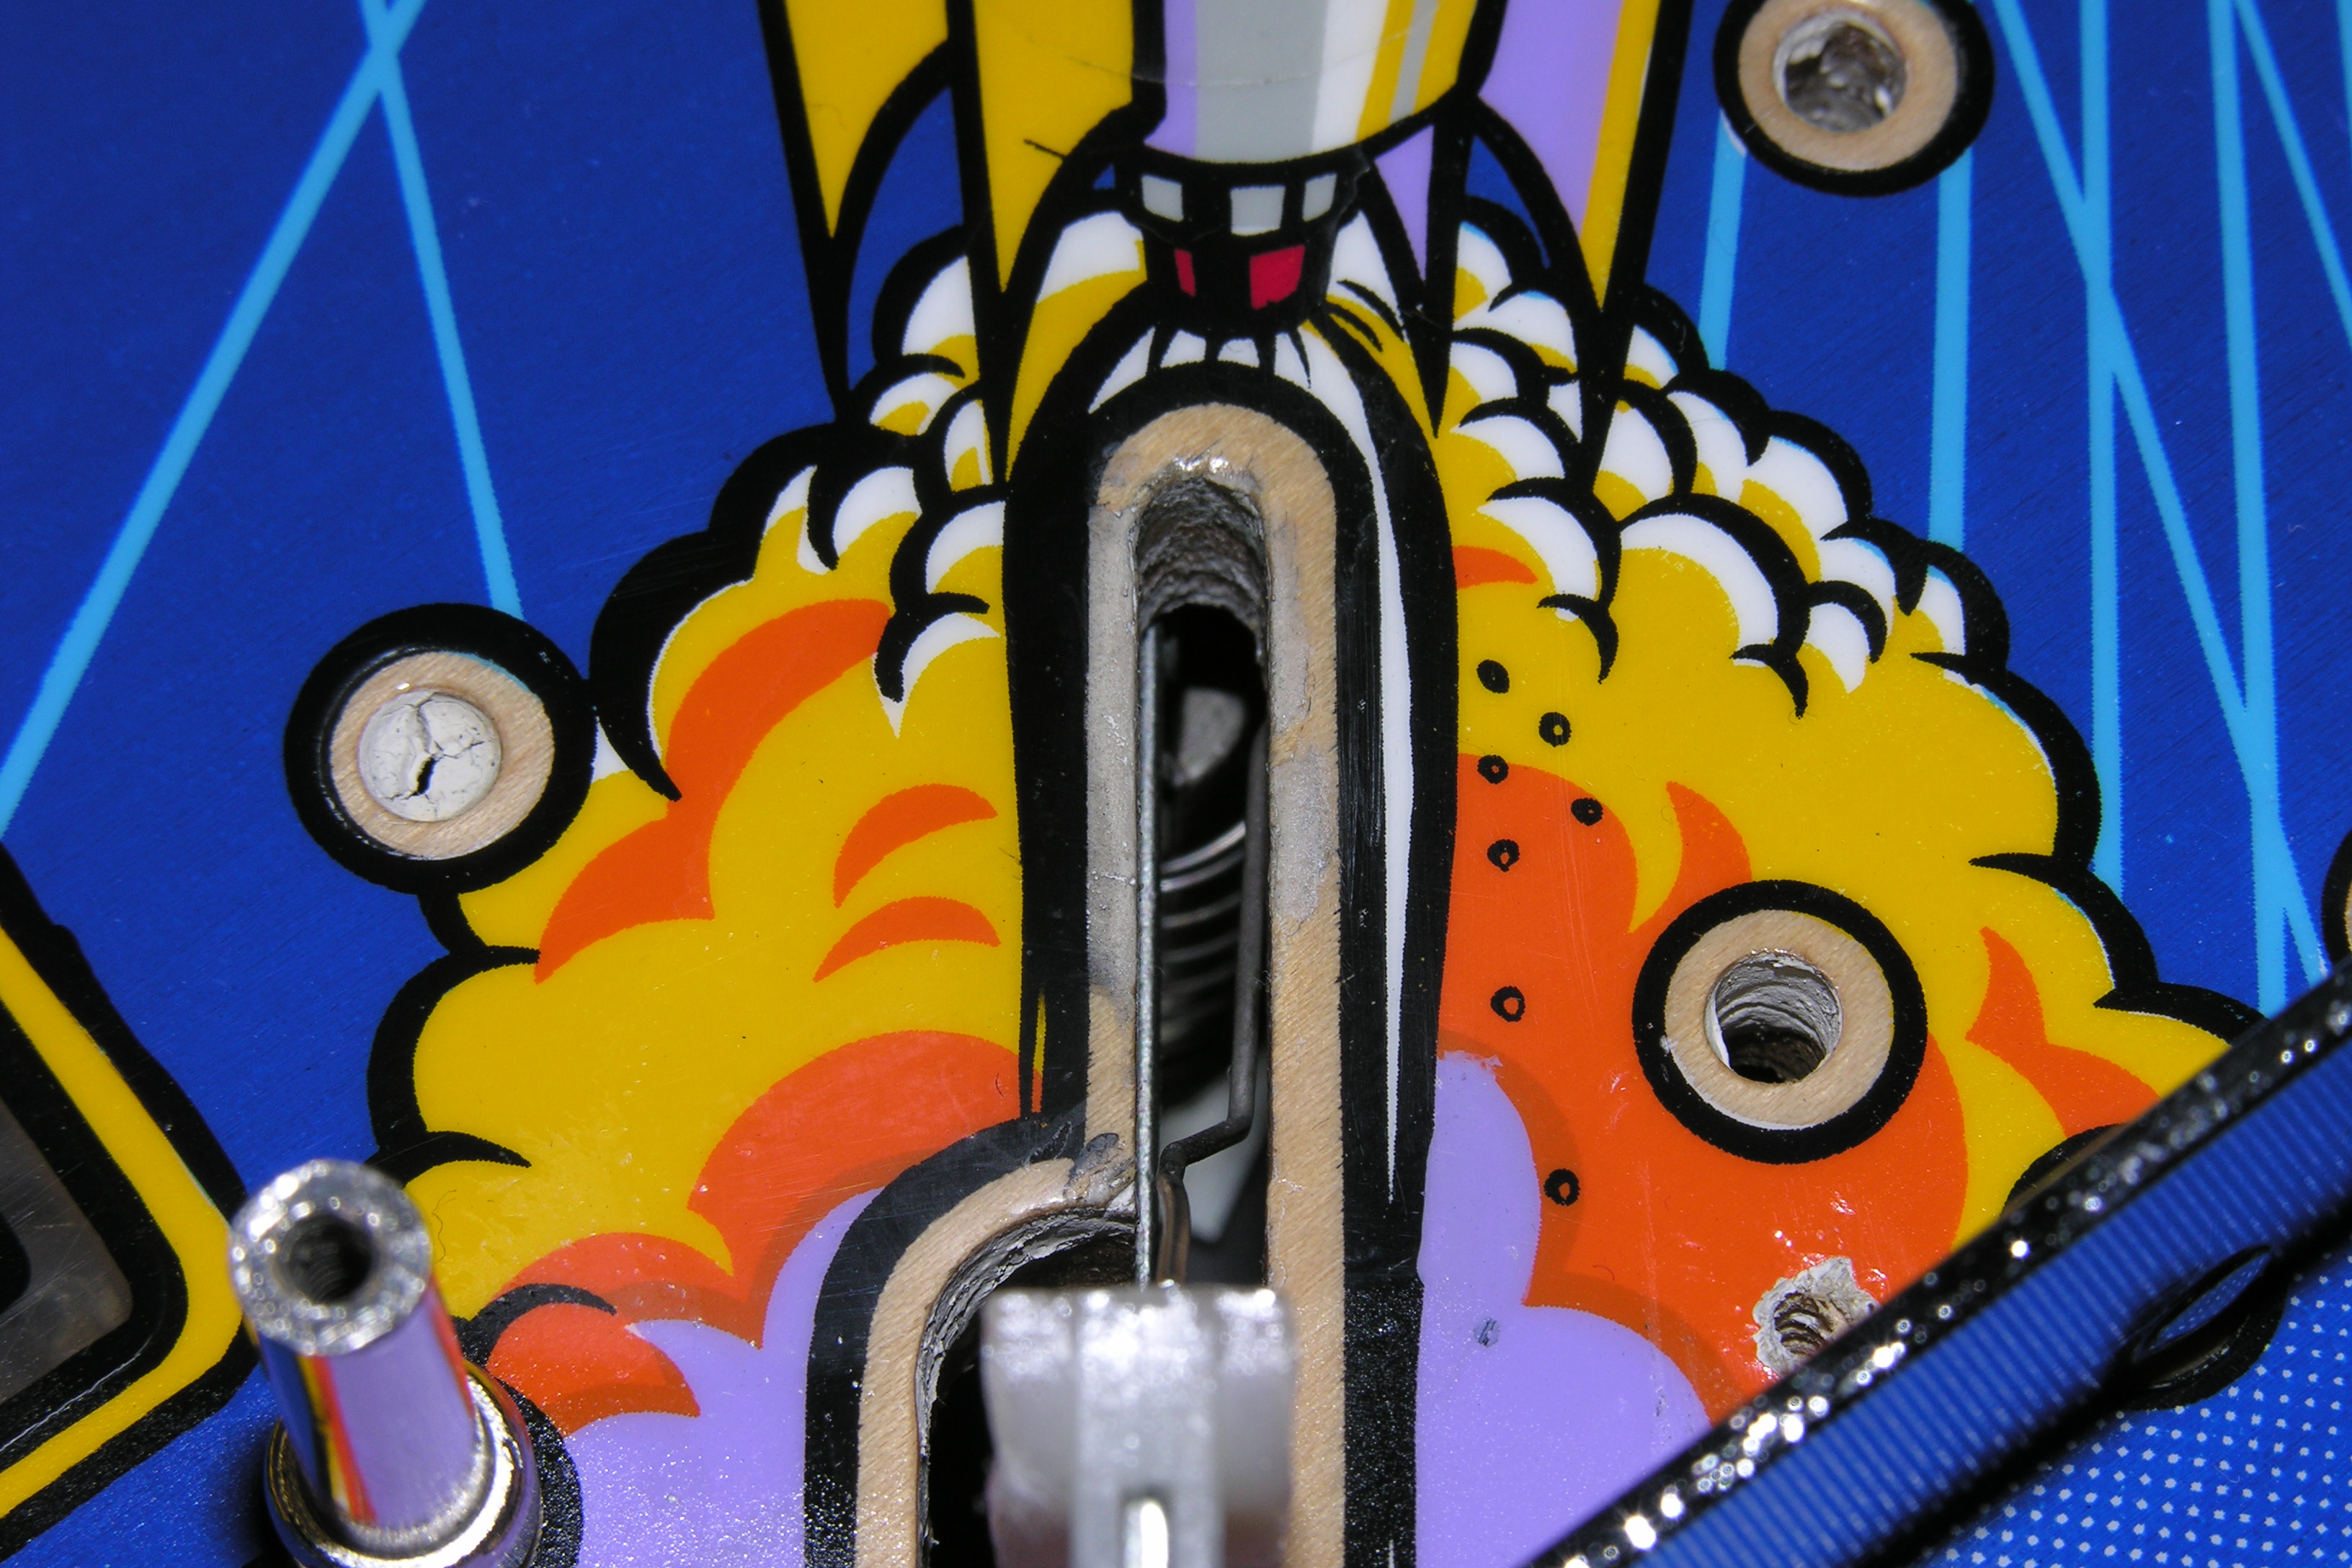 I
also worked over the rocket kicker. There was a big divot in the bottom
edge, and the black line was missing pieces. I filled the divots and
patched the hole with tube epoxy woodpatch.
I
also worked over the rocket kicker. There was a big divot in the bottom
edge, and the black line was missing pieces. I filled the divots and
patched the hole with tube epoxy woodpatch.
 Then
I masked and airbrushed the black line. Finally, Polycrylic again and a
polish and buff.
Then
I masked and airbrushed the black line. Finally, Polycrylic again and a
polish and buff.For small areas like this, I fill the airbrush cup from the aerosol can.
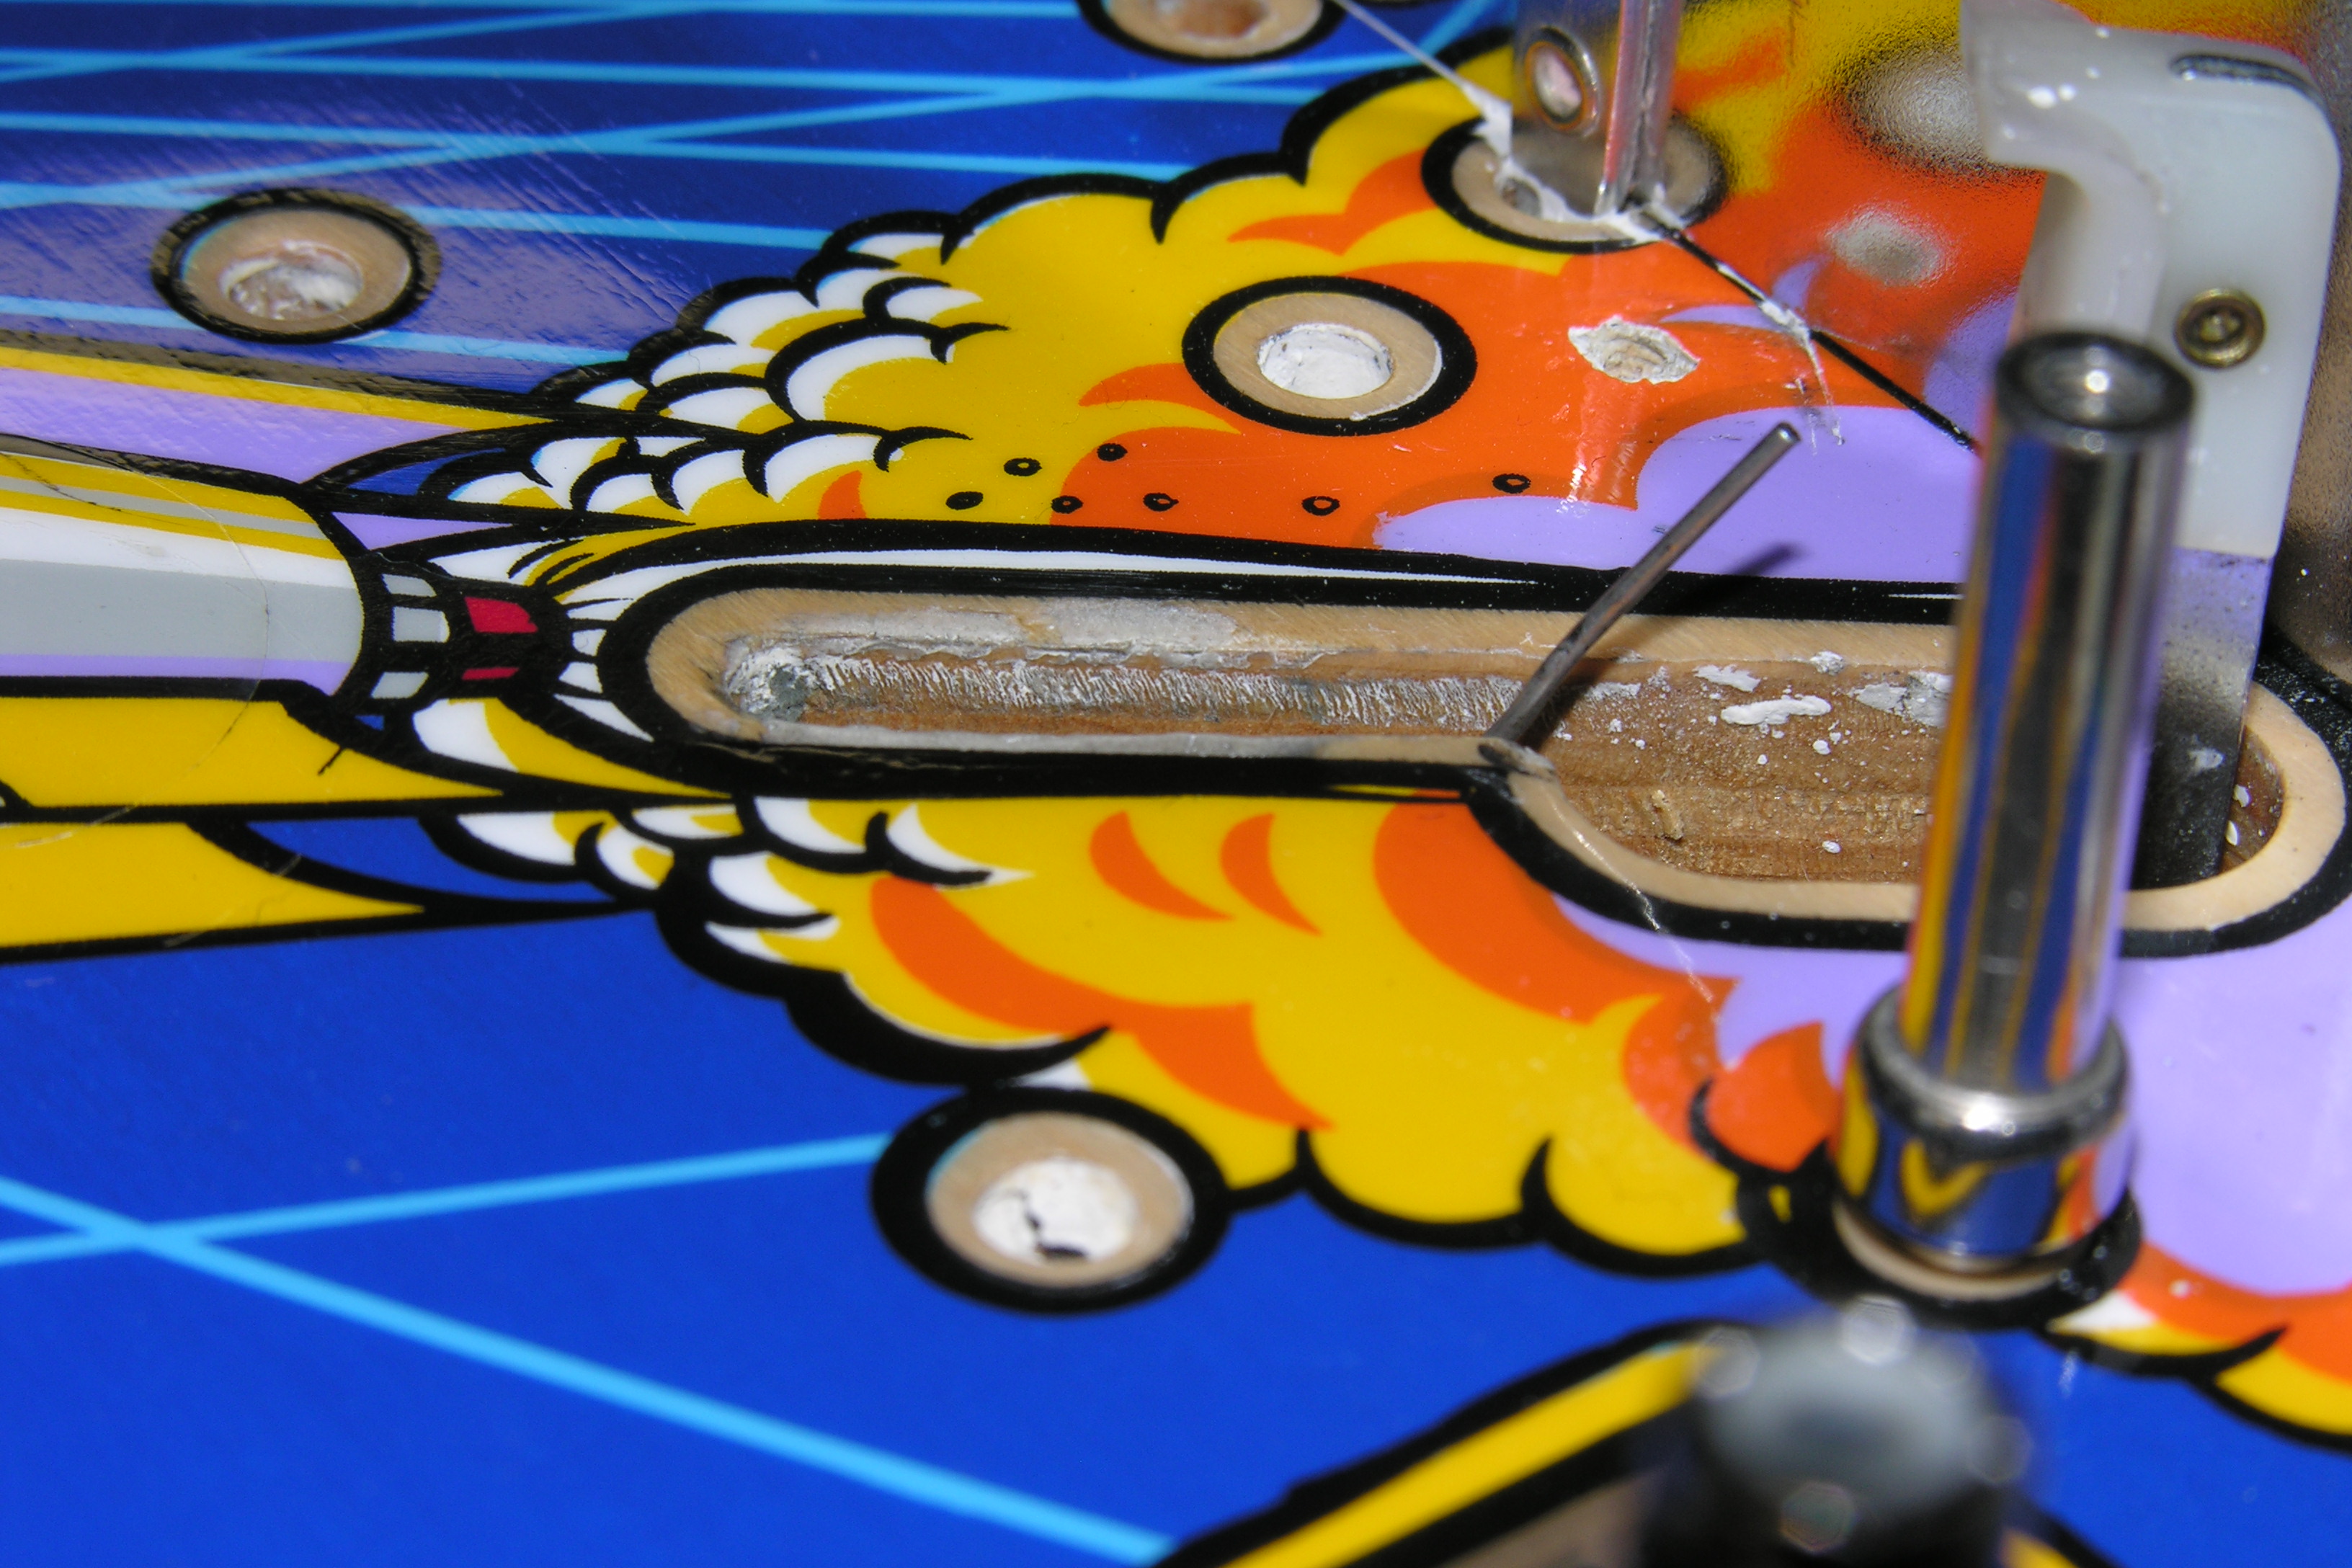
 And
I found a before on the rocket kicker.
And
I found a before on the rocket kicker.